

Home | Contact Us | Submit Troubleshooting Info | Search | Help
Output | Software Solutions | Proofing | Color, Screening and Calibration | Scanning | Digital Photography | Consumables | POS
Home | Contact Us | Submit Troubleshooting Info | Search | Help
Output | Software Solutions | Proofing | Color, Screening and Calibration | Scanning | Digital Photography | Consumables | POS
Author/Submitter: A. Posner (11/12/97)
Document Released: 11/12/97
Product Family: Imagesetters / Platesetters
The CPU 486 Board , catalog number 503C2L200 is used in the Dolev 4press V as CPU board and as VGA board.
The board is placed in the Dolev 4press E-Box according to the following drawing:
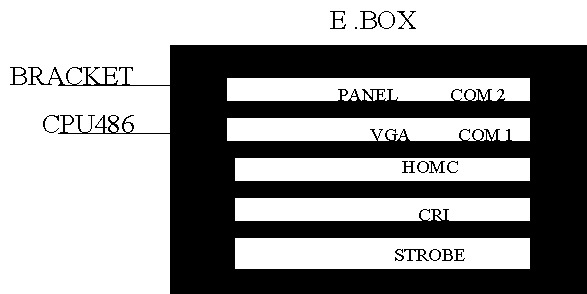
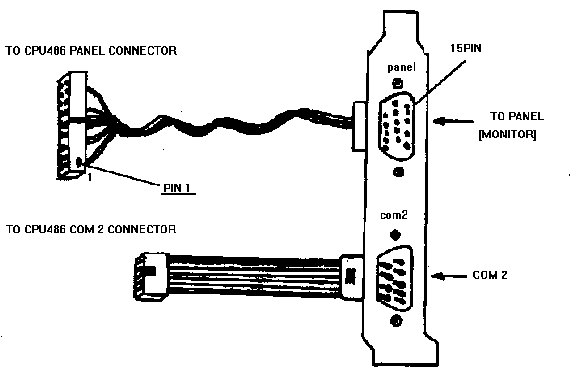
Important Note: The panel connector and the VGA connector are both 15 pin connectors. Do not switch between the two!!
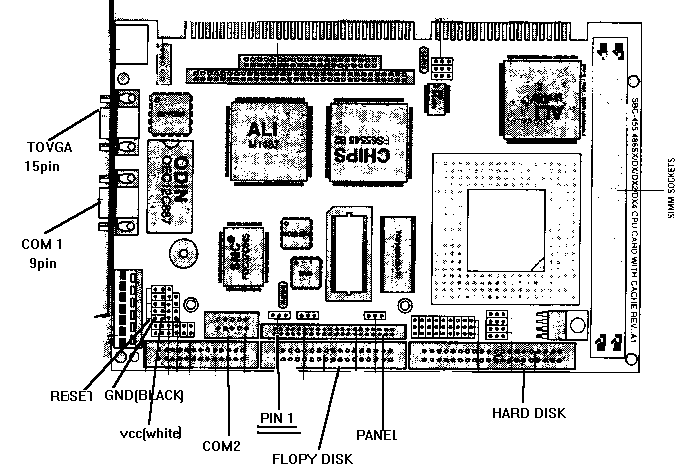
Board Layout:
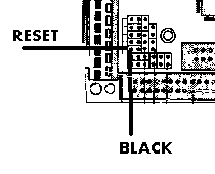
Reset Connector:
Panel Connector and COM2 Bracket:
| Wait for F1 if any error | Disabled |
| System Boot Up Sequence | A:, C: |
| External Cache | Disabled |
| Internal Cache | Disabled |
| Video Shadow C000,32K | Disabled |
| HD Auto Detect | Enabled |
| Primary IDE 32-bit Transfer | Disabled |
|
Enabled |
| Pri 2nd IDE Block | Disabled |
|
Enabled |
| Secondary IDE 32-bit Transfer | Disabled |
| SEC 1 st IDE Block Mode | Disabled |
|
Enabled |
| SEC 2 nd IDE Block Mode | Disabled |
|
Enabled |