Home | Contact Us | Submit Troubleshooting Info | Search | Help


    Output | Software Solutions | Proofing | Color, Screening and Calibration | Scanning | Digital Photography | Consumables | POS


Drum Motor Replacement for Lotem 400 Family and Lotem 200K


Product

 
  • Kodak Lotem 400 platesetter
  • Kodak Lotem Xpose platesetter
  • Kodak Lotem 200K platesetter
  • Kodak Lotem 400 Quantum platesetter

Background


The drum motor may need replacing if any of the following symptoms occur:

  • Drum motor is making excessive noise
  • Drum rotates in the wrong direction
  • Drum is showing acceleration problems

Requirements


The drum motor replacement procedure requires special tools that were supplied to each CSC for this purpose.


Procedure

 
Parts and Tools

Tool Part number Notes
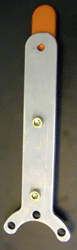
Drum holder assembly 690-00209A To hold the drum
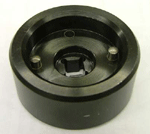
Drum motor nut jig 690-00206A To open drum motor nut
Torque wrench   350 kg/cm (or 300 lb/in.) to 1000 kg/cm (870 lb/in.)
Film   For easy separation of the drum rotor and stator.
Blue Loctite 242    
 
Removing the Drum Motor
  1. Disconnect any connectors from the motor, and from the connectors bracket, and then disconnect the connectors bracket.


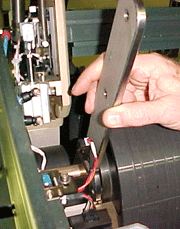
  2. Use the drum holder assembly to hold the drum, as shown.


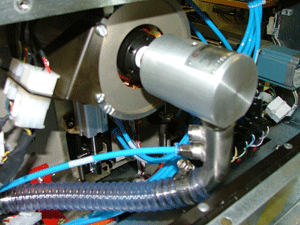
  3. Remove the vacuum swivel from the shaft, as shown.


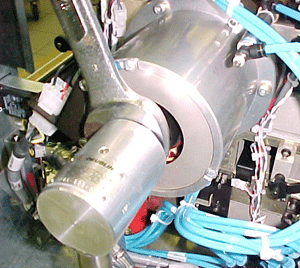
  4. Insert the drum motor nut key jig into the drum motor nut.
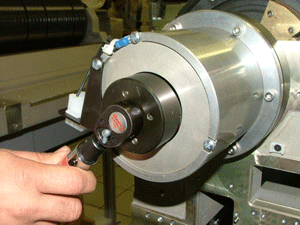
  5. Using the drum holder assembly on the other side of the drum to secure the drum (as shown in step 2), insert the torque meter into the drum motor nut jig and remove the drum motor nut. You may need to use some force to remove the Loctite adhesive.


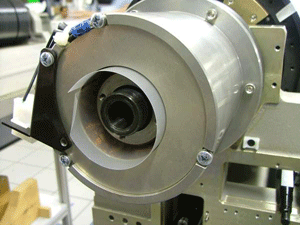
  6. Insert the film around the motor rotor to prevent contact between the stator and rotor magnets. Most of the film should fit in.


  7. Remove the bolts that secure the drum motor, and then pull the motor out.
Reinstalling the Drum Motor
  1. Insert the new motor, apply Loctite to the bolts, and then tighten the torque bolts to 350 kg/cm (300 lb/in).
  2. Apply Loctite to the drum motor nut, and then tighten the nut to a torque of 1000 kg/cm (870 lb/in.).
  3. Reconnect the vacuum swivel, applying Teflon tape to prevent vacuum leakage.
  4. Reconnect all the motor connectors.


Test


Activate the drum motor at varying speeds and verify that it rotates smoothly and quietly.


Technical contact(s)
 

Content owner: Mario Amir
See the Escalation page for escalation contacts.

Date submitted
 

12 Feb 2004


    Copyright © 2005 Creo Inc. All rights reserved. Confidential. Back to top.