Home | Contact Us | Submit Troubleshooting Info | Search | Help
Output | Software Solutions | Proofing | Color, Screening and Calibration | Scanning | Digital Photography | Consumables | POS
Home | Contact Us | Submit Troubleshooting Info | Search | Help
Output | Software Solutions | Proofing | Color, Screening and Calibration | Scanning | Digital Photography | Consumables | POS
Product |
LotemTM 400 w/MCU | |||||||||||||||||||||||||||||||||||||||||||
Background |
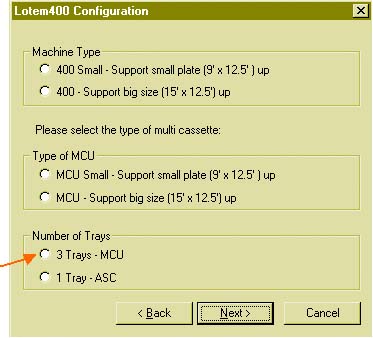
To upgrade the Lotem 400 w/MCU with a single cassette unit (SCU) to a full multi-cassette unit (MCU), the middle and upper cassette must be added, and the software must be re-installed and configured for MCU. |
|||||||||||||||||||||||||||||||||||||||||||
Requirements |
|
|||||||||||||||||||||||||||||||||||||||||||
Parts list |
510K3R821 SCU to MCU upgrade kit
|
|||||||||||||||||||||||||||||||||||||||||||
Procedure |
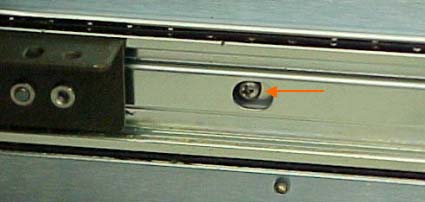
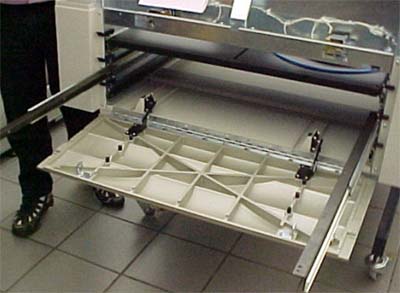
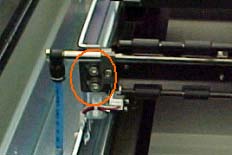
Upgrading hardware
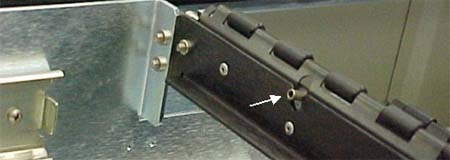
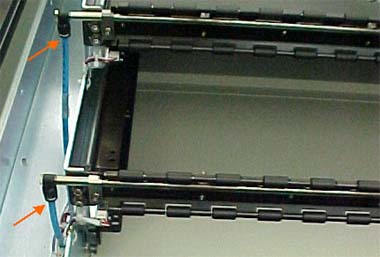
Note: The air nozzles on the protecting rollers assembly should face
the cassette, as shown below.
Upgrading configuration
|
|||||||||||||||||||||||||||||||||||||||||||
Technical contact(s) |
Content owner: Mario
Amir |
|||||||||||||||||||||||||||||||||||||||||||
Date submitted |
20 Nov 2002 |
|||||||||||||||||||||||||||||||||||||||||||