Procedure |
|
This procedure consists of three stages:
Removing the XY shaft
- Open the front cover of the MCU, followed by the side covers and top
cover, and then turn off the power.
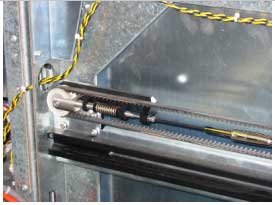
- To loosen the tension on the X and Y belts, loosen and remove the
tension screws, and then insert and tighten the retaining screws to
compress the springs.
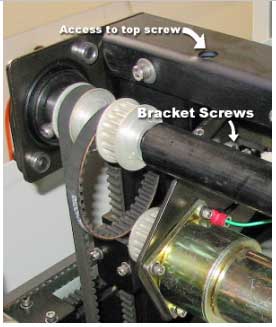
- On the left side of the machine, to loosen the small Y motor belt,
loosen the three screws on the bracket holding the Y motor. When you
loosen these screws, the bracket pivots on the center screw.
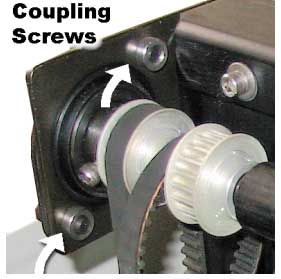
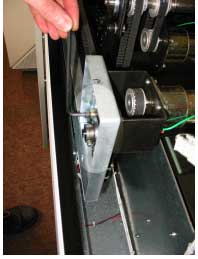
- On the left side of the Y shaft, loosen the coupling for the bearing,
but do not remove the coupling.
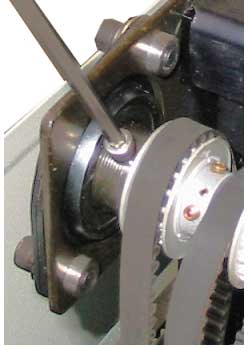
- Loosen the setscrews that hold the bearing to the shaft.
- On the right side of the machine, on the right side of the Y shaft,
loosen and remove the coupling and bearing.
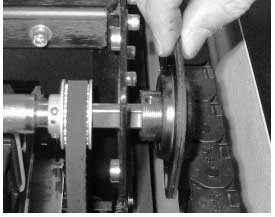
- Pull the shaft out of the machine. Be careful to maintain the relative
position of the belts. The coupling with bearing on the left side remains
on the machine.
Installing the XY shaft
Notes:
- The Y shaft is shorter than the X shaft.
- There are two pulleys on the left side and one pulley on the right
side.
- Start to insert the Y shaft through the belts in the proper order,
in the left bearing, so that the hole in the flat side of the shaft
end aligns with the threaded hole in the bearing.
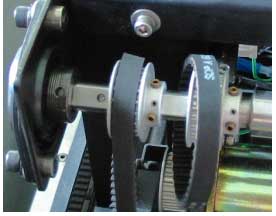
- Put the three loose belts back in place on their pulleys.
- On the right side, reinstall the bearing and coupling. The side of
the right pulley with the setscrew faces inside the machine. To secure
the right coupling, insert the four special (threadless) screws with
washers, but do not tighten the screws.
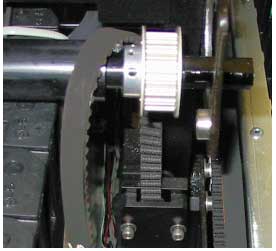
- Put Loctite® 638 on all the setscrews. Do not tighten
them yet.
- On the left side of the machine, verify that the hole in one of the
flat sides of the shaft end aligns with the threaded hole in the bearing,
and that the second threaded hole in the bearing aligns with the other
flat side of the shaft. Tighten the setscrews.
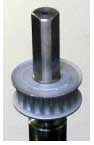
- On the right side of the machine, verify that the flat sides of the
shaft end align with the threaded hole in the bearing. Insert and tighten
the setscrews.
- Tighten the bearing coupling on both sides.
Adjusting parallelism of the Y axis to the Cassette frame and tightening
the belts
- Pull out the top cassette.
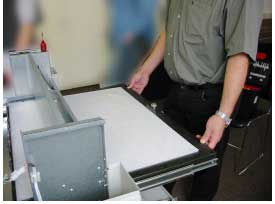
- Manually lower the XY bar until it firmly touches the frame on both
sides.
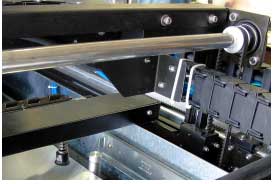
- Remove the retaining (compression) screws from the left and right
belt assemblies.
- Reinsert the tension screws, and tighten them about a half turn after
contact with the spring. Manually check the belt tension.
- Close the locking nut on the tension screws.
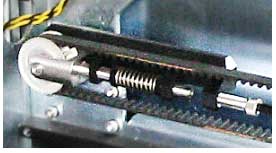
- Tighten the small motor belt by rotating the top screw, and then check
the belt tension with a belt tension jig.
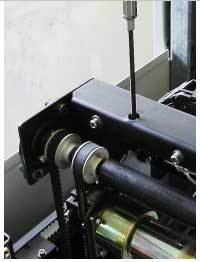
- Tighten the screws that secure the Y motor to the frame.
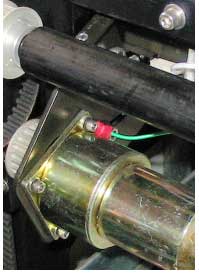
- Manually move the Y shaft up and down. Verify that the bar touches
the frame firmly on both sides at the same time.
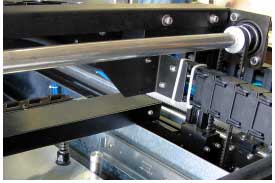
If good contact is made, the procedure for the Y shaft is complete.
If not, proceed to step 7.
- Open the four screws on both sides of the Y belt locker.
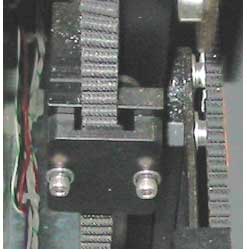
- Push the XY bar down hard on both sides so that they touch the frame
firmly. Re-tighten all four screws.
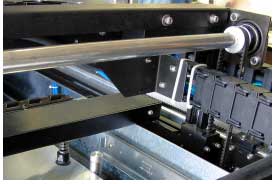
Adjusting parallelism of the X axis to the Cassette frame and tightening
the belts
Repeat the previous procedure for the X shaft, substituting positions
as appropriate.
Notes:
- To loosen the tension on the X motor belt, you must completly remove
the X motor.
- Loosen the belt tension before loosening the bearings.
- Use an L-shaped hex key to loosen the bearing coupling (the side frame
is in the way).
|

