

Home | Contact Us | Submit Troubleshooting Info | Search | Help
Output | Software Solutions | Proofing | Color, Screening and Calibration | Scanning | Digital Photography | Consumables | POS
Home | Contact Us | Submit Troubleshooting Info | Search | Help
Output | Software Solutions | Proofing | Color, Screening and Calibration | Scanning | Digital Photography | Consumables | POS
Description: The purpose of this FCO is to improve the reliability of the Cassette-Centering System by replacing the Centering Arms with a newly designed version.
|
Prepared By: Meir Dana |
FCO Kit No: 510F28442 |
|
Comp. Level: N/A |
Machine S/N: N/A |
|
Catalog No: N/A |
S/W Affected: N/A |
|
Type of Change: Conditional |
Estimated time to implement: 1.5hrs |
|
Product Mgr: Nir Halup |
Approval Date: |
|
Product Support: Meir Dana |
Approval Date:11 Apr 02 |
|
Customer Support Mgr: Assaf Zach |
Approval Date: |
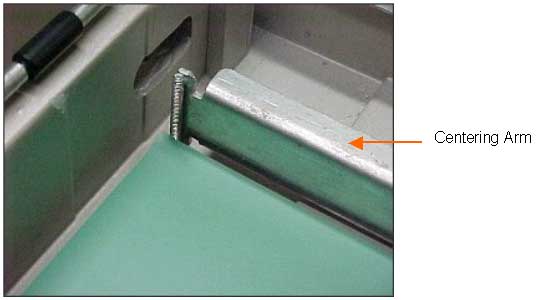
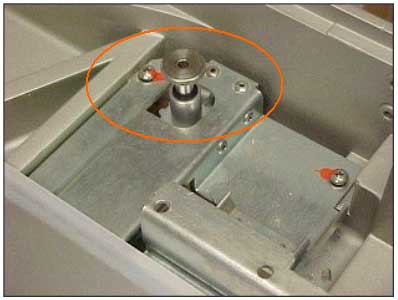
Note: The following steps describe the process of removing the old Centering Arms, and installing the new ones. Do not remove both at the same time. Remove and install one, then remove and install the other. The left and right Centering Arms are identical.
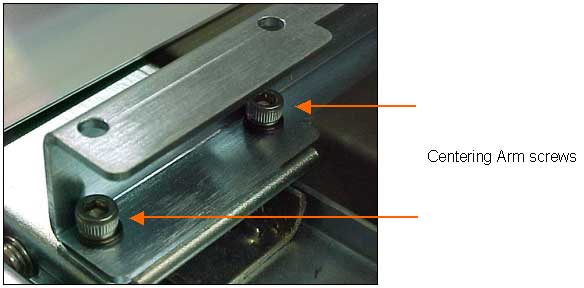
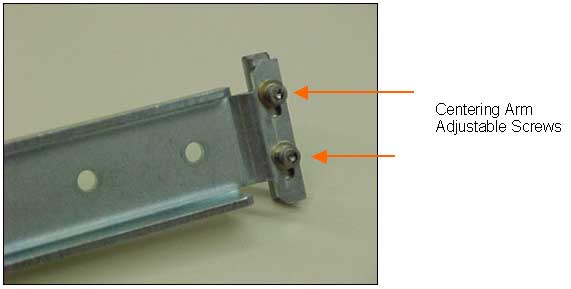
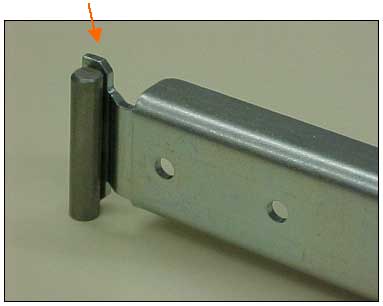
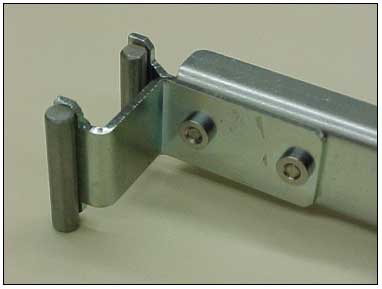
Upper Tray
In the upper tray, perform the same procedure as for the main compartment, with the following exceptions:
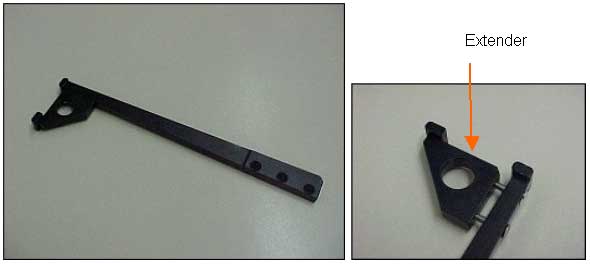
| PART | QTY | Description |
| 291A9B163 | 2 | DLC LOWER ARMS EXTENDER ASSY |
| 292B9B011 | 2 | DLC UPPER ANTI COLLISION |
| 293A7B881 | 2 | ADJUSTABLE DLC ARM ASSY |
| 374A00080 | 1 | PACKING LABEL-WHT |
| 391S70118 | 1 | RSC CARTON BOX 200X160X110 |
| 719-28442 REV. A | FCO DOCUMENT |
| CAM | : | 50 |
| CEU | : | 50 |
| CAP | : | 10 |
| CJN | : | 10 |
| CMA | : | 10 |
| Other | : | |
| No Limit |
Schedule supplies for first lots
D.U Month QTY Month QTY Month QTY CAM : May 50 CEU : May 50 CAP : May 10 CJN : May 10 CMA : May 10 Other :