Home | Contact Us | Submit Troubleshooting Info | Search | Help
Output | Software Solutions | Proofing | Color, Screening and Calibration | Scanning | Digital Photography | Consumables | POS
Home | Contact Us | Submit Troubleshooting Info | Search | Help
Output | Software Solutions | Proofing | Color, Screening and Calibration | Scanning | Digital Photography | Consumables | POS
Applies to |
|
Priority = Next failure | |||||||||||||||||||||||||||||||||||||||||||||||||||||||||||||||||||||||||||||||||||||||||||||||||||||||||
Component |
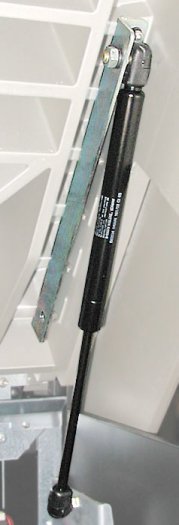
Front and rear door gas spring pistons | ||||||||||||||||||||||||||||||||||||||||||||||||||||||||||||||||||||||||||||||||||||||||||||||||||||||||||
Problem |
The currently installed pistons do not open the doors properly, or have become weakened. | ||||||||||||||||||||||||||||||||||||||||||||||||||||||||||||||||||||||||||||||||||||||||||||||||||||||||||
Solution |
Replace the pistons with stronger ones. | ||||||||||||||||||||||||||||||||||||||||||||||||||||||||||||||||||||||||||||||||||||||||||||||||||||||||||
Time needed to implement |
1.5 hours for front and rear doors | ||||||||||||||||||||||||||||||||||||||||||||||||||||||||||||||||||||||||||||||||||||||||||||||||||||||||||
Parts needed |
FCO Kit #512-00254 (Front Door "Gas
Spring" Omron Chassis Replacement Kit) includes the following parts:
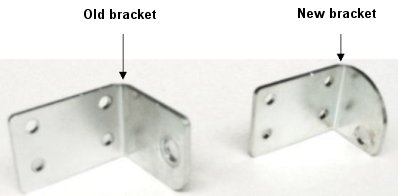
FCO Kit #512-00254A (Front & Rear Doors "Gas Spring" Old Chassis Replacement Kit) includes the following parts:
| ||||||||||||||||||||||||||||||||||||||||||||||||||||||||||||||||||||||||||||||||||||||||||||||||||||||||||
Special Tools needed |
Small screwdriver | ||||||||||||||||||||||||||||||||||||||||||||||||||||||||||||||||||||||||||||||||||||||||||||||||||||||||||
Procedure |
On all machines, replace front door
pistons.
On old machines only, replace rear door pistons in addition to front door pistons. Front door piston replacement procedure:
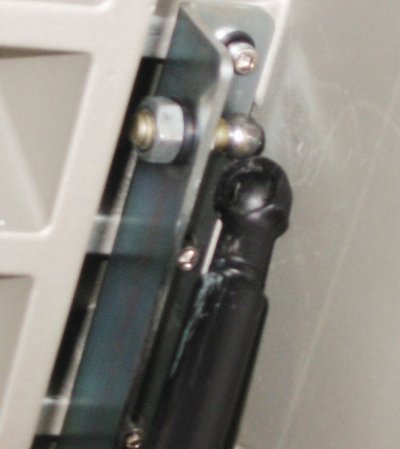
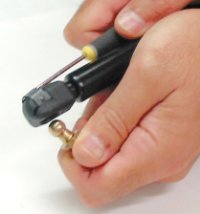
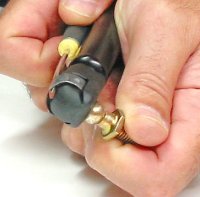
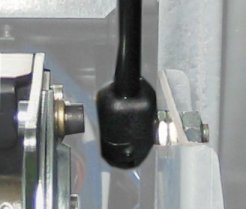
The piston is released from the machine.
Picture 2
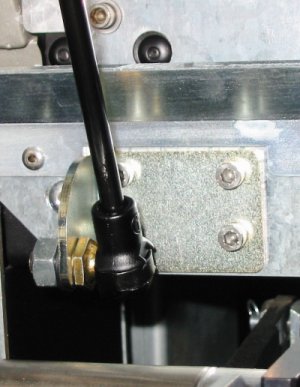
If the gap is less than 2mm, replace the upper bolt on the bearing housing of the XY loading system with the supplied screw (P/N 380X09070) from the FCO kit.
Picture 6 Rear door piston replacement procedure (old chassis only):
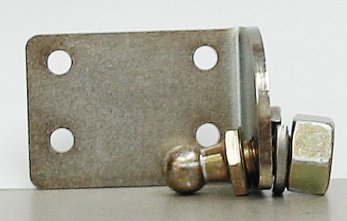
Picture 7 The upper ball head screw remains in the machine; the lower ball head screw is removed with the bracket.
| ||||||||||||||||||||||||||||||||||||||||||||||||||||||||||||||||||||||||||||||||||||||||||||||||||||||||||
Logistics |
Approved quantities:
Schedule supplies for first lots:
Lead Time: 20 days | ||||||||||||||||||||||||||||||||||||||||||||||||||||||||||||||||||||||||||||||||||||||||||||||||||||||||||
|
| |||||||||||||||||||||||||||||||||||||||||||||||||||||||||||||||||||||||||||||||||||||||||||||||||||||||||||
Technical contact |
Product Support Manager:Yaron Soffer | ||||||||||||||||||||||||||||||||||||||||||||||||||||||||||||||||||||||||||||||||||||||||||||||||||||||||||
Modified by |
|||||||||||||||||||||||||||||||||||||||||||||||||||||||||||||||||||||||||||||||||||||||||||||||||||||||||||
Date submitted |
24 Dec 2002 | ||||||||||||||||||||||||||||||||||||||||||||||||||||||||||||||||||||||||||||||||||||||||||||||||||||||||||