

Home | Contact Us | Submit Troubleshooting Info | Search | Help
Output | Software Solutions | Proofing | Color, Screening and Calibration | Scanning | Digital Photography | Consumables | POS
Home | Contact Us | Submit Troubleshooting Info | Search | Help
Output | Software Solutions | Proofing | Color, Screening and Calibration | Scanning | Digital Photography | Consumables | POS
There are two ways to set up the TCP/IP connection between the Brisque and the Lotem:
Recommended (long term solution)
Connect both the Brisque and the Lotem to the site network infrastructure.
Alternatively (interim solution)
Connect the Brisque directly to the Lotem PC Controller using the special network cross
cable (Cat#199A02132) supplied with the Lotem.
TCP/IP Connectivity via the Network (Recommended)
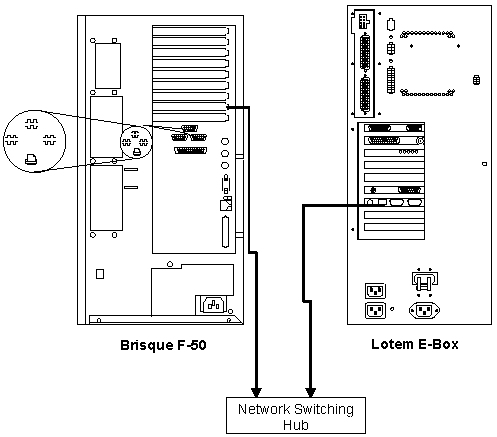
Figure 4-2: Brisque/Lotem Network Connections
Define IP address on Lotem PC Controller
 Control Panel Network TCP/IP and type in the IP address for the
PC controller.
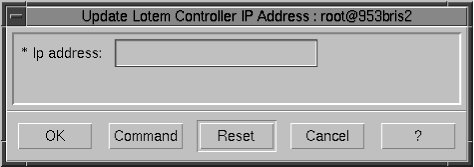
Define IP address on the Brisque
Update Lotem Controller IP Address.
TCP/IP Connectivity-Direct Link (Alternative)
Note: The PC controller and the Brisque must have individual IP addresses.
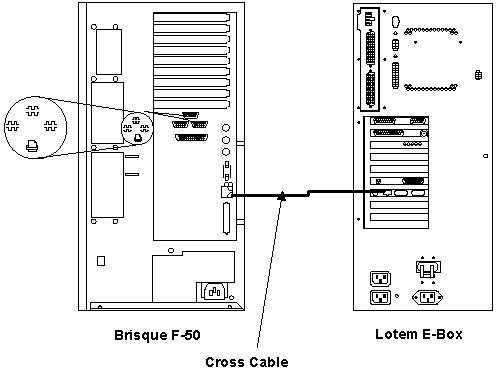
Figure 4-3: Brisque to Lotem Direct Link
Define IP address on Lotem PC Controller
Control Panel Network TCP/IP and type in the IP address for the
controller.Define IP address on the Brisque
Update Lotem Controller IP Address.
TCP/IP
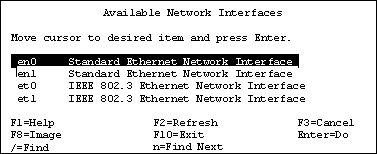
Minimum Configuration. The Available Network Interfaces window
opens.
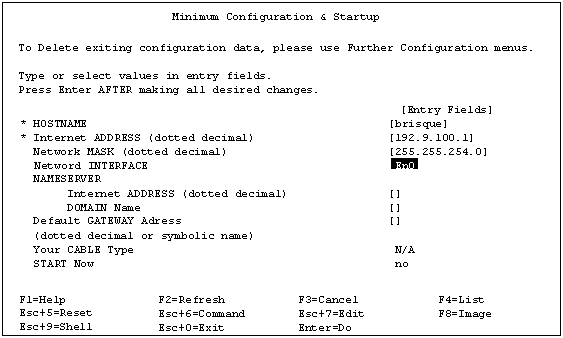
Note: Open a terminal and ping the IP Address of the PC Controller to verify connectivity.
Verifying Connectivity
Expose, to verify that the cable connections have been correctly installed
and that the Lotem application is running on the PC Controller.
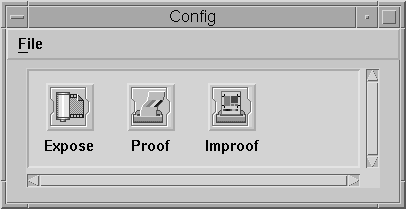
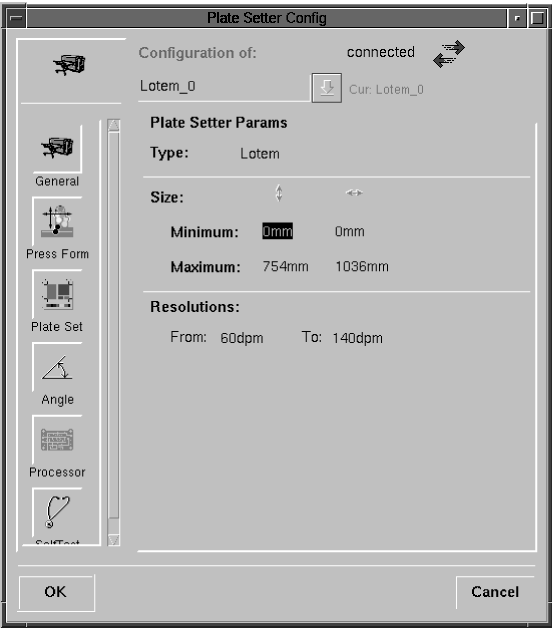
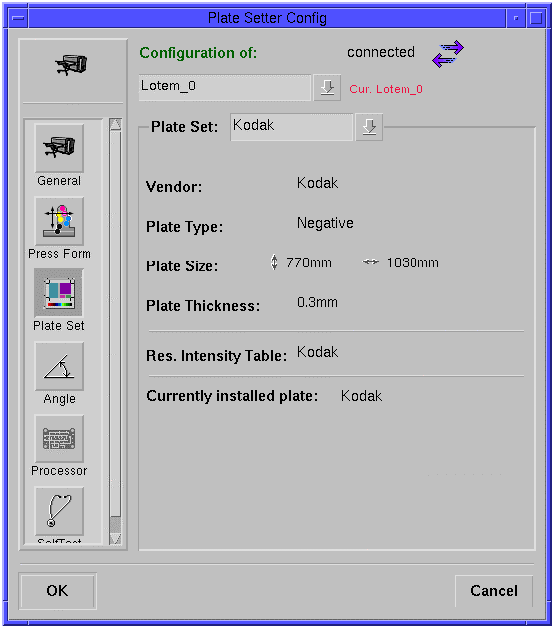
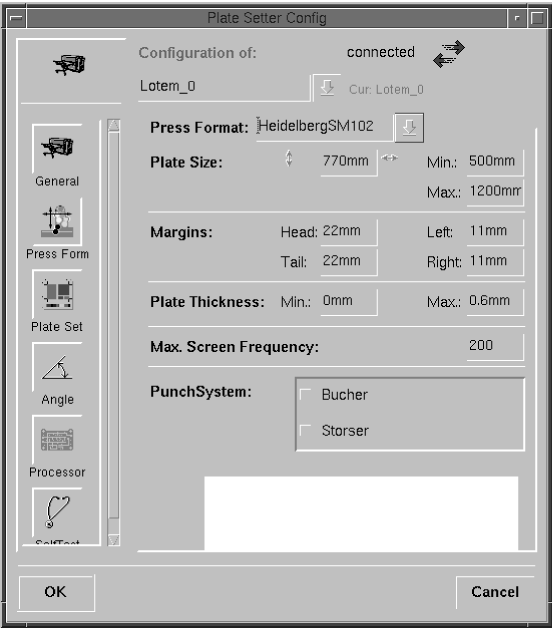
New to define your plate format
(if this has not been defined on the Brisque).
Copyright (c)1998 Scitex Corporation Ltd. All rights reserved. Certain names, logos, designs, titles, words or phrases on this page may constitute trademarks, servicemarks, or tradenames of CreoScitex Corporation Ltd. or other entities which may be registered in certain jurisdictions.