Home | Contact Us | Submit Troubleshooting Info | Search | Help


    Output | Software Solutions | Proofing | Color, Screening and Calibration | Scanning | Digital Photography | Consumables | POS


Removing and Replacing Balance Weights

Prepared By: Dennis Kaliser
Date: January 2002

Procedure:

Tools

Removal of a Balance Weight

  1. Remove the rear panel using a 3/16" Allen wrench.
  2. Remove the Unload tray with a 5/32" Allen wrench.

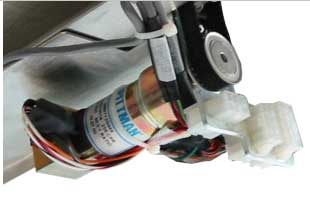
Remove the three molex connectors linking the tray to the machine.

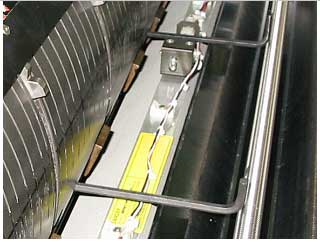
  1. Bring the stopper pins on the drum ends to an accessible position by turning the drum to its approximate home position. The head grippers will be opposite the lead screw.
  1. Hold the drum in place. If working alone, place two ½" Allen wrenches in the drum mounting holes and let the drum rest gently on the Allen wrenches which in-turn, sit on the V block.
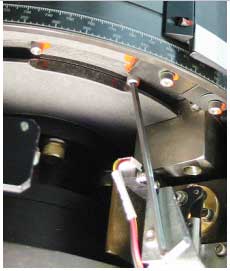
  1. Remove the stopper nut with a 9/64" Allen.
    1. Be careful not to drop the nut. It is very hard to recover if dropped along the side of the drum
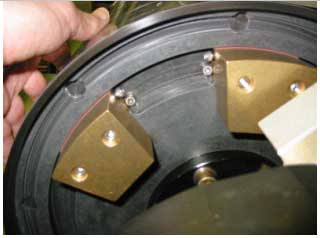
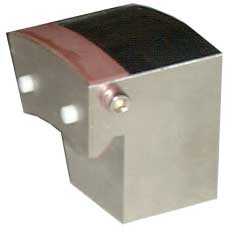
  1. Slide the weight out of the channel.


Replacement of a Balance Weight

  1. Slide the weight back in the channel
  2. Replace the stopper nut.
    1. Use Red Locktight
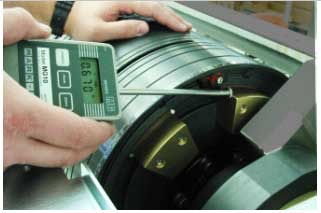
  1. Check the tension of the balance weight in the channel with a tension meter if you have one. If not, before removing the weight, move each of the weights in their channels to get a "feel" for how much tension is normal. Adjust tension of the replaced balance weight by tightening or loosening the tension screws.
  1. Remove the ½" Allen wrenches holding the drum in place.
  2. Replace the unload tray and rear panel.

    Copyright © 2005 Creo Inc. All rights reserved. Confidential. Back to top.