

Home | Contact Us | Submit Troubleshooting Info | Search | Help
Output | Software Solutions | Proofing | Color, Screening and Calibration | Scanning | Digital Photography | Consumables | POS
Home | Contact Us | Submit Troubleshooting Info | Search | Help
Output | Software Solutions | Proofing | Color, Screening and Calibration | Scanning | Digital Photography | Consumables | POS
Rollers and clips may be replaced individually without removing the upper roller
assembly. However, it takes a fair amount of dexterity to do so.
If you have to replace may rollers and clips, it is best to first remove the
entire upper roller assembly. Follow the Drum System | Upper Roller Assembly
| Replacement procedure.
Note: This procedure is relevant to both lower and upper Roller Assemblies.
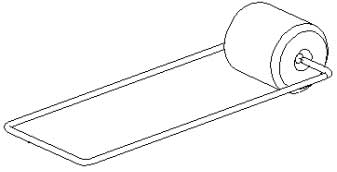
Replacing Rollers
|
 |
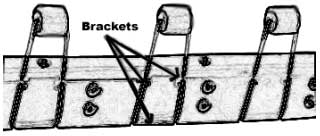
Replacing Clips
|
 |