

Home | Contact Us | Submit Troubleshooting Info | Search | Help
Output | Software Solutions | Proofing | Color, Screening and Calibration | Scanning | Digital Photography | Consumables | POS
Home | Contact Us | Submit Troubleshooting Info | Search | Help
Output | Software Solutions | Proofing | Color, Screening and Calibration | Scanning | Digital Photography | Consumables | POS
The current optical paper/plate detector can be difficult to adjust, especially when paper is highly reflective. In this case, the amount of reflection is nearly identical from both plate and paper, PDI plates in particular.
| Perform XY init. (Hardware/Loading System/Loading System) - Left Double Click |
 |
Open the cassette cover and the front door.
Make sure there is a plate in the cassette.
In the first loading sequence (from cassette to punch entry),
activate the "Ask before do" option in the GUI.
(Right click on Loading System then double left click on Load from Cassette
to Punch Entry Task.)
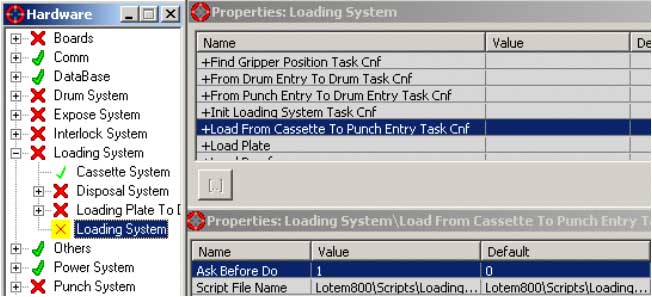
Make sure a tilted paper/metal detector is installed. For details see the Paper/Metal detector installation procedure
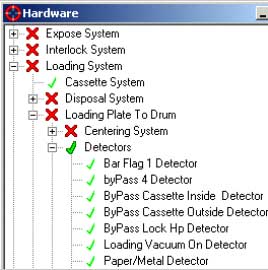
Open the following windows in the GUI:
Paper / Metal Detector.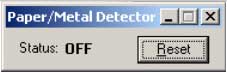 |
 |
| Y Motor. | 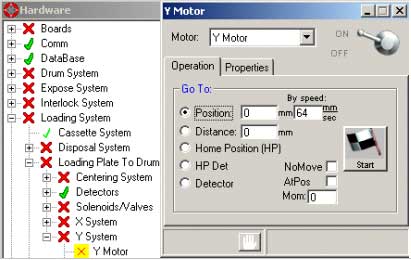 |
| Bar Flag 1 Detector. | 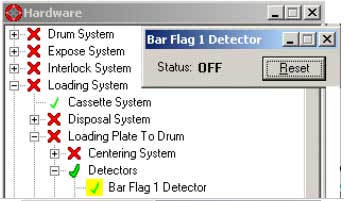 |
| Perform a loading sequence (step a) until the bar flag is detected.Remember that the "ask before do"has been turned on. | 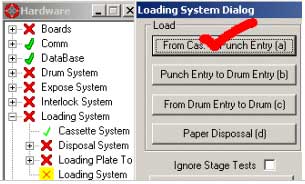 |
| Abort the loading sequence. | 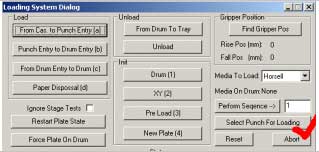 |
| Press the yellow safety button in. By hand, Lower the X-Y bar onto the plate. Apply a little 'extra' force so the suction cups will be fully compressed against the plate. While in this position, adjust the SENS screw gently. At this point, the red led should be on and the green led should flicker. | 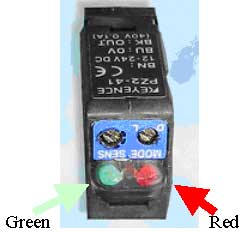 |
|
Press the yellow button again disengaging it.
|
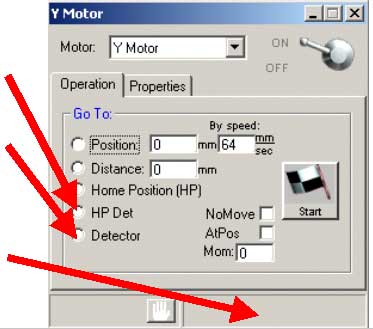 |
Send the Y motor to H+12 (mm).
Note that H+12mm should be as far down as the bar can go.
Note: Make sure the paper metal detector status does not change. If it does, then repeat the above procedure starting with lowering the XY bar to the plate.
Send the Y motor to H.P. The detector status should change to off
Send the Y motor down in incremental steps of 7 (mm),
until the paper/metal detector detects a plate. (Status On)
|
ON = Plate OFF = Paper |
Send the Y motor back up in 1 (mm) incremental steps until the detector changes
status again from On to Off. Write down the motor value, call this value A. Calculate
B where:
B = H-A
Calculate the "Tilted Paper Metal Detector Y relative position" using
the following formula. Y = "Tilted Paper Metal Detector Y relative
position
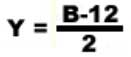
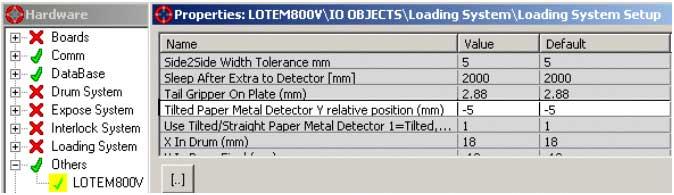
Write the calculated value into the registry as follows:
For the LOTEM 800 under:
Utilities\Hardware\Loading System\Loading System\Loading System Setup\
Tilted Paper Metal Detector Y relative position = Y.
For the LOTEM 400 under:
Utilities\Hardware\Loading System\Loading System\Loading System
Setup\
Y Relative to read papermetal detector = Y.
Close all opened dialogs.
De-activate the "Ask before do" option in the GUI.
Paper/Metal adjustment diagram
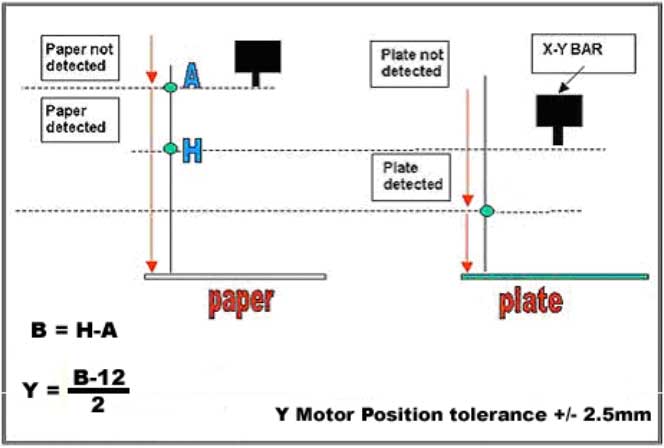
Y - Tilted Paper Metal Detector Y relative position.
H - Y motor position when bar flag is on.
A - Paper detection Changing point.
Test Procedure
Check readings with all types of plates and papers used by customer.
Verify that correct readings are obtained also when the suction cups are 1-2 cm away from the paper or plate.
Perform loading and unloading from all plate sizes and thicknesses.