Home | Contact Us | Submit Troubleshooting Info | Search | Help


    Output | Software Solutions | Proofing | Color, Screening and Calibration | Scanning | Digital Photography | Consumables | POS


Removing and Replacing an Older XY System

Prepared By: Dennis Kaliser
Date: November 2001

  1. Open top front and Top rear doors. Remove Cassette unit and the front panel.
  2. Left side

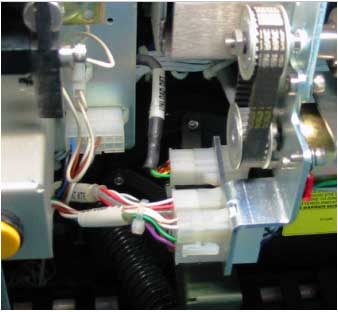
    1. Disconnect Molex connector coming from the yellow safety button to the frame.
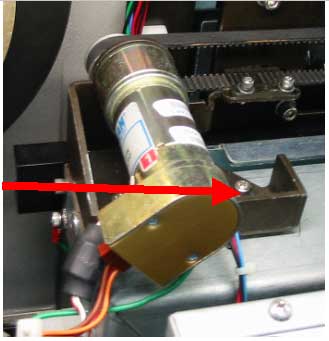
    1. Loosen, but do not remove,
      screws from X motor mounting bracket.

    2. Remove the closer of the two screws
      on the X motor mounting bracket so
      as to pivot the mount and release the X belt
      from the X motor sprocket.
  3. Right side

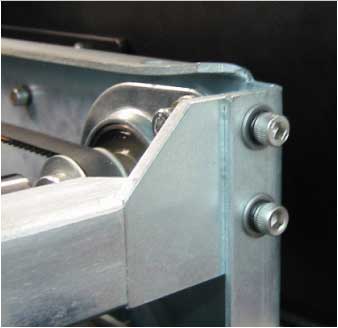
    1. Loosen the rear bracket holding the sprocket for the X belt. Remove the farther of the two screws and rotate the bracket to loosen the belt.
      Move the belt off the sprocket.
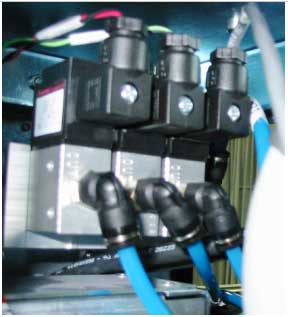
    1. Remove the air hoses from the vacuum manifold (3up, 8up, 4 up). Note which hose goes to which valve.
    1. Remove the green ground wire from the Vacuum regulator housing.
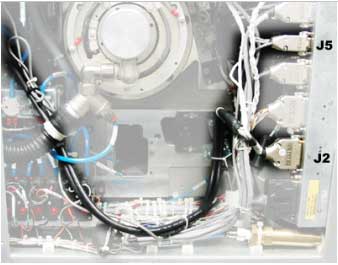
    1. Carefully cut any wire-ties from the cable path going from the vacuum manifold to the J5 and J2 connectors on the Local box and continuing on via 3 cables leading to the unload tray in the rear of the machine.
    2. Disconnect J2 and J5 from the local board
  4. Back of machine

    1. Remove the three Molex connectors from the unload tray including connections to the unload detector (gray cable) and unload motor. Cut any cable-ties holding the Molex connectors together.
  5. Right front of machine.

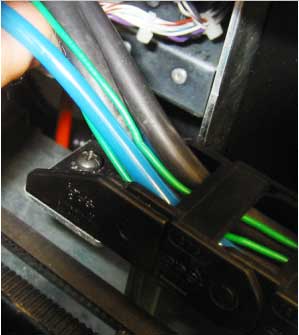
    1. Pull the loosened cables and hoses from the rear and right side of the machine to the XY chain guide. Do not disassemble the chain guide. Remove only the Phillips #2 screw holding the chain guide to the frame.
    2. All cables and hoses linking the XY system to the machine are now removed.
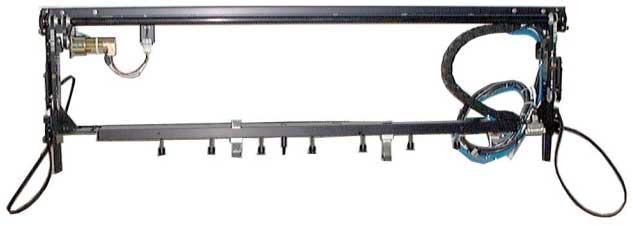
  6. Remove the XY assembly as follows.

    1. Remove the four screws holding front bar using a 5/32" Allen.
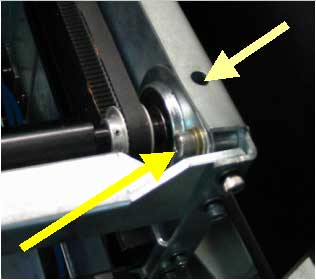
    1. Loosen the setscrews on the ends of the X shaft.
    2. Remove the screws holding the bearing clamps on both sides using a 3/16" Allen.
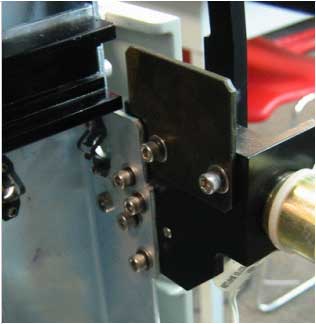
  1. Remove the plates attached to the top of the cassette piston brackets. Note that the plates block the side channels of the XY system
  1. Slide the entire XY assembly out of the machine along the X rails.
  2. Replace the XY assembly in reverse order to the disassembly process.
  3. Be sure to replace cable ties keeping all wires and hoses neatly arranged.

    Copyright © 2005 Creo Inc. All rights reserved. Confidential. Back to top.