

Home | Contact Us | Submit Troubleshooting Info | Search | Help
Output | Software Solutions | Proofing | Color, Screening and Calibration | Scanning | Digital Photography | Consumables | POS
Home | Contact Us | Submit Troubleshooting Info | Search | Help
Output | Software Solutions | Proofing | Color, Screening and Calibration | Scanning | Digital Photography | Consumables | POS
Notes
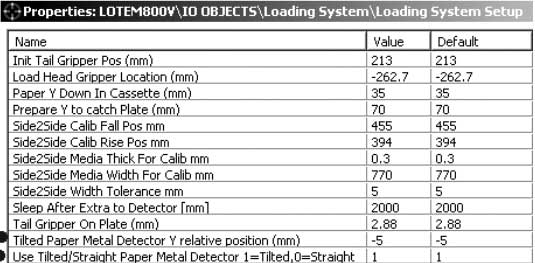
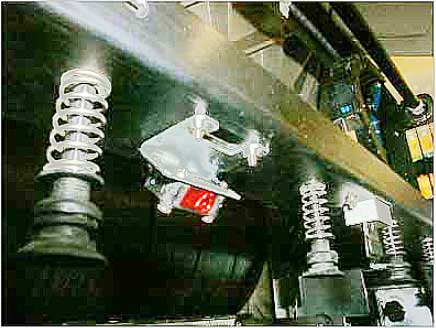 |
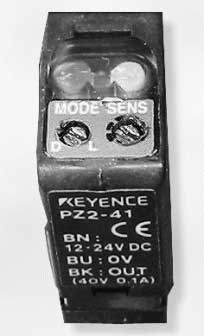 |
Note: if there is a significant difference between them (more than ±1mm)
then continue the procedure:
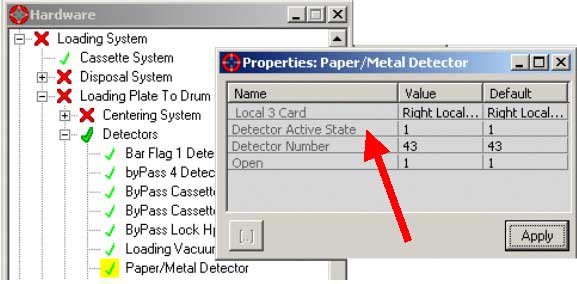
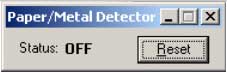 |
ON = Plate OFF = Paper |
|
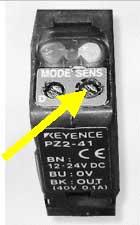 |
Readings should be "On" (green LED on) for plates and "Off"
for paper.
Press the yellow safety button in and Lower the X-Y bar by hand on a plate while
applying 'extra' force so that the suction caps are fully compressed against
the surface.
In this condition the green led should start flickering which indicates proper
adjustment.