

Home | Contact Us | Submit Troubleshooting Info | Search | Help
Output | Software Solutions | Proofing | Color, Screening and Calibration | Scanning | Digital Photography | Consumables | POS
Home | Contact Us | Submit Troubleshooting Info | Search | Help
Output | Software Solutions | Proofing | Color, Screening and Calibration | Scanning | Digital Photography | Consumables | POS
Description
This FCO explains how to replace the Load/Unload tray to enable easy access
for cleaning
the nozzle.
|
Prepared By: Yaron Soffer |
FCO Kit No: 510F27849A |
|
Comp. Level: |
Machine S/N: |
|
Catalog No: |
S/W Affected: no |
|
Type of Change: Mandatory |
Total Number of Pages: 4 |
|
Product Mgr: Yehuda Solomon |
Approval Date: |
|
Product Support: Yaron Soffer |
Approval Date: |
|
Customer Support Mgr: Assaf Zach |
Approval Date: |
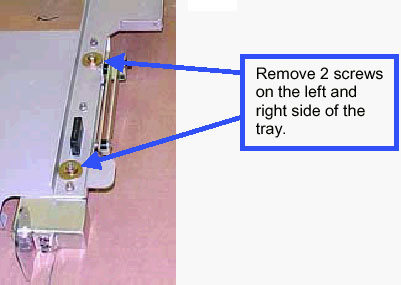
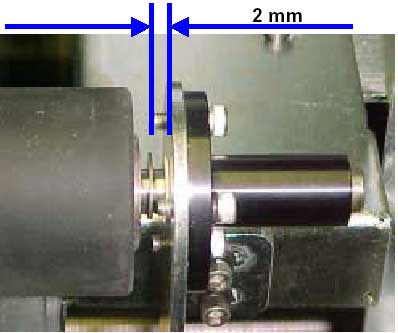
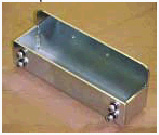
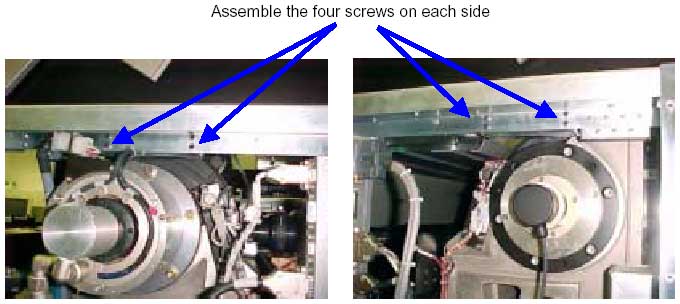
6. Open both side doors and install the brackets with four screws ,one on each
side.
7. Place the new tray inside the machine and secure two shaft screws on each
side of tray.
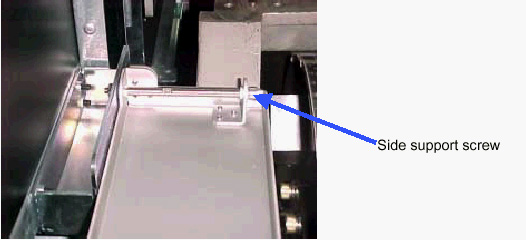
8. Secure the tray with the same four screws from the old tray, two on each
side.
9. Remove both the interlock finger brackets and install the new ones.
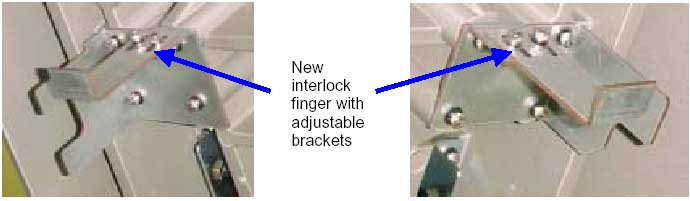
10. Pull the adjustable brackets all the way down and tighten them moderately.
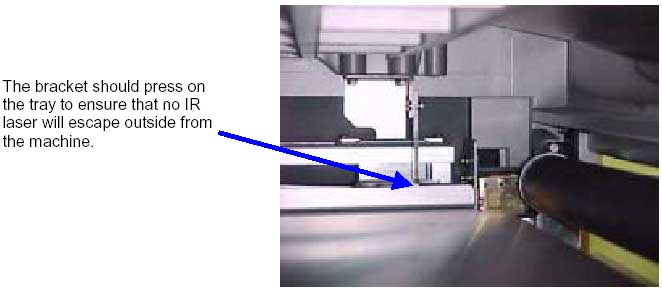
11. Gently close the door and the brackets will be pushed to their correct position.
12. Open the door carefully and tighten the brackets securely.
| PART | Description | QTY |
| 507F3E535 | UNLOAD. SYSTEM ASSY FLEXO | 1 |
| 290A6B654 | SECURE LEG | 2 |
| 290A6B655 | INTERLOCK ADAPT-I(FLEXO) | 1 |
| 290A6B656 | INTERLOCK ADAPT II(FLEXO) | 1 |
| 290A6A777 | Support brackets | 2 |
| 380A06061 | Screw 10-32*1/2" | 8 |
| 382A13000 | FLAT WASHER STST #10S | 8 |
| 382D13000 | SPRING L/W ST ST #10 | 8 |
|
CSA |
: |
1 |
|
CSE |
: |
2 |
|
CSAP |
: |
1 |
|
CSN |
: |
1 |
|
CSMA |
: |
0 |
| Other | : | 0 |