Home | Contact Us | Submit Troubleshooting Info | Search | Help


    Output | Software Solutions | Proofing | Color, Screening and Calibration | Scanning | Digital Photography | Consumables | POS


Field Change Order 512-00336A: ThermoFlex Mid II Clutch and Slow Motor Assembly


Applies to


Kodak Thermoflex
Mid II platesetter

Priority = Next failure
Release date = 10 Jan 2006

Problem


The set screw in the inner shaft of the clutch becomes loose, causing the clutch to slide and to stop the drum rotation for loading.

Solution


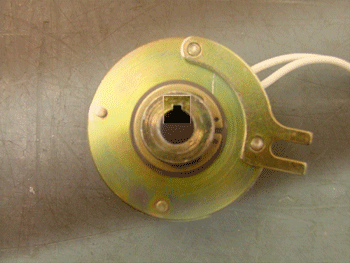
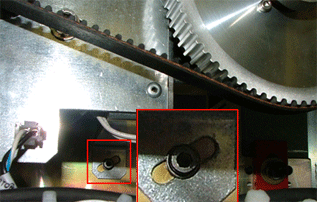
Remove the clutch and slow motor assembly and install the new clutch and slow motor assembly. This assembly has an updated axis with a groove that matches the groove in the inner section of the clutch. A dowel in the groove holds the two parts firmly together.


Clutch with groove

Axel with groove


Dowel

Parts needed

 
Part number Description
Quantity
514-00125B Clutch and slow motor assy
1
651-00518A FCO updater diskette
1
719-00620A Rev E FCO document
1


Procedure


Replace the clutch assembly

  1. Open the left side door.
  2. Exit ThermoFlex Controller, turn off the platesetter, and disconnect the power.
  3. Remove the three screws on the left inner panel and remove the panel.
  4. Remove the screw from the bottom of the assembly. In addition to holding the assembly in place, this screw controls belt tension.
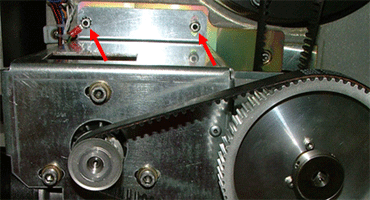
  5. Remove the two screws on top of the assembly, and remove the assembly.
    Note: Keep your hand underneath the assembly to catch it.
  6. Remove the clutch assembly.
    Note: Make sure that the belt in back is released.
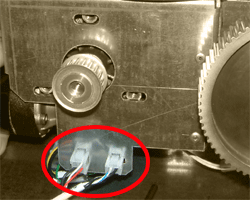
  7. With the needle-nose pliers, squeeze the two clutch wiring connectors so that you can release them from the assembly.
  8. Insert the new clutch assembly.
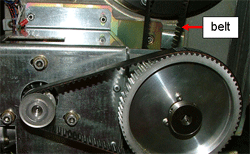
  9. Assemble the belt on the gear.
  10. Insert the bottom screw on the clutch assembly, and tighten this screw to adjust the belt tension.
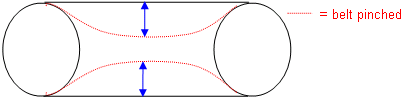
    To ensure correct tension, you should not be able to pinch the belt more than a total of 5 mm.
  11. Insert and tighten the two upper screws in the clutch assembly.
  12. Connect the two clutch wiring connectors.
  13. Insert the left inner panel and secure it with the three screws that you removed in step 3.
  14. Close any open panels and doors.

When done

 
  1. Turn on the platesetter and start the Controller application.
  2. Important: Run the slow motor for 20 minutes before you start working with the platesetter.
  3. Load a plate, and check that during loading, the drum moves smoothly and stops as required.
Technical contact
 

Viki Arviv

Date submitted
 

10 Jan 2006

   
Doc no. 719-00620A Rev. E


    Copyright © 2005 Creo Inc. All rights reserved. Confidential. Back to top.