Home | Contact Us | Submit Troubleshooting Info | Search | Help


    Output | Software Solutions | Proofing | Color, Screening and Calibration | Scanning | Digital Photography | Consumables | POS


Replacing the Fan on ThermoFlex Mid II


Product


ThermoFlex® Mid II


Background


This document describes how to replace the floating and vacuum fans.


Procedure

 
  1. In Controller, from the Routine Functions menu, click the Open Service Door button.
  2. Exit Controller, turn off the platesetter, and disconnect the power.
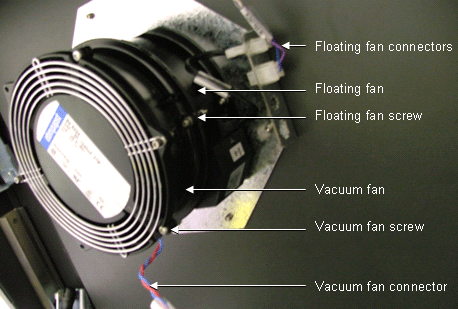
  3. Disconnect the vacuum fan wiring connector and the floating fan wiring connector from the harness.
  4. Remove the hex screws from the vacuum fan and remove the vacuum fan.
  5. Remove the hex screws from the floating fan and remove the floating fan.
  6. Install the floating fan with the arrow pointing toward the loading table and insert and tighten the hex screws.
  7. Install the vacuum fan with the label facing outward as shown following, and insert and tighten the hex screws.
  8. Connect the fan wiring connectors.
  9. Close the service door.
  10. Connect the power, turn on the platesetter, and start up Controller.

Images


Test

 
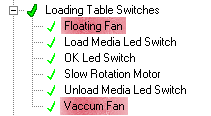
  1. In Controller, select Loading System > Loading Table System > Loading Table Switches.
  2. Click Vacuum Fan and verify that air flows from the loading table downward.
  3. Put a plate on the loading table, click Floating Fan, and verify that the air causes to plate to float.
Technical contact(s)
 

Content owner: Viki Arviv
See the Escalation page for escalation contacts.

Date submitted
 

24 Feb 2005


    Copyright © 2005 Creo Inc. All rights reserved. Confidential. Back to top.