Home | Contact Us | Submit Troubleshooting Info | Search | Help


    Output | Software Solutions | Proofing | Color, Screening and Calibration | Scanning | Digital Photography | Consumables | POS


Replacing the Spreader on ThermoFlex Mid II


Product


ThermoFlex® Mid II


Background


This document describes how to replace the spreader assembly.


Procedure

 
  1. Open the right and left doors.
  2. Open the loading table.
  3. Exit Controller and turn off the platesetter.
  4. Remove the front inner panel:
    1. Press the Open Panel button on the operation bar to open the front panel.
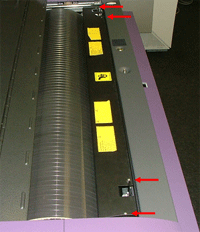
    2. Remove the two screws on each side of the front inner panel, and remove the panel.
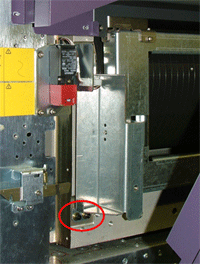
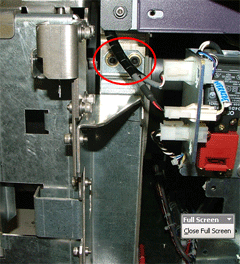
  5. Remove the four screws from the spreader bracket on each side and remove the bracket and spreader.

    Left bracket bottom screws / Right bracket top screws
    Note: Remove the bottom screws first so that the spreader doesn't fall on you.
  6. Remove the spreader and insert the new spreader.
  7. Install each of the side brackets and secure them with the screws that you removed in step 5.
  8. Install the front inner panel and secure it with the screws that you removed in step 4.
  9. Close the front panel.

Test


Activate the spreader and verify that it touches the drum. If the spreader does not touch the drum, adjust its position.


Technical contact(s)
 

Content owner: Viki Arviv
See the Escalation page for escalation contacts.

Date submitted
 

15 Mar 2005


    Copyright © 2005 Creo Inc. All rights reserved. Confidential. Back to top.