Home | Contact Us | Submit Troubleshooting Info | Search | Help


    Output | Software Solutions | Proofing | Color, Screening and Calibration | Scanning | Digital Photography | Consumables | POS


Replacing the drum encoder on Magnus 400


Product

 
  • Kodak® Magnus™ 400 LDA
  • Kodak Magnus 400 Quantum

Background


When the drum encoder cannot identify the drum position or sends the drum motor to the wrong drum position, you need to replace it. This procedure describes how to replace the drum encoder and adjust the index so that it is positioned correctly around the the drum.

Note: If the drum encoder is not adjusted to the correct location, it can affect the start image location around the drum.


Procedure


Before You Begin

  1. Open the front and left-side doors and the rear panel of the platesetter to enable access to the drum encoder.
  2. Manually move the tail gripper to the preload position.
  3. Rotate the drum until the actuator presses the tail gripper in preload position, as shown below.


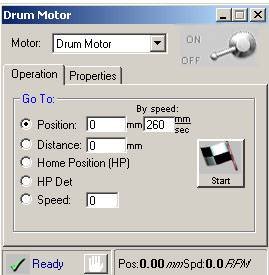
  4. In the Magnus 400 Controller software, select Utilities > Hardware > Drum System and double-click Drum Motor.


  5. In the Drum Motor dialog box, record the position of the drum that appears in the lower right side of the dialog box.

    The drum position should be 208, with a ±0.5 mm deviation.

Removing the Drum Encoder

  1. Quit the Magnus 400 Controller software and shut down the platesetter.
  2. Verify that the rear door of the platesetter is open.
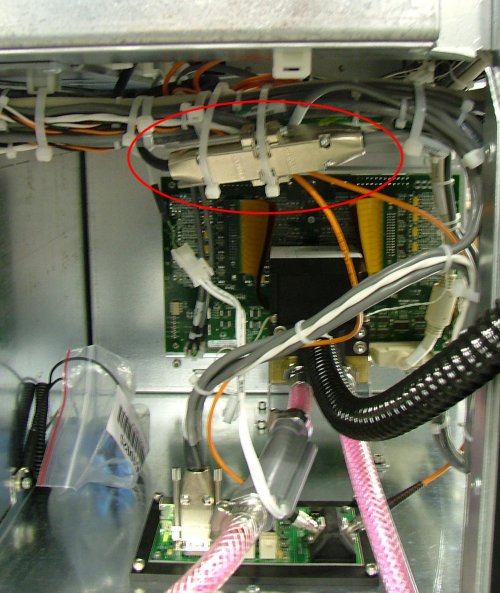
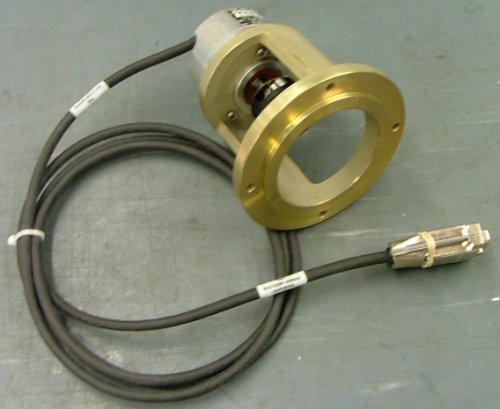
  3. Disconnect the silver encoder cable connector and remove the tie-wraps that secure the encoder cable to the cable harness.


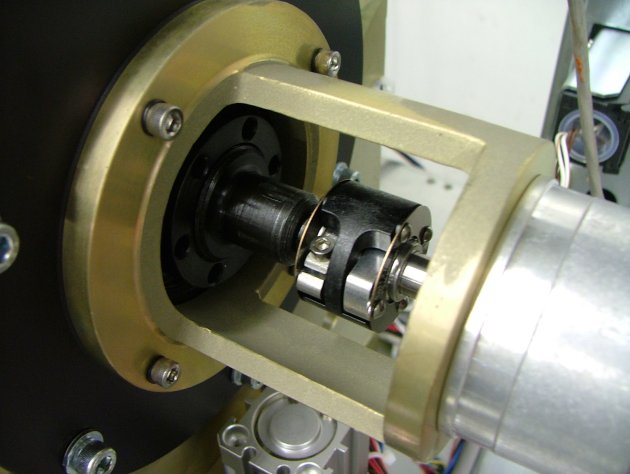
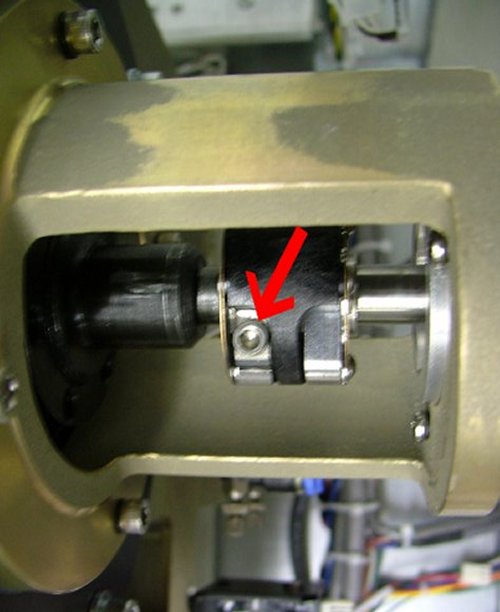
  4. On the coupling between the drum and the encoder, use a 3-mm hex key and loosen the left encoder screw (nearest the drum).


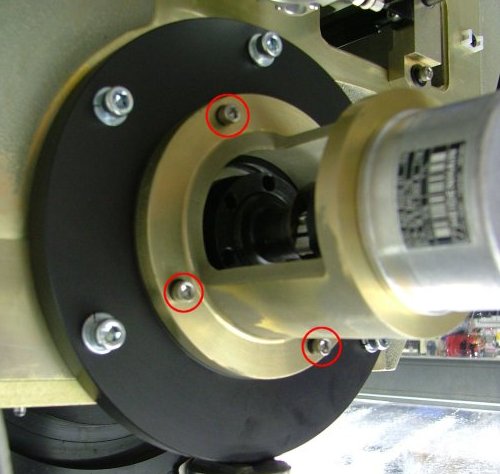
  5. Remove the four screws that secure the drum encoder to the drum and remove the encoder.

Installing the Drum Encoder

  1. Using a 3 mm hex key, loosen the left encoder screw, but do not remove it.
  2. With the drum cable facing down, insert the four screws that secure the drum encoder to the drum, and tighten.
  3. Connect the silver drum encoder cable connector to the encoder cable, and then connect the encoder cable to the cable harness and secure it with tie-wraps.
  4. Press the gripper actuator solenoid on the manifold to manually rotate the drum until the tail gripper presses the actuator at the preload position.


  5. Using a 3 mm hex key, tighten the left encoder screw on the encoder coupling.
  6. Turn on the platesetter.
  7. In the Magnus 400 Controller software, select Utilities > Hardware and double-click Drum System.
  8. Activate the tail gripper actuator on the tail gripper.
  9. In the Drum Motor dialog box, verify that the drum position is 208, with a ±0.5 mm deviation.

Test

 
  1. After you adjusted the location of the drum encoder, send the drum to home position.
  2. Perform drum init.
  3. Verify the preload drum position is 208, with a ± 0.5 mm deviation.

Technical contact
 

Content owner: Alon Davidor
See the Escalation page for escalation contacts.

Date submitted
 

19 Feb 2007


    Copyright © 2005 Creo Inc. All rights reserved. Confidential. Back to top.