| |
This procedure includes the following sections:
Before you begin
- In the Magnus 400 Controller software, open the front and right side
doors.
- Quit the Magnus 400 Controller software, and turn off the platesetter.
Removing the current COM board
- On the right side of the platesetter, remove the screws that secure
the PC cover to the PC, and remove the cover.
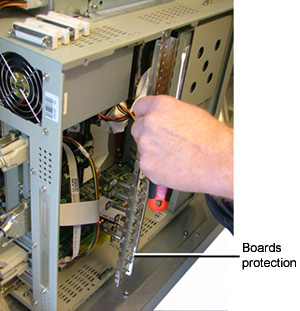
- On the PC, remove the boards protective shield.
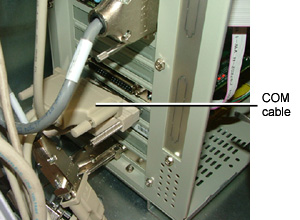
- At the rear of the PC, disconnect the COM cable.
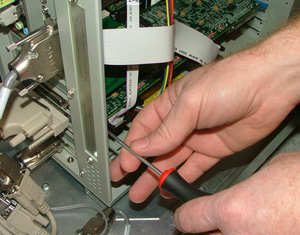
- Disconnect all the remaining cables from the rear of the PC.

- Remove the COM board.
Installing the improved COM board
- On the PC, in slot 5, install the new COM board.
Note: The new COM board is much smaller than the earlier model
COM board.
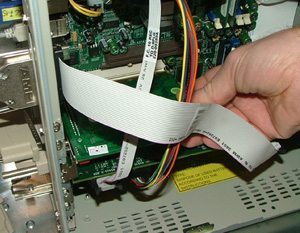
- At the rear of the PC, connect the COM cable harness to the COM board
port.
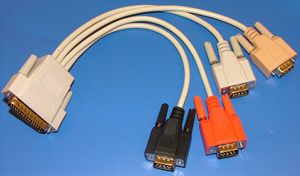
The COM cable harness contains the following cables:
| COM Cable |
Connects to |
Connector Color |
| COM1 |
PC |
Black
|
| COM6 |
Edge detection |
Red
|
| COM7 |
P3 |
Orange
|
| COM8 |
P4 |
Gray
|
- Turn on the platesettter, but do not start the Magnus 400 controller
software.
Installing the COM board driver
After you install the improved COM board in the computer, you need to
install a device driver for it.
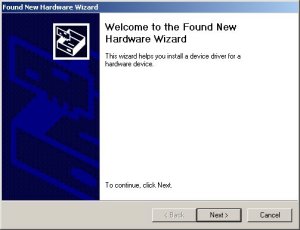
- When a new hardware device is installed on the computer, the Found
New Hardware Wizard automatically appears. Click Next.
Note: If the wizard does not appear, on the Magnus 400 Controller
workstation desktop, double-click My Computer, and perform steps
6a to 6c.
The COM board driver is installed automatically.
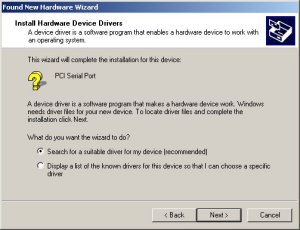
- In the Install Hardware Device Drivers screen, to locate a device
driver for the PCI Serial Port device, select Search for a suitable
driver for my device (recommended), and click Next.
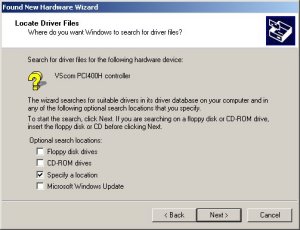
- in the Locate Drivers Files screen, select the CD-ROM drives
check box, and click Next.
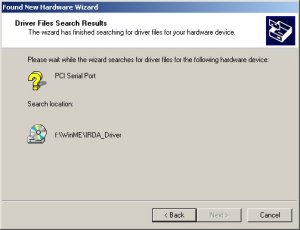
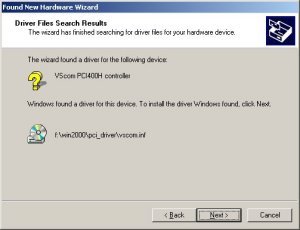
- After the wizard locates a suitable driver file for the PCI Serial
Port hardware device, the Driver Files Search Results screen appears
with the path to the selected device driver. Click Back.
- In the Locate Driver Files screen , locate a device driver for the
VScom PCI400H controller. Select Specify a location, and click
Next.
- Select the folder where the driver is located:
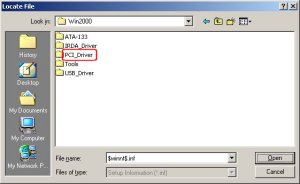
- When the Locate File dialog box appears, select Win2000,
and click Open.

- In the Locate File dialog box, in the Win2000 folder, select
PCI_Driver, and click Open.
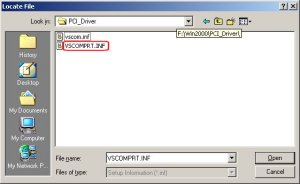
- In the Locate File dialog box, in the PCI_Driver folder,
select VSCOMPRT.INF, and click Open.
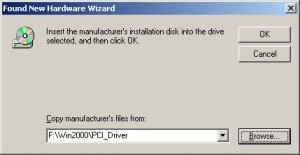
- When the following dialog box appears, insert the Magnus 400 Controller
software CD into the CD-ROM drive, and click OK.
- When the Microsoft Windows® operating system locates
a driver for the VScom PCI400H controller hardware device, in the
Driver Files Search Results screen, click Next.
Windows copies the driver files to the appropriate location.
Assigning a port
- On the Magnus 400 Controller workstation desktop, right-click My
Computer, and select Properties.
- In the System Properties dialog box, on the Hardware tab, select
Device Manager.
- In the Device Manager window, double-click VScom Multi IO cards.
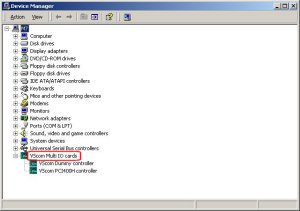
- Right-click VScom PCI400H controller, and select Properties.
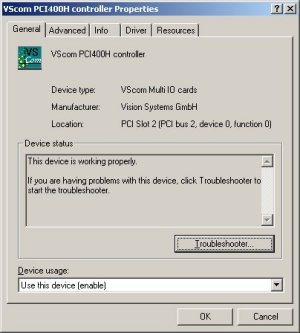
- In the VScom PCI400H controller Properties dialog box, select the
Advanced tab and in the Port(s) for this card box, double-click
Serial1 –> COM4.
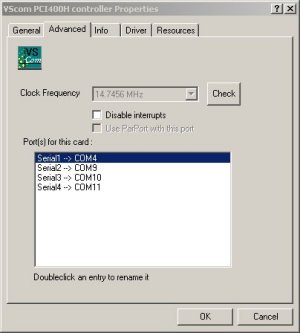
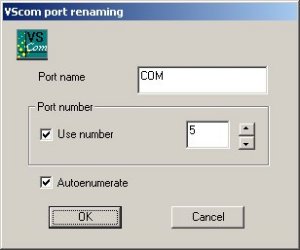
- In the VScom port renaming dialog box, in the Port number box,
change the port number from 4 to 5, and click OK.
- Close all dialog boxes, and turn off the platesetter.
Completing the installation
- Turn on the platesetter, and start the Magnus 400 Controller software.
|

