| |
This procedure includes the following sections:
Before you begin
- In the Magnus 400 Controller software, open the rear door.
- Quit the Magnus 400 Controller software, and shut down the platesetter.
- Open the right side door.
- At the rear of the platesetter, remove the unloading tray.
- On the right side of the platesetter, remove the four screws that
secure the side panel to the mainframe, and set the screws and panel
aside.
Removing the drum motor
- On the drum motor and drum motor connectors bracket, disconnect all
connectors.
- To enable access to all six drum motor hex screws, on the drum motor
connectors bracket, remove the lower screw that secures the drum motor
connectors bracket to the drum motor.
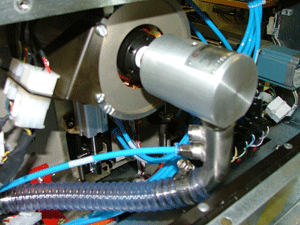
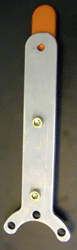
- To hold the drum in place, use the drum holder assembly.
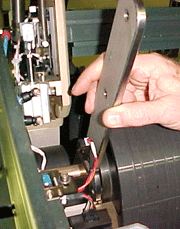
- Using a 1-1/4 in. wrench, release the vacuum swivel from the shaft,
and remove the vacuum swivel.
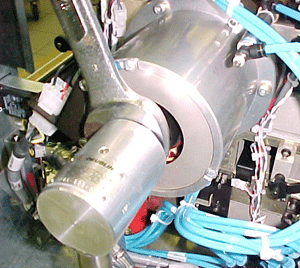
- Remove the drum motor nut.
- Insert the drum motor nut jig into the drum motor nut.
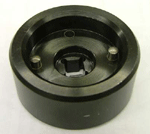
- On the other side of the drum, while using the drum holder assembly
(see step 3) to keep the drum stationary, insert the torque wrench
into the drum motor nut jig, and remove the drum motor nut.
Note: Some force might be required to remove the Loctite
adhesive.
- Remove the black drum motor washer.
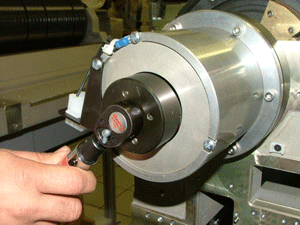
- Using a 3.16-in. hex key, remove the six hex screws that secure the
drum motor to the optomech bearing, and remove the motor.
Installing the drum motor
Note: Apply Loctite adhesive to the drum motor screws, the drum
motor nut, and to other screws where required.
- On the new motor, carefully pull the film (that separates between
the rotor and stator magnets) halfway out of the motor.
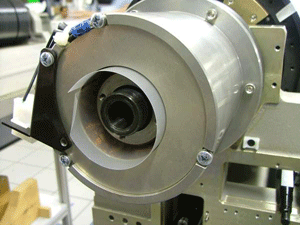
- Insert the new motor, and make sure the drum motor connectors bracket
is positioned at 21:00 hours in relation to the drum motor.
- Remove the film.
- Remove the lower screw on the bracket that secures the drum motor
connectors bracket to the drum motor.
- Apply Loctite adhesive to the drum motor hex screws.
- Using the torque wrench, tighten the drum motor hex screws at 161.3
kg/cm (140 lb/in.) to the optomech bearing.
Important: Tighten the screws in a crisscross
manner.

- On the drum motor connectors bracket, insert the lower screw (that
you removed earlier) and tighten.
- Reinstall the drum motor nut.
- Reinstall the black drum motor nut washer.
- Apply Loctite adhesive to the drum motor nut.
- With the holes on the drum motor nut facing out (toward you),
reinstall the drum motor nut.
- While using the drum holder assembly to keep the drum stationary,
use the torque wrench to tighten the drum motor the nut to the drum
motor at 1000 kg/cm (870 lb/in.).
- Reinstall the vacuum swivel. If required, apply Teflon tape to prevent
vacuum leakage.
- Reconnect all the motor connectors.
Completing the installation
- Reinstall the side panel.
- Reinstall the unloading tray.
- Close any open doors.
- Turn on the platesetter, and start the Magnus 400 Controller software.
|

