Home | Contact Us | Submit Troubleshooting Info | Search | Help
Output | Software Solutions | Proofing | Color, Screening and Calibration | Scanning | Digital Photography | Consumables | POS
Home | Contact Us | Submit Troubleshooting Info | Search | Help
Output | Software Solutions | Proofing | Color, Screening and Calibration | Scanning | Digital Photography | Consumables | POS
|
|
|||||||||||
Product |
|
||||||||||
|
|
|||||||||||
Background |
Light can enter the MCU through tiny openings and affect imaging on Thermal Direct plates. To prevent this, order the TD MCU kit (part number 518-01534A) and seal the openings in the MCU mainframe. |
||||||||||
|
|
|||||||||||
Requirements |
The TD MCU kit contains the following:
|
||||||||||
|
|
|||||||||||
Procedure |
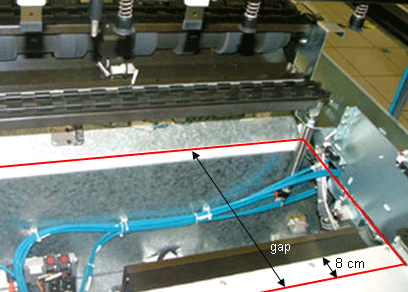
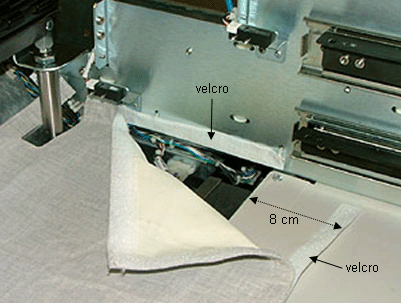
Tape the Velcro® touch fastener along the bottom edges
of the MCU and then attach the edges of the light sealing canvas to the
Velcro touch fastener.
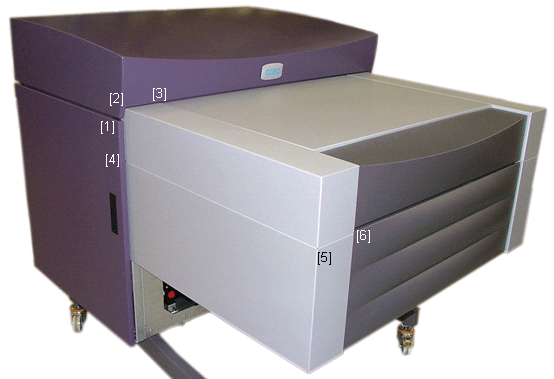
The kit contains tape that you can cut to the size required to seal the various gaps in the mainframe. The following illustration shows the locations of the gaps on the left side of the MCU. Click a number (example: click [1]) to see the internal view of the gap and how to seal it. Note: Be sure to seal all gaps on both the left and right sides.
|
||||||||||
|
|
|||||||||||
Images |
|||||||||||
|
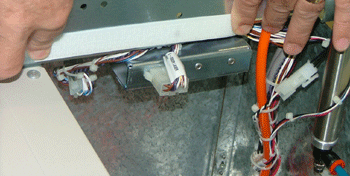
Note: To seal areas 5 and 6, you must first disassemble the sheet metal cover above these areas. |
|||||||||||
|
|
|||||||||||
Technical contact(s) |
Content owner: Mario Amir |
||||||||||
Date submitted |
04 Dec 2005 |
||||||||||