Removing and reinstalling the Magnus 800 lower rear panel
This procedure describes how to remove and reinstall
the Magnus® 800 lower rear panel.
Removing the Magnus 800 lower rear panel
If required, manually remove the unloading conveyor leading from the Magnus
800 to the processor.
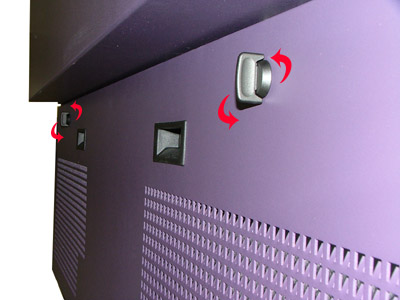
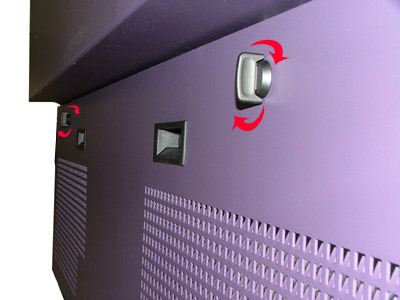
There are two black locks on either end of the lower rear panel.
To unlock the lower rear panel, rotate the two black locks 180° in a
counterclockwise direction:
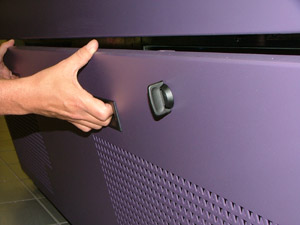
Grip the lower rear panel by the two handles and pull the panel towards
you:
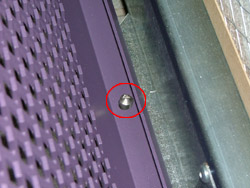
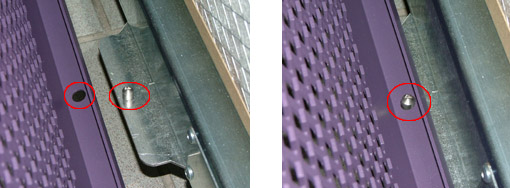
Slightly raise the panel until it clears the two locking
pins located on the base of the platesetter:
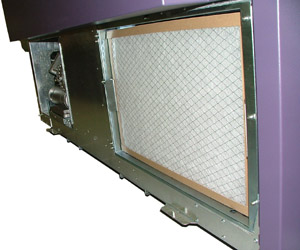
Remove the panel and place it to one side:
Reinstalling the Magnus 800 lower rear panel
Align the two holes on the lower edge of the lower rear panel with the two
locking pins on the base of the platesetter: