|
Product |
|
Kodak® ThermoFlex®
Narrow with Offset option |
|
Background |
|
This procedure describes how to replace the roller assembly and to test
and confirm that the side-to-side detector, which is a component of the
roller assembly, is functioning properly.
|
|
Requirements |
|
Roller assembly
|
|
Procedure |
|
To replace the roller:
- In the ThermoFlex Controller software, open the top cover of the platesetter.
- Quit ThermoFlex Controller and shut down the platesetter.
- Open the left and right side doors.
- On each side of the roller, disconnect the side-to-side detectors.
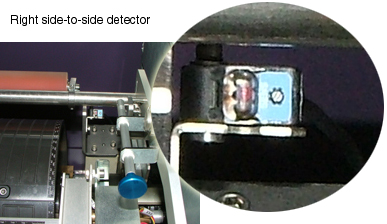
- On each side of the roller, remove the four hex screws from the roller
bracket.
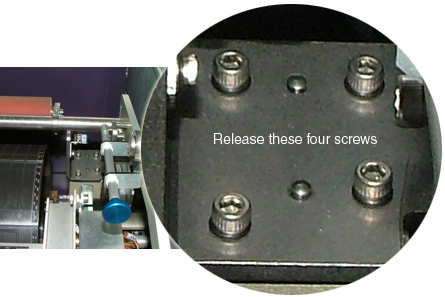
- Remove the roller with the side-to-side detectors.
- Install the new roller with the new side-to-side detectors and tighten
the four hex screws on each side.
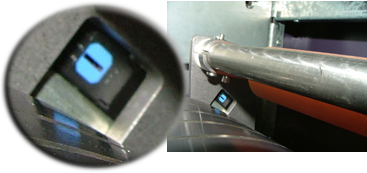
Note: The new side-to-side detectors do not have the blue filter
installed, so you must install the filter.
- Connect the side-to-side detectors on each side of the roller.
- Close the side doors and the top cover.
- Turn on the platesetter.
|
|
Test |
|
Note: If the status of the side-to-side detector does not appear
as required, see the Troubleshooting instructions after this test.
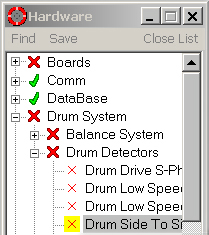
- In the Hardware tree, select Drum System>Drum Detectors
and then double-click Drum Side To Side Detector.
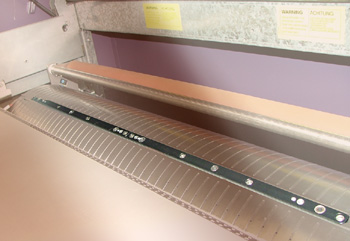
- Place a registration pin in the first registration pin hole.
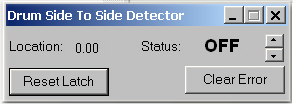
- In the Drum Side To Side Detector dialog box, confirm that the status
is OFF.
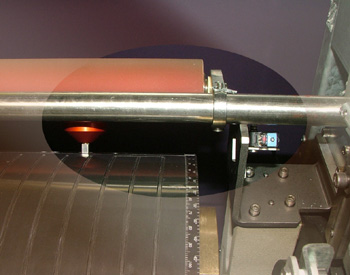
- Manually rotate the drum so that the registration pin passes between
the transmitter and receiver of the side-to-side detector, as shown,
and watch the monitor to confirm that the status changes to ON
and remains ON.
- In the Drum Side To Side Detector dialog box, click the Reset Latch
button to reset the status to OFF.
- Move the pin to the next registration pin hole.
- Repeat steps 3-6 for each registration pin hole.
Troubleshooting
-
Status does not change to OFF for any of the pins: Check the side-to-side
filter color. If the filter is not blue, replace the side-to-side detector.
- Status changes to OFF for side pins but not for center pins:
- Insert a registration pin in the center registration pin hole, and
rotate the drum so that the registration pin is aligned with the side-to-side
detector.
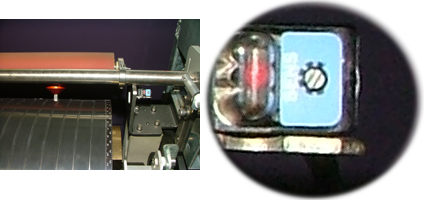
- On the right (transmit) side, open the side-to-side detector screw
and manually move the side-to-side detector back and forth to see
if it detects the pin.
- Pin is detected: Tighten the two screws.

- Pin is not detected:
- Tighten the two screws shown above.
- Turn the sensitive screw shown below in both directions to
see if the pin is detected.
- Replace the side-to-side detector and repeat the test.
- Replace the MCF board.
|
|
Technical contact(s) |
|
Content owner: Viki Arviv
See the Escalation page for escalation contacts. |
Date submitted |
|
16 Nov 2006
|

