Home | Contact Us | Submit Troubleshooting Info | Search | Help
Output | Software Solutions | Proofing | Color, Screening and Calibration | Scanning | Digital Photography | Consumables | POS
Home | Contact Us | Submit Troubleshooting Info | Search | Help
Output | Software Solutions | Proofing | Color, Screening and Calibration | Scanning | Digital Photography | Consumables | POS
| Applies to: Trendsetter Autoloader | Priority = Next failure |
| Reason = Reliability | |
| Release date = 21 October 1999 |
|
Machines affected |
Machines with Version 3 Pickers only |
|---|---|
|
Component |
Version 3 Pickers |
| Problem | This upgrade ECO D174 is designed to prevent the suction cups from marking the emulsion on the plates. It is specific to Version 3 Pickers only. There is a separate kit and procedure for Version 2 Pickers. |
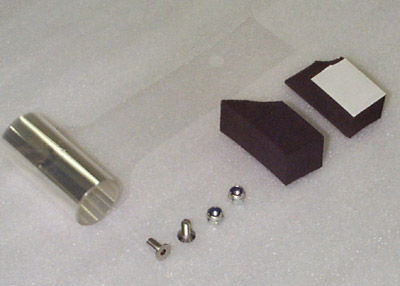
| Solution(s) | Install upgrade kit 05-0134 which contains a thin polycarbonate film that is held in front of the suction cups. |
| Parts needed | Upgrade kit (# 05-0134):
|
| Procedure |
|
| Action Required | Find the 100 label number on the left side
of the machine on the unload table frame. You may need to remove the
side cover (the table must be down to remove cover). Move the
>>TABLE UP and find the sticker.
Mark as change #20 on the ECO/100 label if you are upgrading a TS 3244 base. Mark as change #3 on ECO/100 label if you are upgrading a TS 3230 base. |
| Date submitted | smontague@creo.com |
| Date modified |