This document provides the procedures for
installing and configuring the LANC PCI Fast Ethernet adapter for Brisque workstations.
After installing and configuring this
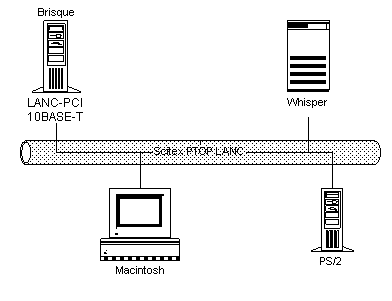
adapter the network infrastructure for SciNet connectivity between the Brisque
workstation and other CreoScitex workstations (Whisper, PS/2 and Mac) will now
exist. This infrastructure will allow connectivity using the CreoScitex Program
to Program protocol (PTOP).
Each station must have an appropriate LANC
adapter installed.
The LANC PCI adapter installed on the Brisque has two ports:
- 10BaseT (Standard Ethernet)
- 100BaseT (Fast Ethernet)
Hardware Requirements
- Brisque workstation
- LANC PCI FE adapter
Software Requirements
Software version 2.1.36 or higher.
Networking Requirements
LANC PCI supports the following networks:
10BaseT with twisted pair Ethernet cables above cat 3, 4 and
5.
100BaseT with twisted pair Fast Ethernet cables above cat 5.
If the Switching Hub is configured as
FullDuplex it must be reconfigured to HalfDuplex mode.
At the UNIX prompt (#) type scismit and press Enter.
Execute the sequence Communication and Servers->
Scinet-> Scinet Configuration-> Local Station-> Change/Show/local station name.
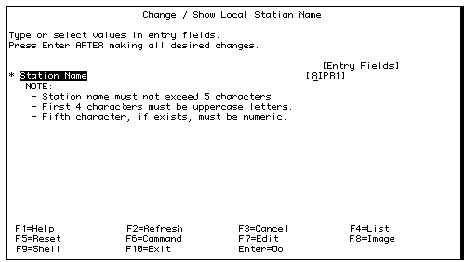
The Change/Show local station name window appears.
The default station name appears (RIPR1) in the Station Name field.
Change the station name according to the instructions on the
window, or leave the default name; press Enter in either case in order to continue.
The Command Status window displays OK for a successful execution.
Select [F3] to return to the SciNet Configuration menu.
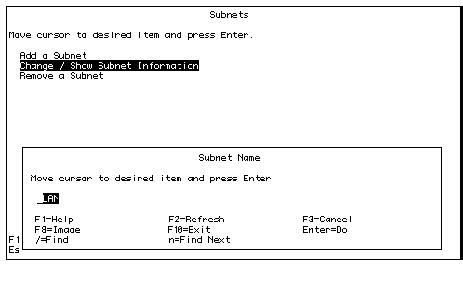
Execute the sequence Subnet-> Change/Show Subnet
Information.
Ensure that under the Subnet Name window, LAN appears (this is
the default, but may need to be changed according to the site configuration).
Press Enter.
The Command Status window displays OK for a successful execution.
Select [F3] to return to the SciNet Configuration menu.
Exit SciSmit.
NOTE: PTOP is
running only when CreoScitex application is up.
Configuring a Brisque Volume
on the Whisper - PTOP
From the Library on the Whisper, execute the following
sequence:
Services-> Configuration-> Network-> LAN.
At the next empty line add the Brisque local station name.
For Station type, use the space bar, or the pointer and select
Ripro .
Press [F1] Save & Exit.
From the Library on the Whisper, execute the following
sequence:
Services-> Configuration-> Logical Names-> Remote Lognames.
Fill out the form as follows:
At next empty line fill in columns.
Station Name:
Brisque local name
Subnet Name:
LAN
Station Type:
RIPRO
Device Name:
D0 (fill new line for each disk)
Output:
No
Logical Name:
User definition.
Press [F1] Save & Exit.
Configuring a Brisque Volume
on the PS/2 PTOP
Logout from the Application.
Login as sciutil.
From the menu select the following sequence:
(Communication Configuration)-> 1 (SciNet Communication)->2 (LAN).
Press [F6] to enter an empty line and press Enter.
Fill in the Brisque local name.
Press Enter to reach Station Type use the Space Bar to select
RIPRO
Press [F1] to Save & Exit.
Select 3 (Logical Name),use the arrow keys to enter a new
empty line
Fill in the table (see Whisper configuration).
Press [F1] to Save & Exit.
Press [F8 ] until the console login appears, login as scitex.
Checking Connectivity
To check the connectivity between the Brisque
station and other stations on the SciNet network, use SciNet ping.
Exit and login as cdesci.
Open an xterminal and enter as root.
At the UNIX prompt on the Brisque (#) type in scinet_ping and
press Enter.
Station Name is returned, type in name of station which is
being pinged and press Enter.
Subnet Name is now returned, type in LAN (if this is the site
configuration, if not change accordingly) and press Enter.
The Station [Station Name] is active is returned if there is
connectivity.


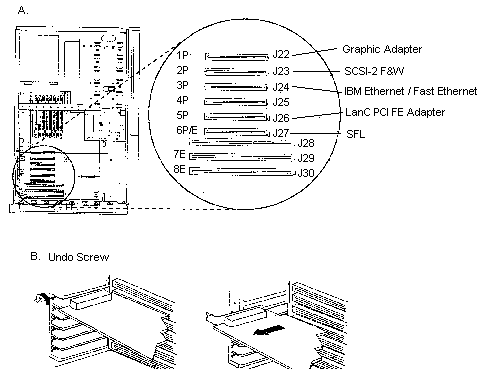
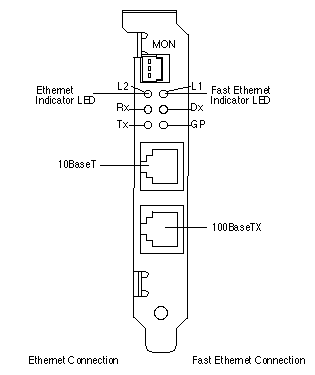 LanC
PCI FE Front View
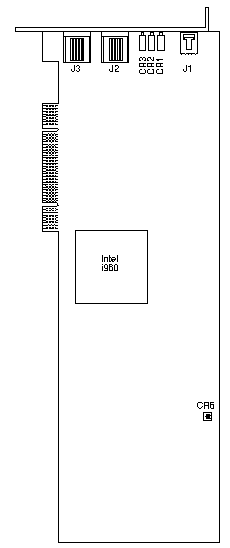 LanC
PCI FE Side View