Solution
| |
Upgrading drive firmware using the Sony Tape Tool
- Using the Windows Removable Storage Management (RSM) Work Queue function, verify that there are no active tasks on the AIT drive you want to upgrade and ensure that there is no media in the drive.
- Set the RSM service to Disabled, then stop the RSM service.
- If you don't already have it, download and install the Sony Tape Tool utility.
- Start the Sony Tape Tool. A list of installed SCSI devices will appear.
- In the Drive Selection window, click to highlight the drive to be upgraded. Drive information is shown in the Drive Identification window.
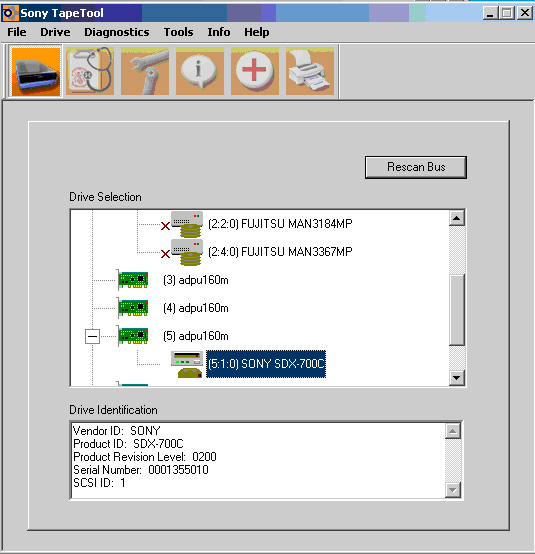
Note that the product ID for AIT-3V drives will also be listed as SDX-700C because Kodak uses AIT-3C drive emulation. Use the following to differentiate an AIT-3V drive from an AIT-3C drive:
- Serial Numbers: AIT3-C: 209xxxx, AIT3-V: 135xxxx
- AIT-3C has blue LED lights, AIT3-V has green LED lights
- AIT3-C is labeled SDX-700C, AIT3-V is labeled SDX-700V
- Click the Firmware and Command Tools icon:

- Click Select File and locate the drive firmware file. Select Firmware Upgrade.
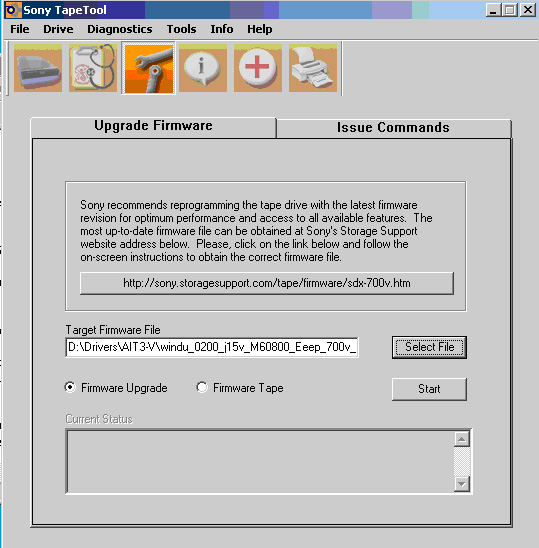
- Click Start. The Firmware Upgrade Confirmation dialog box appears.
- In the Firmware Upgrade Confirmation dialog box, click OK.
- Check the Current Status window for messages. The Sony Tape Tool will appear frozen while the drive firmware is being upgraded. The upgrade will take approximately one minute.
- When the upgrade is finished, the Firmware Upgrade Completed dialog box appears. Click OK.
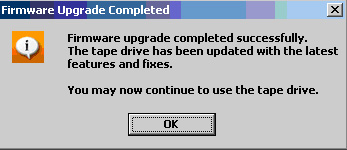
- Close the Sony Tape Tool.
- Set the RSM service to Automatic, then start the RSM service. The drive is now ready for normal operation.
How to create a firmware upgrade (FUP) tape
- Using the Windows Removable Storage Management (RSM) Work Queue function, verify that there are no active tasks on the AIT drive you want to upgrade and ensure that there is no media in the drive.
- Set the RSM service to Disabled, then stop the RSM service.
- If you don't already have it, download and install the Sony Tape Tool utility.
- Start the Sony Tape Tool. A list of installed SCSI devices will appear.
- In the Drive Selection window, click to highlight the drive that will be used to create the FUP tape. Drive information is shown in the Drive Identification window.
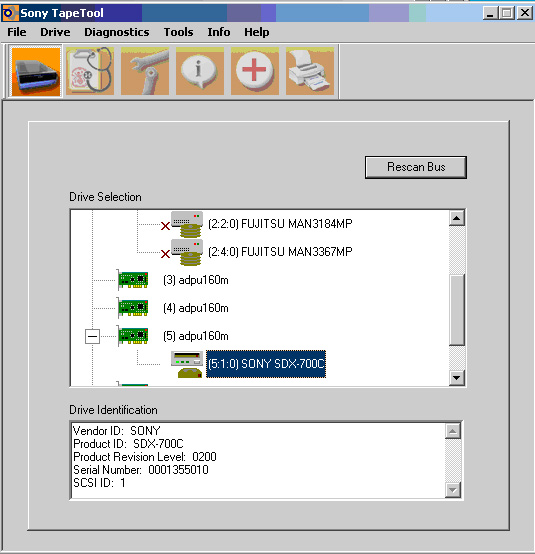
- Click the Firmware and Command Tools icon:
- Open the tape library door if working with a library (close only after the procedure is finished). Manually inject a tape into the selected drive (note that data on the tape will be overwritten).
- Click Select File and locate the drive firmware file. Select Firmware Tape.
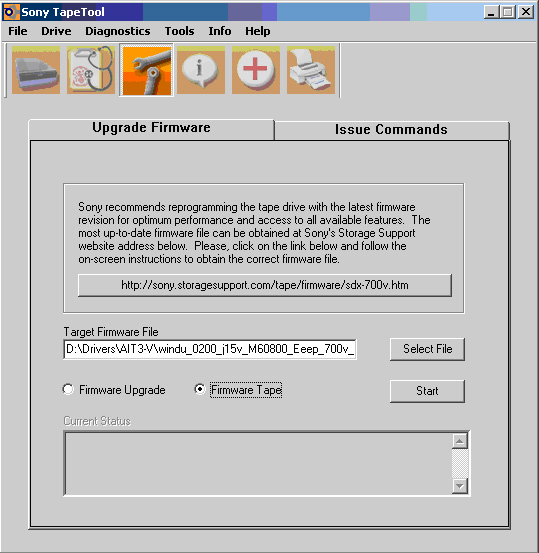
- Click Start.
- Check the Current Status window for messages. The Sony Tape Tool will appear frozen while the tape is being created. Tape creation will take approximately one minute.
- When the firmware tape is finished, the tape is ejected from the drive and the Firmware Tape Completed dialog box appears. Click OK.
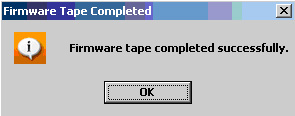
- Remove the firmware upgrade tape and write protect it. Label the tape with the uploaded firmware version and the type of drive it is for.
- Set the RSM service to Automatic, then start the RSM service.
- To upgrade a drive using the FUP tape, shut down the management software controlling the drive
(or shut down the server). Manually inject the FUP tape into a drive and wait until the upgrade is completed.
Upon completion, the FUP tape will be ejected automatically. Restart the management software
(or the server if it is shut down). The drive is now ready for normal operation.
|

