

Home | Contact Us | Submit Troubleshooting Info | Search | Help
Output | Software Solutions | Proofing | Color, Screening and Calibration | Scanning | Digital Photography | Consumables | POS
Home | Contact Us | Submit Troubleshooting Info | Search | Help
Output | Software Solutions | Proofing | Color, Screening and Calibration | Scanning | Digital Photography | Consumables | POS
Installing a Kodak Approval IFM (Micro Whisper)
 |
Only one Kodak Approval IFM proofer can be configured for each Brisque station. |
If required, configure SciNet, as described in Hardware Installation (F50), Configuring SciNet.
Configuring the Kodak Approval IFM (Micro Whisper)
To configure the Kodak Approval IFM (Micro Whisper):
The Add/Change Kodak Configuration window appears.
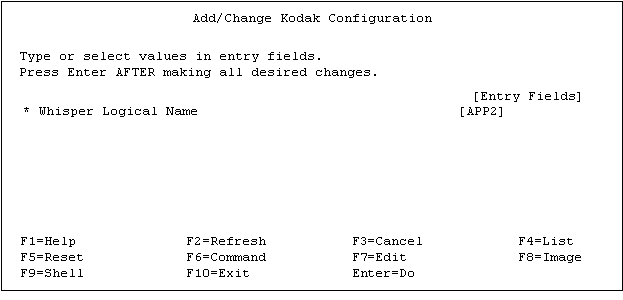
The Are You Sure? popup window appears.
The Command Status window appears, displaying an OK status for a successful operation.
Configuring Brisque on Kodak Approval IFM (Micro Whisper)
To configure the Brisque on the Kodak Approval IFM (Micro Whisper):
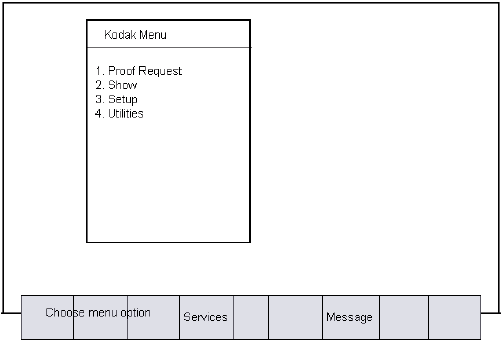
The Services form appears.
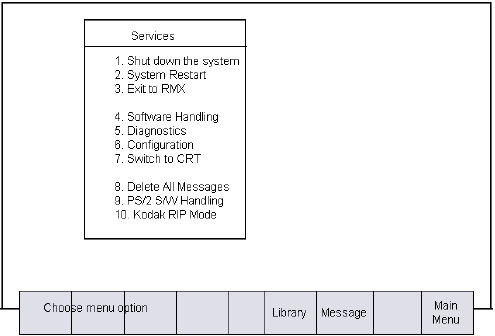
The System Configuration form appears.
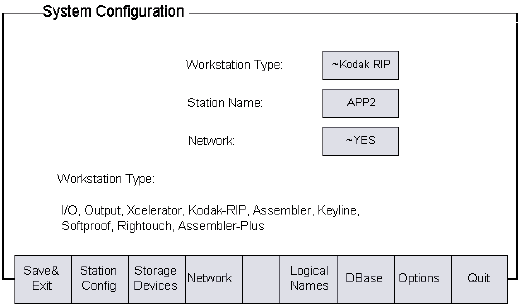
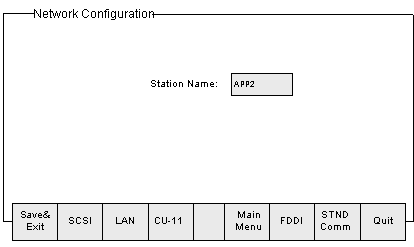
The Network Configuration form appears.
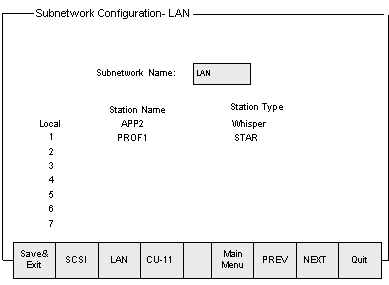
The Subnetwork Configuration – LAN form
appears.
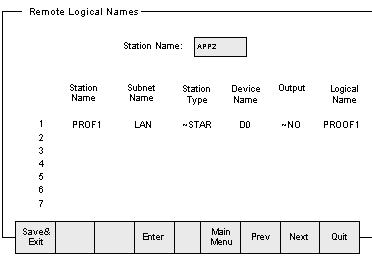
The Remote Logical Names form appears.
|
On the Kodak Approval IFM in the Remote Logical Names form, do not configure any other device apart from D0 for the Brisque station. All files that are transferred from the Brisque to the Kodak Approval IFM pass through the Jobs folder on brisquename.1.0 even if the file being proofed resides in a folder located on brisquename.2.0. |
Station Name
Name of the Brisque station
Subnet Name
LAN
Station Type
STAR (used for the Brisque)
Device Name
The disk on the Brisque station where the dataVolumes are located
Output
NO
Logical Name
A logical name defined by the user