Home | Contact Us | Submit Troubleshooting Info | Search | Help
Output | Software Solutions | Proofing | Color, Screening and Calibration | Scanning | Digital Photography | Consumables | POS
Home | Contact Us | Submit Troubleshooting Info | Search | Help
Output | Software Solutions | Proofing | Color, Screening and Calibration | Scanning | Digital Photography | Consumables | POS
Question: |
How do I handle marks in the Brisque Impose workflow? |
Explanation: |
The output of Preps for the Brisque Imposition Workflow is an ICF, which includes a link to the Mark and not the actual mark itself, and must reside in the Marks Library on the Brisque. |
Solution: |
Two workflows provides for the management of Marks on the Brisque. |
The Brisque is delivered with a Library of Marks that matches the default marks library the comes with Preps. In order to make use of any custom marks you must use either the automatic or manual workflows outlined below.
Using the chooser, mount the markers volume of Brisque.
In Preps, use the "Add Custom Marks" function to add customized marks in EPS format to the Preps Marks folder.
Drag and Drop the same EPS files on the plate folder on the markers volume. The files will be copied to the Brisque, RIPped and added to the marks library automatically.
In Preps, use the "Add Custom Marks" function to add customized marks in EPS format to the Preps Marks folder.
 Adding a new Mark
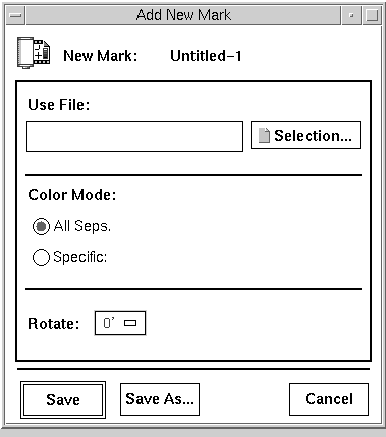
Choose New..., and the Add New Mark dialog will appear.
Use File
Click the Selection icon and the CreoScitex Browser will open. Navigate until you locate the mark that you wish to add and select it. The mark will appear in the Use File field.
Color Mode
Allows you to define the colors that will be contained in the mark.
If you define separations that do not exist in the mark, the system will duplicate the data from the existing separation(s). The separations will be duplicated only if they are required by the expose application.
All Seps
The mark will appear in all the output separations of a job.
Specific
Allows you to define which colors will appear in the mark. If you click the Specific radio button the following dialog will display:
Click the separations that you want to appear in the mark.
Mark Rotation
Save Mark
Note:
The name is limited to 22 characters. If the mark name in Preps is longer, it will have to be shortened on both the Brisque and in Preps.
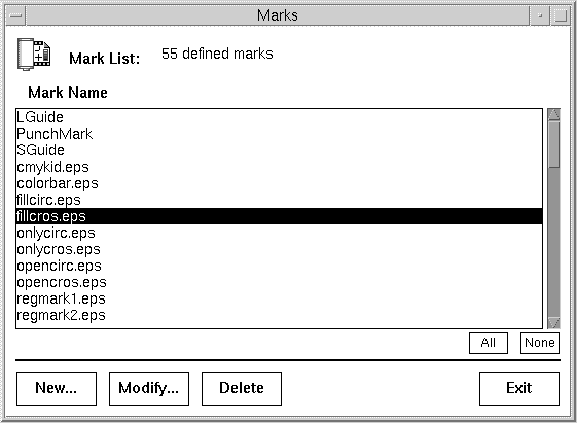
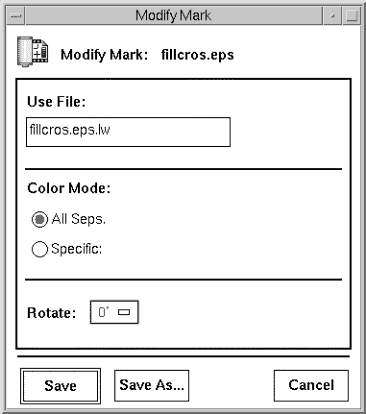
You can modify marks that have been previously added to the marks library.
From the Marks list, select a Mark and click Modify Mark, the Modify Mark dialog will appear:
It is possible to enter "free text" in a Preps text mark. Any text that is entered in the mark without a $ in front of it will be added to the layout as written.