Home | Contact Us | Submit Troubleshooting Info | Search | Help
Output | Software Solutions | Proofing | Color, Screening and Calibration | Scanning | Digital Photography | Consumables | POS
Home | Contact Us | Submit Troubleshooting Info | Search | Help
Output | Software Solutions | Proofing | Color, Screening and Calibration | Scanning | Digital Photography | Consumables | POS
Connecting an Imagesetter Using the TSP Board
 |
If the TSP board is already installed on the Brisque, you do not need to perform the procedure in Installing the TSP Board. |
Installation of the TSP board requires the following:
To install the TSP board:
|
Before installing the TSP board, attach the connecting bracket to the component side of the board (refer to the TSP Installation Guide, Cat#399Z1M292A - pdf format). |
Connecting the Brisque via a TSP Data Cable Link (Data Connectivity)
To connect the TSP data cable link between the Brisque and an Imagesetter:
Connect the TSP data cable between the TSP board on the Brisque to the host connector in the Imagesetter according to the Imagesetter type.
Verifying the TSP Board Installation
To verify the TSP board installation:
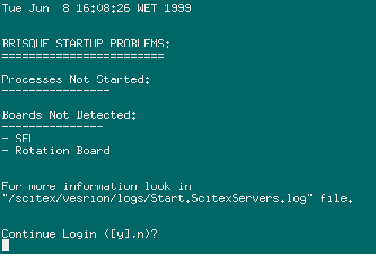
The Brisque Startup Problems window appears.
|
If the TSP board appears in the Boards Not Detected list, contact your local service center. |
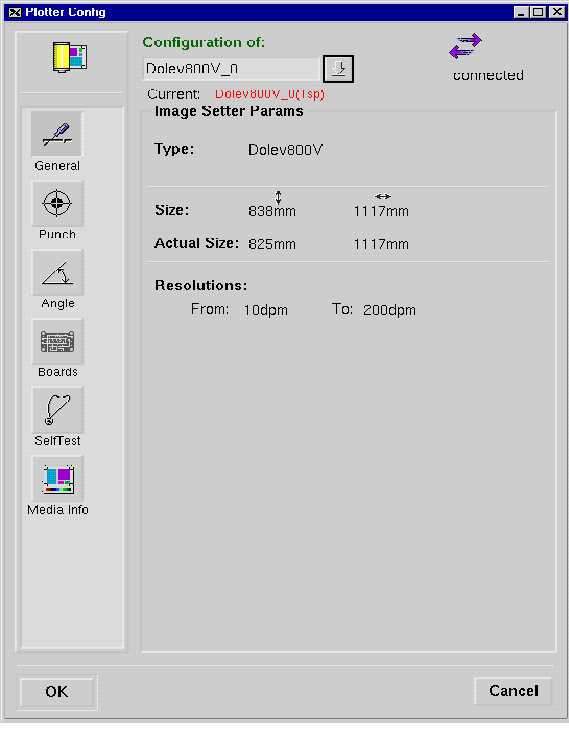
The Plotter Config window appears, displaying the imagesetter parameters.
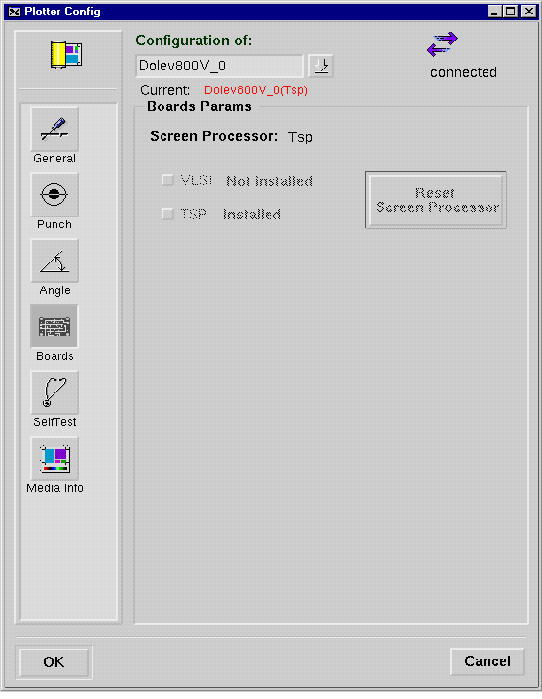
The Plotter Config window now appears as shown below, displaying the boards parameters.