

Home | Contact Us | Submit Troubleshooting Info | Search | Help
Output | Software Solutions | Proofing | Color, Screening and Calibration | Scanning | Digital Photography | Consumables | POS
Home | Contact Us | Submit Troubleshooting Info | Search | Help
Output | Software Solutions | Proofing | Color, Screening and Calibration | Scanning | Digital Photography | Consumables | POS
Product |
Pandora® 1.2 |
||
Operating system |
Macintosh® & Windows® |
||
Symptoms |
Adobe® Illustrator® can export die files in DXF format, which Pandora can then import. However, Pandora does not support the entire DXF file format (for example, the 3D modeling features are not supported). |
||
Cause |
There are some issues with Illustrator-generated DXF files: |
||
Solution |
Following is a procedure to convert Illustrator 9 die files into DXF files that Pandora can use. You can record an Illustrator action to automate Steps 1-4. 1. Open the file in Illustrator.  Click to enlarge 4. Repeat step 3 (from the Object menu, select Path > Add Anchor Points). 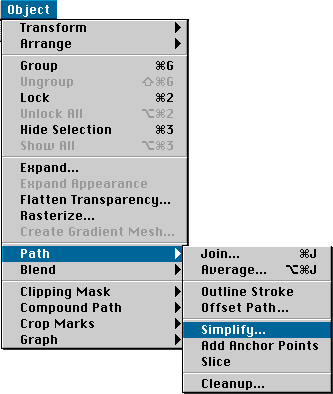 Click to enlarge 6. Under Simplify Path set the Angle Threshold to 0. 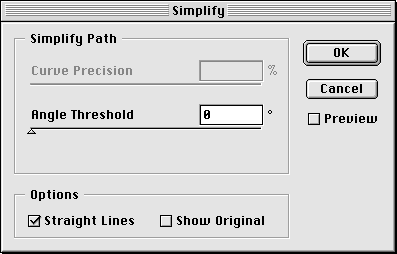 Click to enlarge 9. For each die station, select the lines that define the station and group them (from the Object menu, select Group. 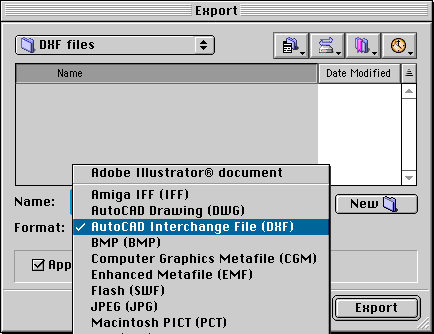 Click to enlarge 11. In the Export dialog box, select Format: AutoCAD Interchange File (DXF). 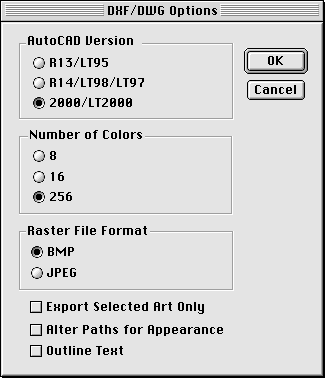 Click to enlarge 13. In the DXF/DWG Options dialog box, click OK to accept the default settings. To use the DXF file in Pandora: 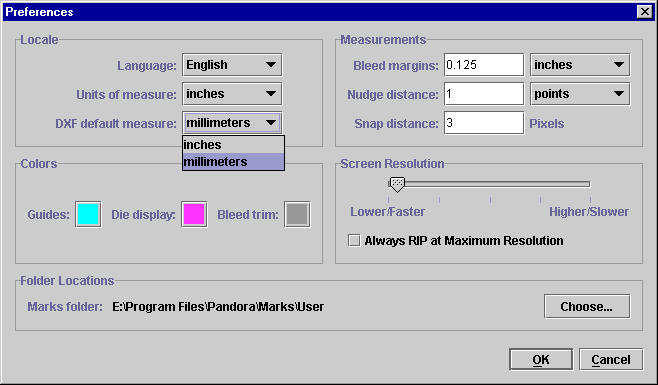 Click to enlarge 3. From the File menu, select Import > Die. 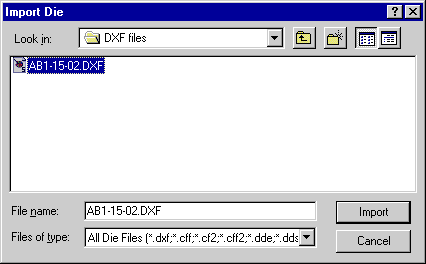 Click to enlarge 5. Place the die in the JIV. 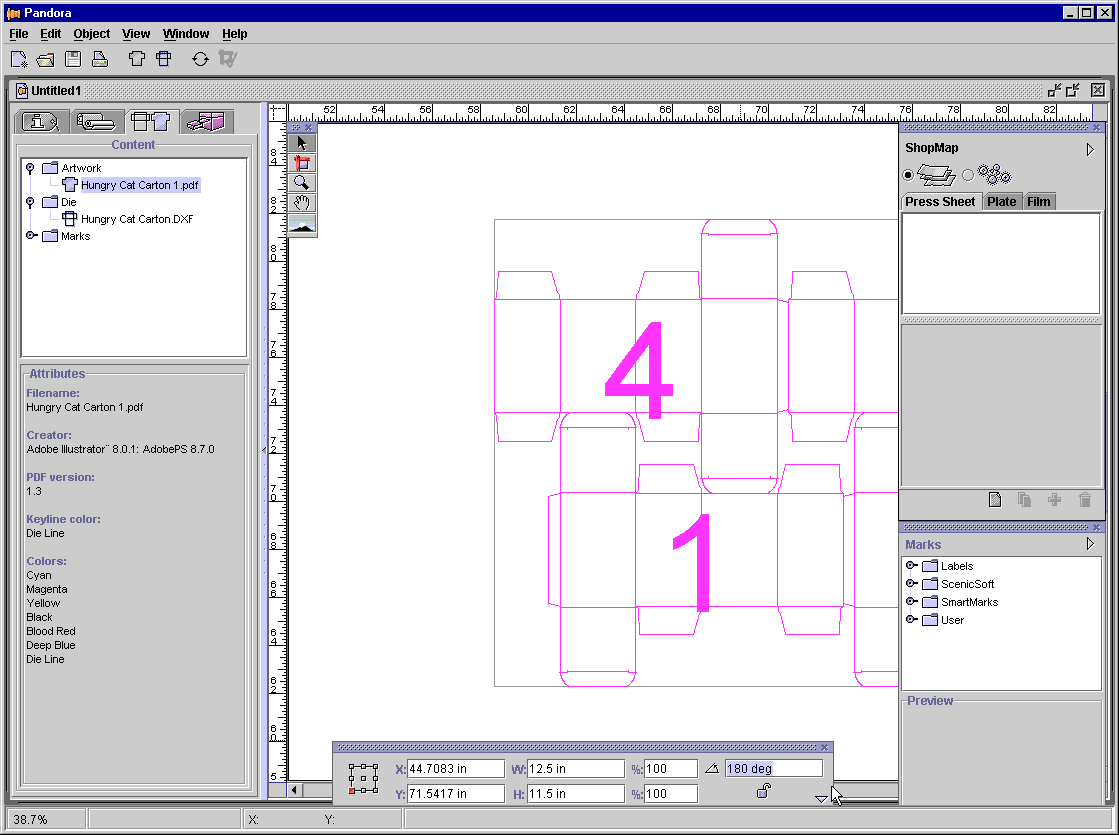 Click to enlarge 8. Select the artwork and the die station(s), then from the Object menu, select Snap to Die. 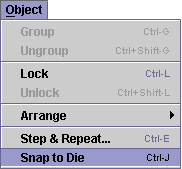 Click to enlarge 9. Repeat steps 5-7 for each die station that has a different rotation. |
||
Technical contact(s) |
|||
Submitted by |
|||
Date submitted |
07 Jan 2002 |
||