Procedure
|
|
Removing the load roller bar
- In Lotem Controller, open the top door, and then open the side doors.
- Turn off the air pressure.
- Shut down Lotem Controller and turn off the platesetter.
- Disconnect the main power supply.
- On the right side of the machine, remove the roller arm by removing
both split pins and pins, as shown below.
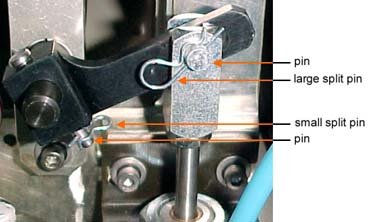
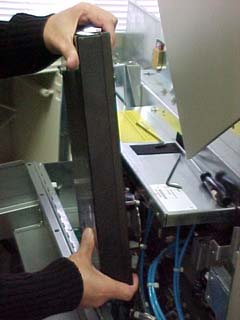
- On the left side of the machine, remove the two hex screws from the
Local3 box and lift the Local3 box up and out.
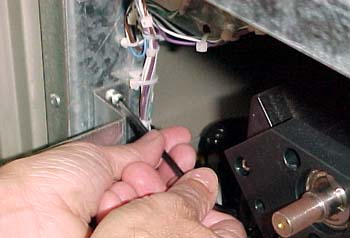
- To enable access, on each side of the bracket, remove the hex screws,
and then slightly lower the bracket.
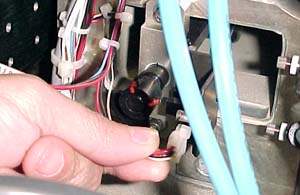
- Disconnect the load roller home position (HP) connector.
- Mark the location of the roller assembly holder so that you can return
it later to the exact position.
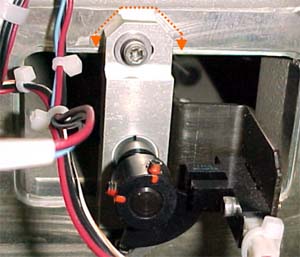
- Remove the two hex screws that secure the load roller assembly and
then pull out the load roller assembly.
Note: Make sure that the plastic cap does not fall
into the machine, and that the rollers do not fall off.
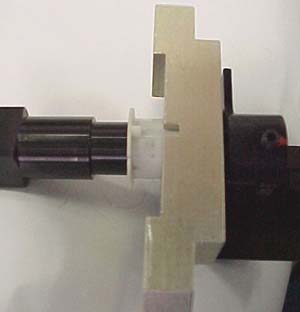
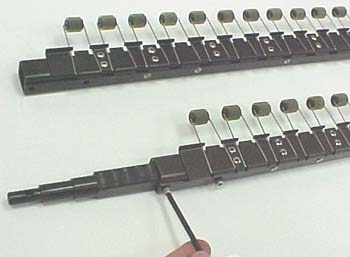
- Open the two end screws on each side of the old load roller assembly
and transfer the shafts on both sides of the load roller assembly to
the new load roller assembly.
Installing the load roller bar
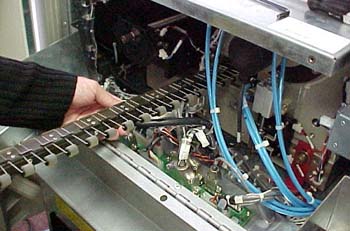
- On the left side of the machine, thread the new load roller assembly
into the machine, making sure that the springs do not get caught
on any wires or cables inside.
Note: Make sure that the plastic cap, shown in
step 10 above, is well mounted in the groove, so that it does not
fall into the machine, and make sure that the rollers do not fall
off.
- With the load roller assembly resting inside the machine, on the
left side, slightly tighten one screw to stabilize the assembly.
- On the right side, insert and lower the roller arm, insert the
arm pin, and then secure it with the small split pin.
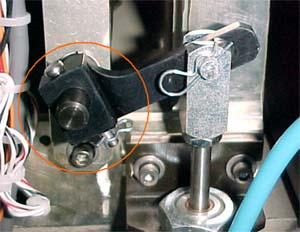
- Insert the piston pin through the piston arm and the roller arm,
and secure it with the large split pin.
Note: Do not insert the split pin all the way.
- Install the load roller HP connector.
- Close the bracket and tighten the hex screws that you removed
in step 7, above.
- On the left side of the machine, install the Local3 box in the Local3
mother board and tighten the two hex screws that you removed in step
6.
Important: Use only short screws to close the Local3
box, as long screws can cause a short circuit.
- Connect the main power supply.
- Turn on the platesetter and start Lotem Controller.
- Turn on the air pressure.
|

