Procedure |
|
Checking and adjusting the side door
- Remove the top rear panel of the platesetter.
- Remove the side door jig (part number 690-00724A) from the Lotem 800
doors and interlocks adjustment jigs kit (part number 518-01578A). The
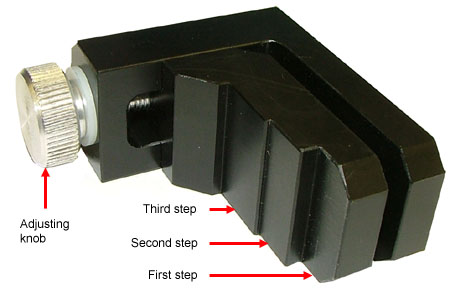
jig comprises of three steps and an adjusting knob.
- The adjusting knob is for determining the width of the gap between
the left side door and the chassis.
- The first (lowest) step of the jig is used for determining the
width of the groove formed between the side door and the chassis.
- The second (middle) step and third (highest) step of the jig are
used for determining the correct position of the Omron interlocks:
Click image for detailed
view
- Rotate the jig’s adjusting knob in a counterclockwise direction,
until the jig is closed.
- Insert the first (lowest) step of the jig into the groove formed between
the side door and the chassis:
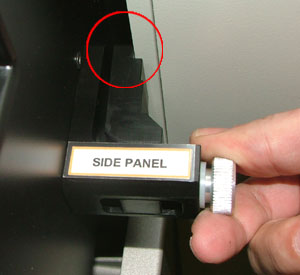
- Rotate the jig’s adjusting knob in a clockwise direction, until
the first step of the jig touches the side door and the jig’s base
is flush against the chassis. This determines the space formed between
the left side door and the chassis.
- Remove the jig.
- Manually open the left side door.
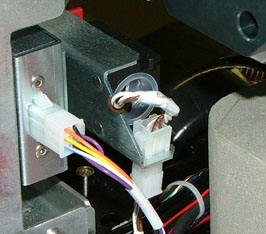
- Disconnect the Molex® connector belonging to the left
side door’s Omron interlock:
- Plug the probes (part number xxx) into the appropriate jacks on the
digital voltmeter (part number xxx):
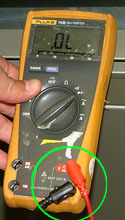
Important: Plug the black
probe into the digital voltmeter’s negative (common) jack, and
plug the red probe into the digital voltmeter’s Volt/ohm/temp jack
(not the A or mA jack).
- Remove the interlock jig cable (part number 220-01407A) from the kit.
At one end of the wiring jig are two crocodile clips, on the other end
there is a Molex connector.
- Connect one crocodile clip to each probe:
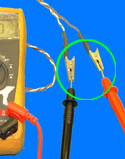
- Connect the Molex connector to the interlock’s connector.
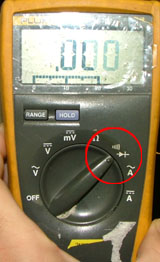
- Set the dial on the digital voltmeter to the diode indicator:
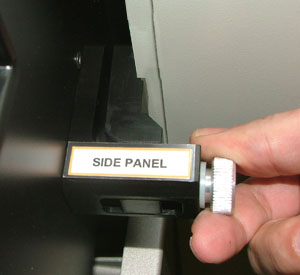
- Place the base of the jig flush against the chassis and then close
the left side door onto the jig’s second step:
- The digital voltmeter should make a beeping sound.
If the digital voltmeter fails to beep, adjust the left
side door interlock operation key.
- Fully open the left side door and remove the jig.
- Place the base of the jig flush against the chassis and then close
the left side door onto the jig’s third step:
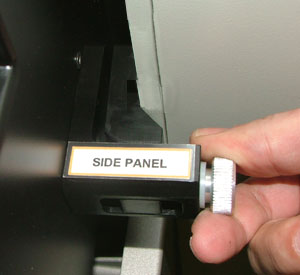
- The digital voltmeter should beeps.
If the digital voltmeter does beep, adjust the Omron
interlock.
- Remove the jig.
- Reinstall the top rear cover and close the left side door.
- Check, and if required, adjust the platesetter’s top front cover, top rear cover, and unload panel.
Adjusting the Omron interlock operation key
- Manually open the left side door.
- Use a pencil to mark the outline of the interlock operation key:
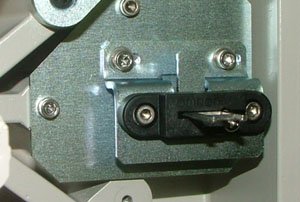
- Use a hex key to remove the two screws securing the interlock operation
key.
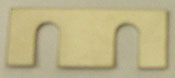
- Add the required number of spacers (part number 252-10209A) to the
interlock operation key assembly:
- Reinstall the interlock operation key, by using the marked outline
as a guide.
- Place two strips of masking tape over each end of the interlock’s
entry point:
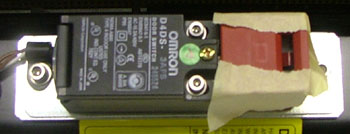
- Close the left door just enough for the interlock operation key to
punch holes in the masking tape.
- Manually open the left side door:
- If no punched holes appear on the masking tape, then the interlock
operation key is correctly positioned.
- If punched holes appear on the masking tape, then reposition the
interlock operation key and repeat steps 6-8.
Adjusting the Omron interlock
- Manually open the left side door.
Important: It is less
time-consuming to remove spacers from the interlock operation key as
opposed to the interlock. Therefore, if possible, try to remove spacers
from the interlock operation key (as described in the section Adjusting
the Omron interlock operation key), before attempting to remove
the spacers from behind the interlock.
- Before dismantling the interlock, outline its shape with a pencil:
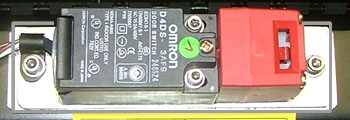
- Use a hex key to remove the two screws securing the interlock.
- Remove the required number of spacers from the interlock assembly.
- Reinstall the interlock, by using the marked outline as a guide.
- Place a strip of masking tape over the interlock’s entry point:
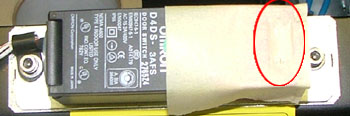
- Close the left side door just enough for the interlock operation key
to punch holes in the masking tape.
- Manually open the left side door:
- If the punched holes appear exactly in the middle of the masking
tape, then the interlock is correctly positioned:
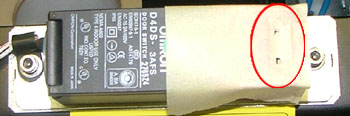
- If the punched holes do not appear exactly in the middle of the
masking tape, reposition the interlock and repeat steps 6-7.
|