Procedure |
|
Replacing knobs in single-cassette unit (SCU)
- In Lotem Controller, click Cassette Setup. The Cassette
Setup menu appears.
- Click Release Cassette. You will hear
the two pins release the cassette.
- Pull out the cassette and open the top cover of the cassette.
- Remove the three knobs from the centering arms and the plate back
locker.
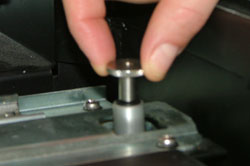
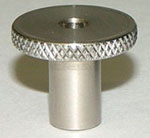
- Replace the three knobs with the improved plastic knobs (part number
326-00004 plastic knob 8-32):
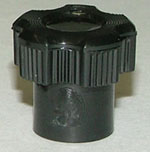
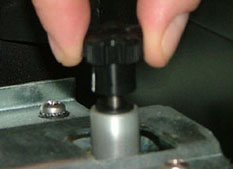
- Tighten the two centering knobs and the back locker knob until the
centering arms and the back locker touch the plate.
- Close the top cover.
- In Lotem Controller, click Cassette Setup.
- From the Cassette Setup menu, click Release Cassette.
You will hear the two pins release.
- Push the cassette back into the Lotem.
Replacing knobs in dual-loading cassette (DLC)
In the DLC, replace the centering knobs in the lower tray and the back
locker knob in both trays, as described below.
A. Upper tray
- Open the top cover of the DLC upper tray.
- Press the tray release button on the right side.
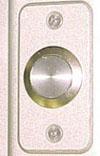
- In Lotem Controller, click Cassette Setup.
- From the Cassette Setup menu, click Release Cassette.
You will hear the two pins release.
- Pull out the upper tray.
- Remove the existing back locker knob and replace it with the improved
plastic knob.
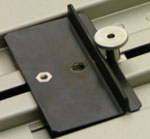
- Close the upper tray cover.
B. Lower tray
Replace the two centering knobs and back locker knob in the lower tray
as in the procedure for the SCU.
Replacing knobs in multi-cassette unit (MCU)
- Select the cassette whose centering knobs you want to replace. There
are three methods of selecting a cassette:
Once the cassette has been selected, the button light on the front of
the MCU flashes and the selected cassette moves to the door level.
- When the light stops flashing, you hear the pins release. Pull out
the cassette (open the door).
- Remove the three knobs.
- Replace the knobs with the improved plastic knobs.
- Tighten the centering knobs and the back locker knob until the centering
arms and the plate back locker touch the plate.
- Push the cassette back into place.
- Repeat steps 1–6 for each of the cassettes in the MCU.
Selecting the cassette in the MCU
Selecting a cassette via the Utilities Hardware tree
- In Lotem Controller, click Utilities.
- From the Utilities menu, click Hardware.
The Hardware tree appears.
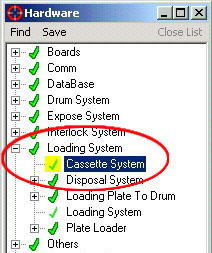
- From the Hardware tree, select Loading System.
Double-click Cassette System. The MCU Control dialog
box appears.
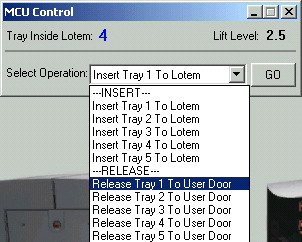
- From the Select Operation list, select Release Tray X To
User Door (where X represents the cassette number whose centering
knobs you want to replace).
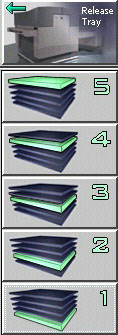
Selecting a cassette via the Release
Tray menu
- Click Release Tray.
- Click the button representing the cassette whose knobs you want
to replace.
Selecting a cassette via the MCU
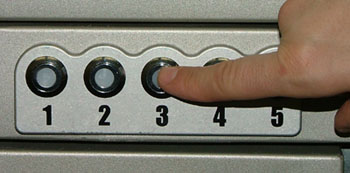
Button (Recommended method)
From the buttons on the front of the MCU, select the cassette number
whose centering knobs you want to replace.
|

