Procedure |
|
Attention: The following procedure is optional, though highly
recommended. If you are not experiencing plate attachment problems
or fog on the plates, do not perform this procedure.
This procedure includes instructions for:
Marking the plate edge
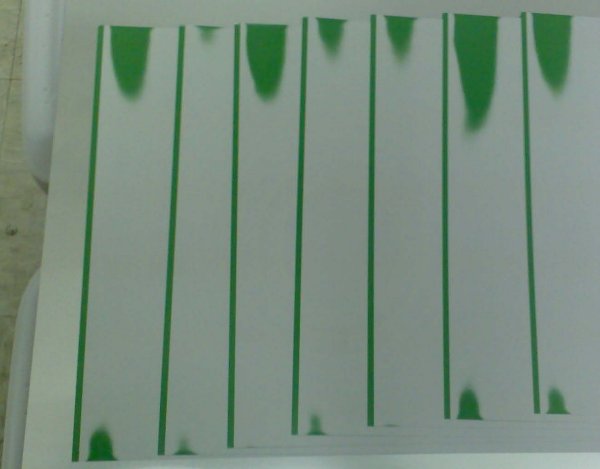
- Load the fogged plate onto the drum.
- Open the front and rear doors on the platesetter.
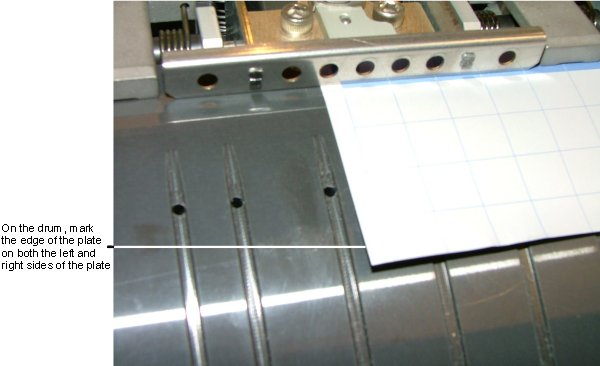
- Using a marker, on the drum, mark the problematic area on the plate
(on both the left and right sides of the plate).
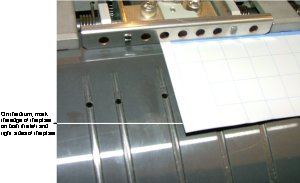
- Manually release and remove the plate from the drum.
- Adjust the position of the drum to accommodate comfortable drilling
access, and then lock it in place.
Drilling holes in the drum
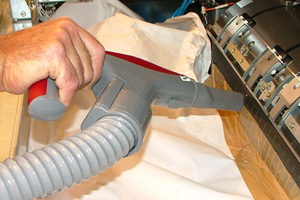
Note: During the drilling process, use a vacuum cleaner to remove
drill debris.
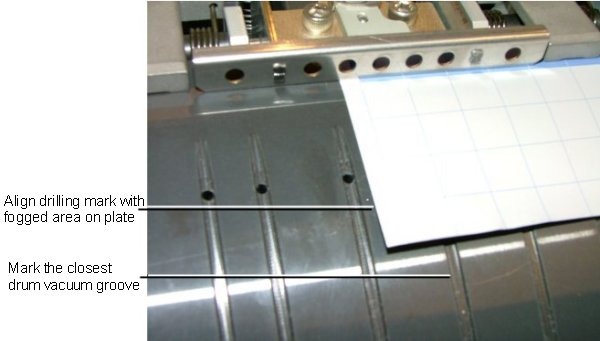
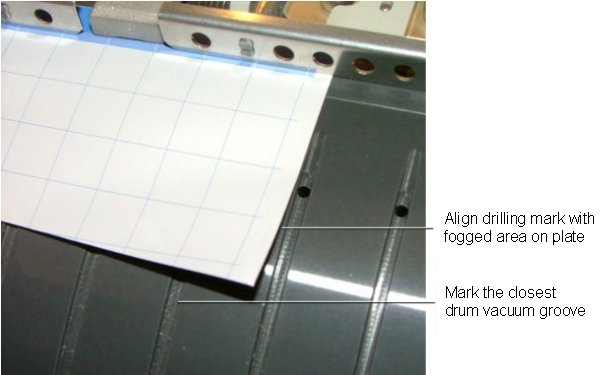
- Locate the mark on the left side of the drum and copy it to the drum
vacuum groove that is closest to the edge of the plate and within the
boundaries of the plate, and then do the same on the right side of the
drum. Place the mark on the part of the vacuum groove that is under
the plate and make sure that it is aligned with the fogged area on the
plate.
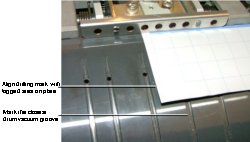
Marking the left side of the plate
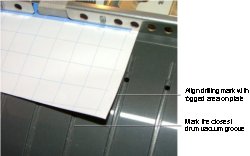
Marking the right side of the plate
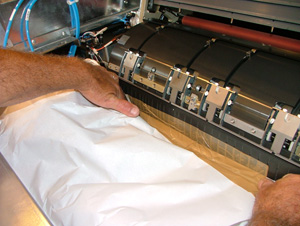
- Cover the V-block and imaging head with slip-sheets.
Note: (Optional) Use tape to secure the slip sheets to the drum
surface.
- Using a perforator and hammer, on the left side of the drum, mark
the position on the drum vacuum groove where you want to drill the new
hole on the drum, and then do the same on the right side of the drum.

- Using an 0.8 mm (0.03 in.) drill bit, widen the first row of factory-made
holes that are located under the plate.
Important: Use the perforator to penetrate the anodized surface
of the drum. After you "break through" the coated surface
of the drum, the next 1.5 cm (0.60 in.) will be much easier to drill.

- Drill new holes in the left and right drum vacuum grooves that you
marked in step 3. Make sure to drill the holes within the aligned fog
area on the plate.
Note: To penetrate the drum vacuum cavity, while holding the
drill, press it against the drum. After the initial penetration, the
drill will easily penetrate the drum vacuum cavity.
- Using the drum bit, verify that each drum hole has thoroughly penetrated
the drum vacuum cavity.
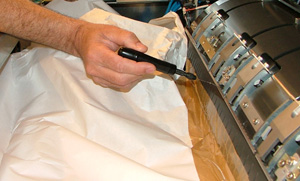
- Using the 1.2 mm drill bit, widen each newly drilled drum hole to
a depth of 1 cm.
- Using the vacuum, remove all drum debris from the drum area.
Polishing the drum holes
- Using a polishing stone, polish the newly drilled areas on the drum.
- Clean the drum with alcohol.
|