Home | Contact Us | Submit Troubleshooting Info | Search | Help


    Output | Software Solutions | Proofing | Color, Screening and Calibration | Scanning | Digital Photography | Consumables | POS


Replacing the alignment system motor on Magnus 800 platesetter


Product


Magnus 800 platesetter


Background


There are two motors located at the center of the alignment system. Each motor is responsible for moving one of the two alignment system registration pins.
This procedure describes how to remove and replace the alignment system motors.


Procedure


Removing the alignment system motors

  1. Obtain a punched plate from the customer. This plate will be used as a reference plate for testing the procedure.
  2. Remove the alignment system from the platesetter and place it on a work table.
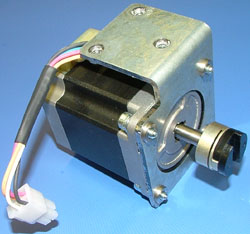
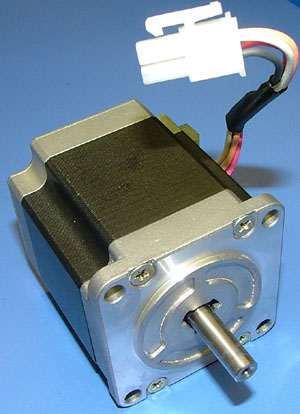
  3. There are two stepper motors (part number 184-00051) on the alignment system:


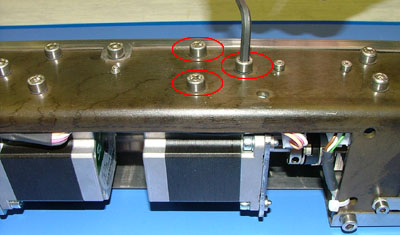
    Use a 4-mm hex key to remove the three screws securing the motor assembly to the alignment system:


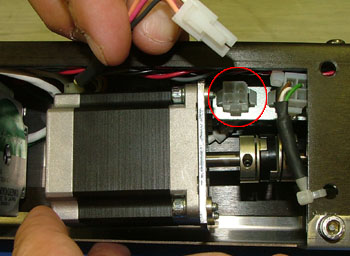
  4. Disconnect the motor connector:


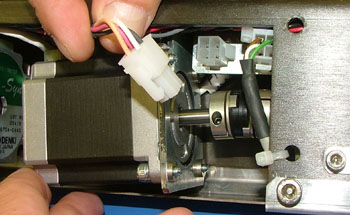
  5. Carefully extract the motor assembly from the alignment system:


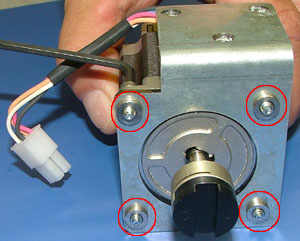
  6. Use a 3-mm hex key to remove the four screws securing the motor bracket to the motor:


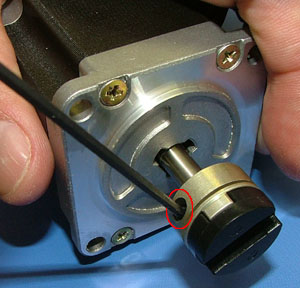
  7. Use a 2-mm hex key to remove the coupling set screw and then remove the coupling:


Replacing the alignment system motors

Important: Unless otherwise stated, coat all screws in Loctite® 242.

  1. Use a 2-mm hex key to insert the set screw securing the coupling to the stepper motor.
    • Do not apply Locktite 242 to the set screw.
    • Do not tighten the screw. (View image)
  2. Use a 3-mm hex key to insert and tighten the four screws securing the motor bracket to the motor. (View image)
  3. Carefully install the motor onto the alignment system.
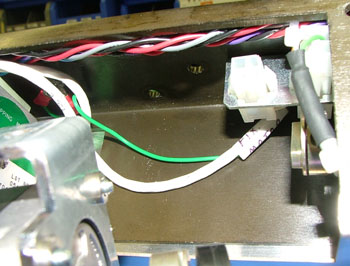
    • Make sure that no wires are impeded or blocked.
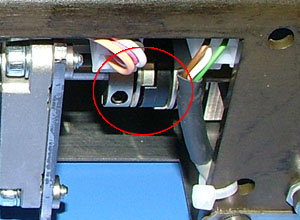
    • Make sure the couplings are aligned. (View image)
    • Push the coupling on the motor against the coupling on the motor axle:


  4. Connect the motor connector to the motor. (View image)
  5. Use a 4-mm hex key to insert and tighten the three screws securing the motor assembly to the alignment system. (View image)
  6. Use a 2-mm hex key to tighten the set screw securing the coupling to the stepper motor.
  7. Reinstall the alignment system into the platesetter.

Test


If you have replaced the fixed pin motor, see the Calibrating the Magnus 800 alignment system and plate width procedure.


Technical contact(s)
 

Content owner: Itai Peperovich
See the Escalation page for escalation contacts.

Date submitted
 

22 Feb 2005


    Copyright © 2005 Creo Inc. All rights reserved. Confidential. Back to top.