Procedure |
|
To verify the position of the left- and right-side doors:
Important: Perform both
steps on the right-side door, and then perform both steps on the left-side
door.
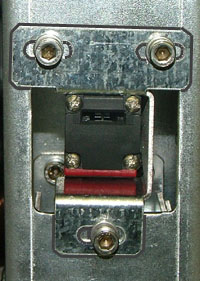
Align the safety switch key with the safety switch
The objective of this step is to make sure that the safety switch key
is centrally aligned (vertically and horizontally) with the safety switch.
- Open either the left-side door or the right-side door of the platesetter.
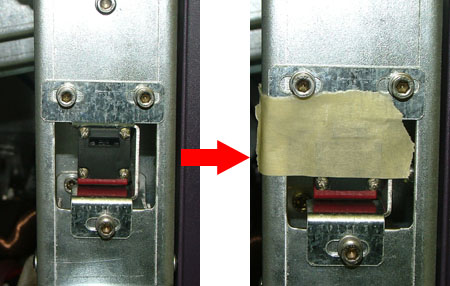
- Place a strip of masking tape over the safety switchs entry
point.
- Close, and then open, the side door.
- Verify that the punched holes on the masking tape (created by the
safety switch key) are located in the center of the safety switchs
entry point.
If the punched holes are not centered, adjust the position of the safety
switch key:
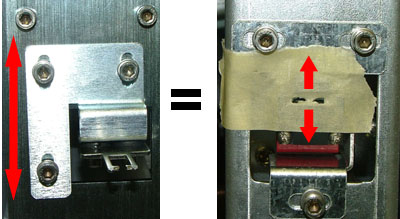
- Vertical adjustment
If the punched holes on the masking tape are too high or too low,
use a 4-mm hex key to either raise or lower the height of the safety
switch key.

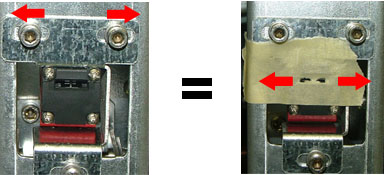
- Horizontal adjustment
If the punched holes on the masking tape are not horizontally aligned
to the safety switchs entry point, use a 4-mm hex key to reposition
the safety switch to the left or the right.

- After each adjustment, remove the masking tape, and place a new
strip of masking tape over the safety switch entry point, close
and open the side door, and check the position of the punched holes.
Adjust the depth of the safety switch key
The objective of this step is to make sure that the safety switch key
enters the bypass switch at the correct depth, which is approximately
3 mm.
If the key does not enter far enough inside the switch, then the safety
switch may function erratically.
- Make sure the side door is closed.
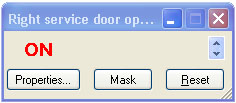
- In the Hardware Tree, locate the relevant service door open detector
dialog box. The status of the detector is ON.
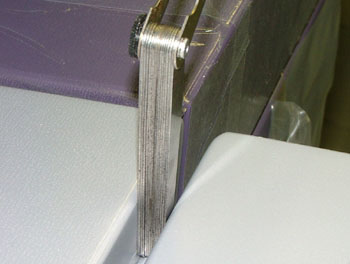
- Insert as many feelers as possible into the gap between the door and
the upper-right panel.
- Open the side door, insert a 1-mm feeler between the door and the
upper-right panel, and then close the door.
- If the status of the detector is ON,
proceed to step 5.
- If the status of the detector changes to OFF:
- Use a pencil to mark the position of the safety switch.
- Remove the safety switch.
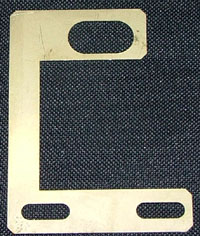
- Insert a 3 mm of spacers behind the safety switch.

- Using Loctite 242 adhesive, reinstall the safety switch
according to the pencil marks.
- Open the side door, insert a 1-mm feeler between the door and the
upper-right panel, and then close the door.
- Open the side door, insert a 1-mm feeler between the
door and the upper right panel, and then close the door.
- If the status of the detector is ON, then the
safety switch key is correctly positioned.
- If the status of the detector changes to OFF,
add 1 mm of spacers behind the safety switch.
|