Home | Contact Us | Submit Troubleshooting Info | Search | Help


    Output | Software Solutions | Proofing | Color, Screening and Calibration | Scanning | Digital Photography | Consumables | POS


Removing and reinstalling the Magnus 800 punch slug bin


Product


Magnus® 800


Background


When a plate is punched, the plate slugs are deposited in the punch slug bin.
This procedure describes how to remove and reinstall the punch slug bin.


Requirements

 
  • Vacuum cleaner
  • Gloves

Procedure


Removing the punch slug bin

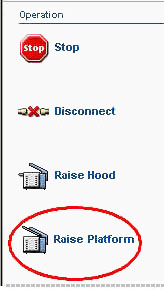
  1. In Magnus Controller, click Raise Platform to raise the platesetter loading platform:


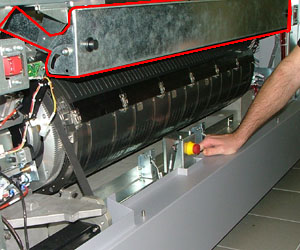
  2. Remove the upper front panel:


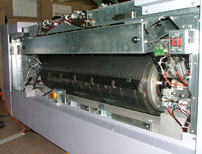
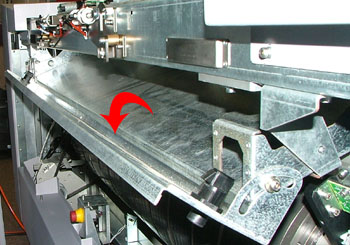
    The punch slug bin is located at the front of the platesetter, directly above the drum:


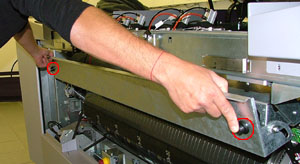
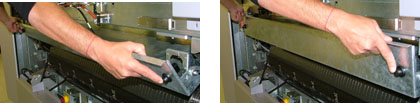
  3. Two black buttons are located on the bin’s exterior wall. Simultaneously, press the two buttons inwards, and slightly lower the front of the punch slug bin:


  4. If required, use a vacuum cleaner to remove all the slugs from the bin.
    Caution: The punch slug bin and punch slugs have sharp edges—therefore it is recommended to wear gloves when removing the punch slugs from the punch slug bin.
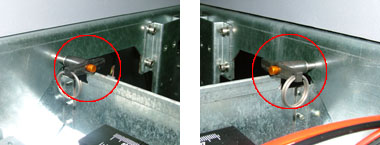
  5. A black, quick-release pin is located on each of the bin’s interior sidewalls (two pins in total):


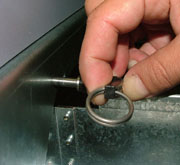
    • Simultaneously push the orange button (located on the quick-release pin) inwards and extract the pin by pulling it outwards:


    • Put the two quick-release pins to one side.
  6. Two silver knobs (one on each end of the bin’s interior sidewalls) secure the bin to the platesetter. Release the knobs by pulling them outwards:


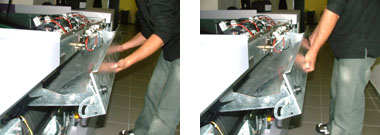
  7. Raise and close the front of the punch slug bin:


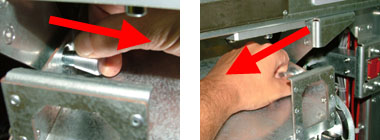
  8. Hold the punch slug bin from underneath and pull it out of the platesetter.


Reinstalling the punch slug bin

  1. Hold the punch slug bin from underneath, and reinstall it into the platesetter. (View image)
  2. Reinsert the two silver knobs that secure the bin to the platesetter.
  3. Reinstall the two black quick-release pins. (View image)
  4. Reinstall the upper front panel.
  5. Manually lower the loading platform.

Technical contact(s)
 

Content owner: Yaron Shifman
See the Escalation page for escalation contacts.

Date submitted
 

23 Jan 2005


    Copyright © 2005 Creo Inc. All rights reserved. Confidential. Back to top.