Procedure |
|
Removing the drum motor
- Remove the upper front panel:
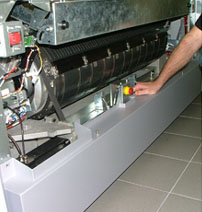
- Shut down the platesetter.
- Remove the lower front panel:
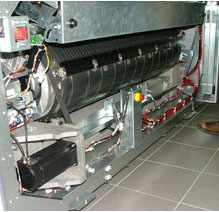
The drum motor is located at the lower left side of the platesetter:
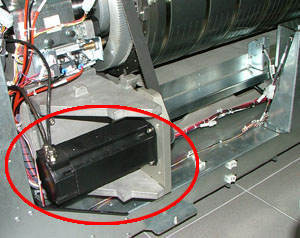
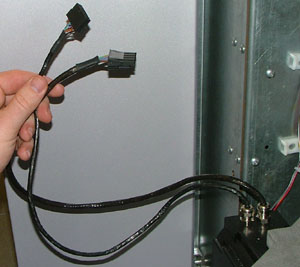
- On the power distribution board (PDB), disconnect the two motor cables
leading to the drum motor:
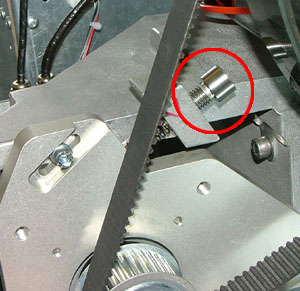
- Use a 10-mm hex key to remove the belt tension screw, and then extract
the spring:
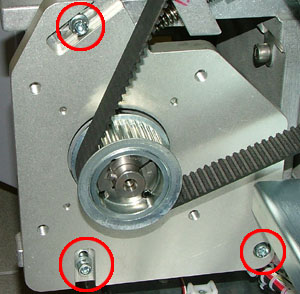
- Use a 5-mm hex key to remove the three screws securing the drum motor
bracket to the optomech.
Important: When removing
the drum motor bracket, support the actual motor with your free hand.
This prevents the motor from falling onto the drum tension belt.
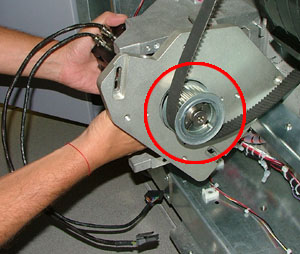
- Remove the drum tension belt from the drum motor sprocket, and extract
the drum motor:
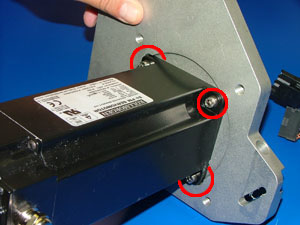
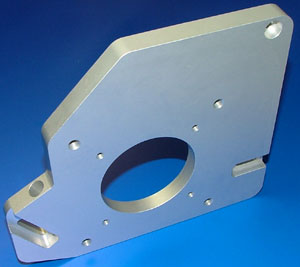
- Use a 4-mm hex key to remove the four screws connecting the drum motor
bracket to the drum motor:
Replacing the drum motor
Important: Unless otherwise
stated, coat all screws in Loctite 242 adhesive.
- Use a 4-mm hex key to insert and tighten the four screws that secure
the drum motor bracket to the drum motor. (View
image)
Make sure the drum motor is correctly positioned—the motor cable
must be facing up. (View
image)
- Make sure the spring is installed inside the bracket:
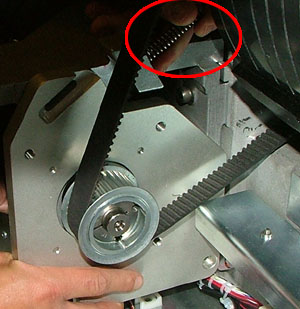
- Place the drum tension belt over the drum motor sprocket, and install
the drum motor and bracket into the platesetter. (View
image)
- Use a 5-mm hex key to insert the three screws, springs, and washers,
securing the drum motor bracket to the optomech. (View
image)
Important: Do not completely
tighten the three screws.
- Use a 10-mm hex key to tighten the belt tension screw. The correct
belt tension is only achieved when the screw is completely tightened.
Note: When the screw is
completely tightened, a gap remains between the screw and the bracket.
Make sure the spring remains in its correct location.
(View image)
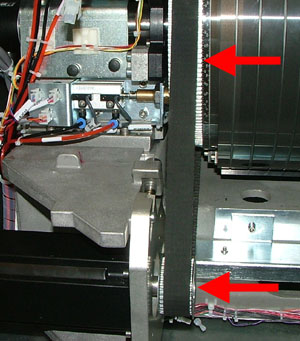
Important: Make sure the belt is not too close to the
edges of either the drum motor sprocket or the drum sprocket:
- Use a 5-mm hex key to tighten the three screws securing the drum motor
bracket to the optomech. (View
image)
- Connect the two cables leading from the drum motor to the power distribution
board (PDB). (View
image)
-
Use your hands to rotate the drum and make sure of the following:
- Drum motor belt rotates smoothly.
- Drum motor belt is not too close to edges of drum motor sprocket
or drum sprocket.
- Drum motor belt does not rub against anything.
- Reinstall the upper front panel
and the lower front panel.
|

