| |
- In Magnus 800 Controller locate the Preferences tab and disable the
MCU.
- Lower the MCU circuit breaker.
- Remove the following panels and covers:
- MCU rear panel
- MCU E-box cover
- MCU E-box panel
- MCU E-box safety cover
- All the skirting panels covering the timing belt
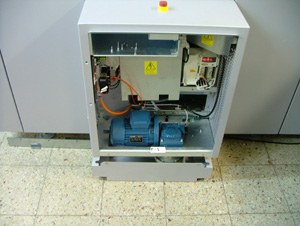
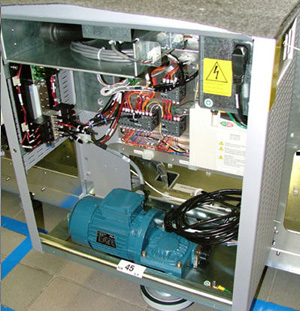
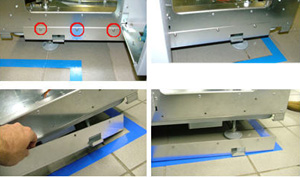
- Located on either side of the E-box are two panels that secure the
E-box to the MCU chassis. Remove the three screws securing each panel
and then remove the two panels.
- Disassemble the three parts of the timing belt
jig (690-01036A).
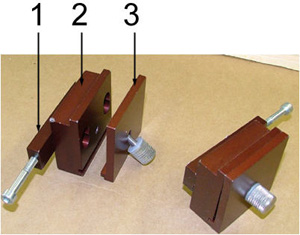
- Install one of the two timing belt jigs onto either side of the E-box.
- Insert part 1 of the jig underneath the MCU chassis.
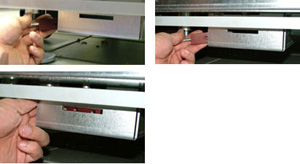
- Use part 2 of the jig to secure part 1 to the chassis. Use two
screws to secure part 1 to part 2.
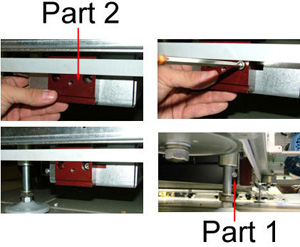
- Secure part 3 of the jig to part 2. Make sure that the timing
belt is secured between the jig parts 2 and parts 3.
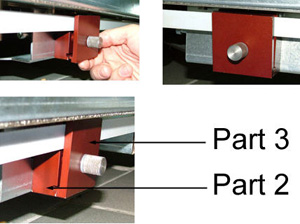
- Disconnect the elevator motor power cable.
- Disconnect the elevator motor encoder cable.
- Loosen the timing belt.
- Use an M17 wrench to release the two tension pulley bolts.
The bolts are located on the underside of the tension pulleys.
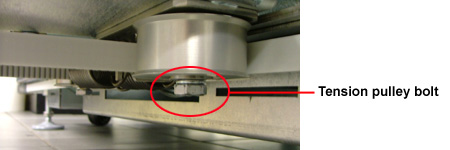
- Use an M10 wrench to close the lead tension screw and thus decrease
the tension on the timing belt.
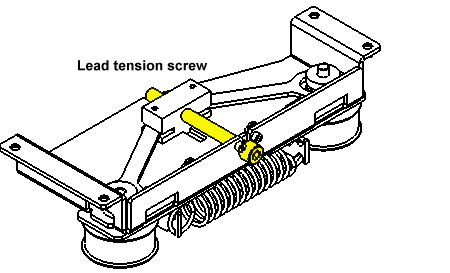
Note: When
the lead tension screw is closed, the tension spring expands, causing
the two tension pulleys to move further apart. As the distance between
the two tension pulleys increases, the timing belt becomes slacker
(less tense). When the tension on the timing belt is slack enough
the belt falls off the four pulleys (located on each corner of the
MCU).
- Remove the four hex screws securing the MCU elevator motor assembly,
and then remove the entire assembly.
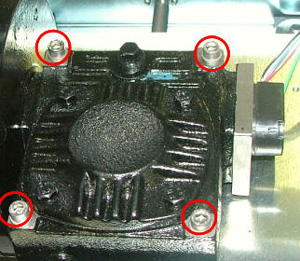
- Install the replacement elevator motor assembly (514-00158A) into
the MCU and secure the motor with the four screws removed in the previous
step. Apply Loctite® 242 adhesive to the screws.
- Reinstall the timing belt.
- Remove the jigs.
- Check the timing belt’s
tension (steps 5 to 12).
- Reset the MCU circuit breaker.
|

