Home | Contact Us | Submit Troubleshooting Info | Search | Help
Output | Software Solutions | Proofing | Color, Screening and Calibration | Scanning | Digital Photography | Consumables | POS
Home | Contact Us | Submit Troubleshooting Info | Search | Help
Output | Software Solutions | Proofing | Color, Screening and Calibration | Scanning | Digital Photography | Consumables | POS
Product |
|
||
Background |
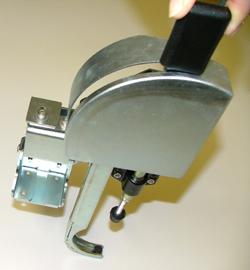
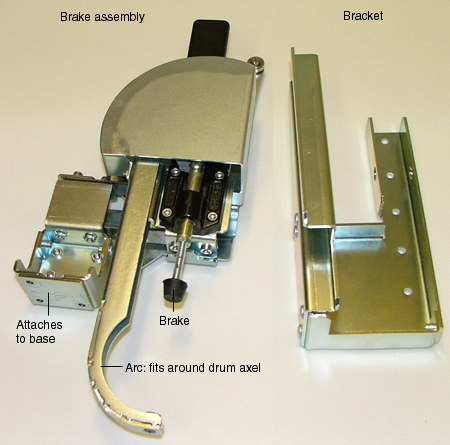
This procedure describes how to install the drum brake to improve the loading process, by enabling the operator to immobilize the drum while loading a plate. Note: This procedure is not mandatory. Install the drum brake only on customer request. The drum brake assembly consists of two parts:
|
||
Requirements |
|
||
Procedure |
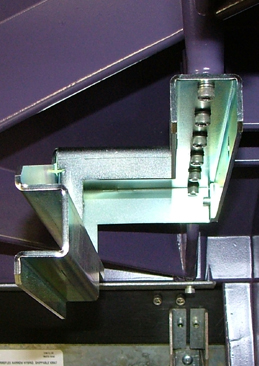
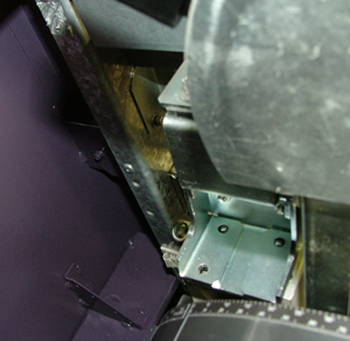
Before you begin: In the ThermoFlex Controller software, open the top door, and then shut down the platesetter and disconnect the main power. Uninstalling the existing bracket assembly: Note: When you uninstall the existing bracket, you must remove the piston, so someone must hold the top door open.

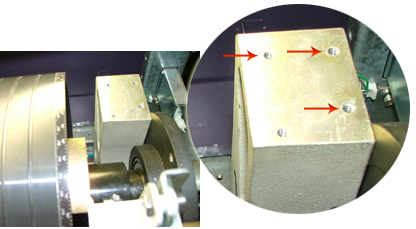
Installing the brake assembly: On the right side of the drum, near the axle, is a base upon which you
install the brake assembly. Three of the four holes in the base align
with the brake assembly.
|
||
Test |
Load a plate and operate the brake to keep the drum immobile while you are loading the plate, as described in ThermoFlex Narrow With Magnetic Drum Loading and Unloading Procedures. |
||
Technical contact(s) |
Content owner: Viki Arviv |
||
Date submitted |
20 Dec 2006 |
||