Home | Contact Us | Submit Troubleshooting Info | Search | Help
Output | Software Solutions | Proofing | Color, Screening and Calibration | Scanning | Digital Photography | Consumables | POS
Home | Contact Us | Submit Troubleshooting Info | Search | Help
Output | Software Solutions | Proofing | Color, Screening and Calibration | Scanning | Digital Photography | Consumables | POS
|
|
||
Product |
|
|
|
|
||
Background |
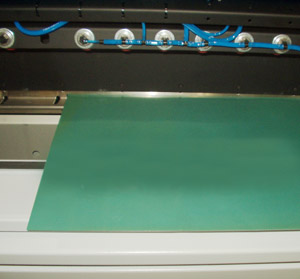
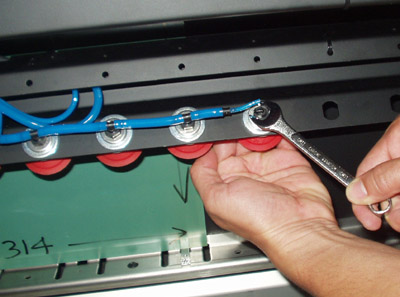
The Picker 3 vacuum cups should be replaced during preventive maintenance (PM) visits, or when they are worn or torn. |
|
|
|
||
Requirements |
Required:
Optional:
|
|
|
|
||
 |
WARNING: Before working on the picker assembly, you must ensure that the safety interlock override (SIO) key switch is in the Normal Operation position with the key removed. The Override position is only to be used for observation and diagnostic purposes. See Safety Policies for Service Engineers for details on using the SIO key switch. |
|
|
|
||
|
WARNING: The compressed air supply must remain turned on while you are working on the picker assembly, to prevent:
If the compressed air supply is turned off while you are working on the picker, a hazard exists, because re-energization of the compressed air supply results in sudden, unexpected movement of the picker assembly, which can seriously injure any body part in its path. If you suspect that the compressed air supply has been turned off (for example, because the picker drops by gravity and/or the picker head/vacuum cup assembly becomes limp), you must immediately stop working on the picker and close the access panel before investigating why the device or plant air supply has been interrupted. If there is a problem with the plant air supply, then lock out the device air supply until it has been restored, and keep the access panel closed until the device air supply has been re-energized. See Safety Policies for Service Engineers for details on lockout procedures. |
|
|
|
||
Procedure |
Before you begin:Check the vacuum level before you replace the vacuum cups. See procedure. Record the level as a reference for later. To access the picker vacuum cups:
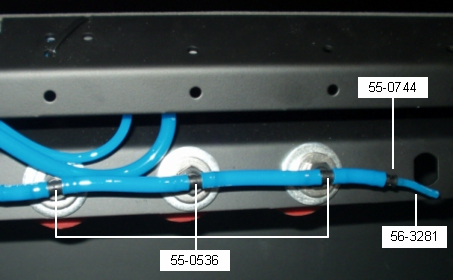
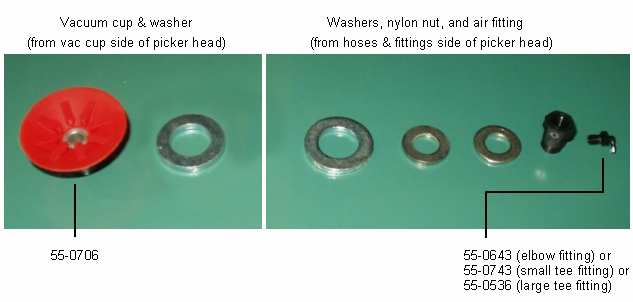
To replace the vacuum cups:
|
|
 |
||
|
||
|
|
||
Test |
|
|
|
|
||
See also |
||
|
|
||
Technical contact(s) |
Content owner: Frank van Eerdt
|
|
Date submitted |
04 Jun 2004 |
|