

Home | Contact Us | Submit Troubleshooting Info | Search | Help
Output | Software Solutions | Proofing | Color, Screening and Calibration | Scanning | Digital Photography | Consumables | POS
Home | Contact Us | Submit Troubleshooting Info | Search | Help
Output | Software Solutions | Proofing | Color, Screening and Calibration | Scanning | Digital Photography | Consumables | POS
This document will help you with the basic troubleshooting features found on the Fluke LANMeter. For additional in-depth information on advanced features, feel free to consult the Fluke Enterprise LANMeter Users Manual.
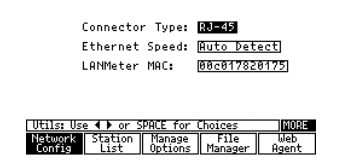
Configuring the LANMeter for IP
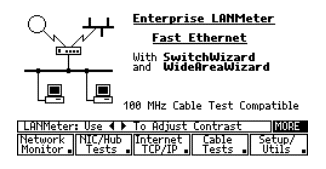
5b)Connect a known good category 5 rated patch cable between the LANMeter RJ45 socket labeled:
"TO HUB" and the network hub (not a cross over cable).
5c) Press the "Internet TCP/IP" button. You should see a similar menu:
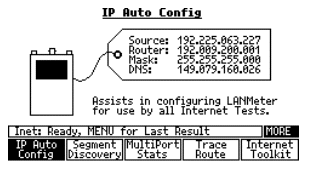
5d) Press the "IP Auto Config" button. Using the left/right arrow buttons, toggle the "Discovery Mode" setting to the appropriate choice if the site happens to be using a DHCP or BOOTP server. In the majority of the sites the "Assisted" mode will be your choice:
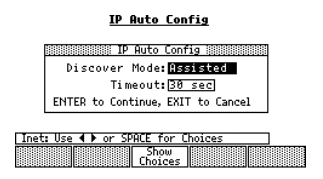
5e) Press the "ENTER/RUN" button. The LANMeter will now search the network for available subnet info. It will display the first three octets of the IP subnet and prompt you for your choice of the last octet:
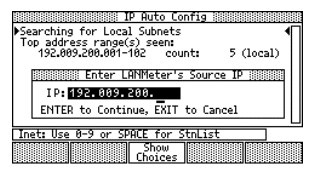
5f) Enter 254 (or your guess at an unused address) and press the "ENTER/RUN" button. The LANMeter will then search the network to see if it can use your choice. If that address is in use, you will get an "ERROR!" message. Repeat this process until it completes:
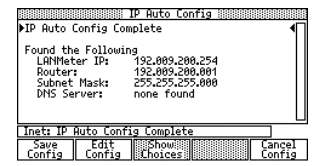
5g) Press the "Save Config" button.
Testing for IP Problems
Put the LANMeter down and take a coffee break. The LANMeter will run a suite of tests repeatedly. Let this test run for 15 minutes to discover the IP configuration and any possible problems.
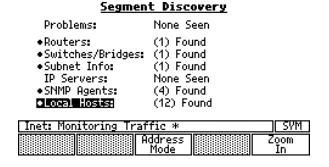
Troubleshooting continues by highlighting a menu item that has the · next to it. See the corresponding sections in this document
If a major problem is found with the IP network structure, you should see a screen similar to:
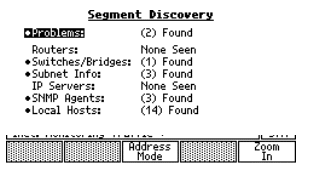
Using the up/down arrow buttons, highlight the "· Problems:" menu and press the "ENTER/RUN" button.
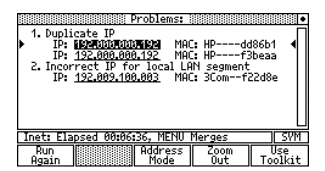
In the above example, The screen is indicating that two network interface devices manufactured by HP are assigned the same IP address; and a network interface device manufactured by 3Com has the wrong IP subnet in its address (192.009.100.003 vs. 192.000.000.003)
Switches/Bridges:
SNMP Agents:
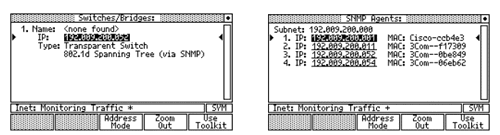
To view a description of the device, select the system group menu:
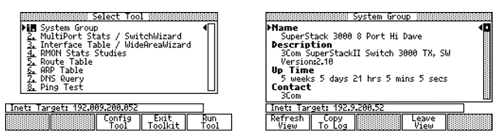
To view network statistics from the device you have selected, select menu item #2: "MultiPort Stats / SwitchWizard"
Network traffic statistics, sorted by port number, will display on screen. For troubleshooting purposes, you can sort the statistics by errors or utilization. Press the "Sort Options" button and select your choice.
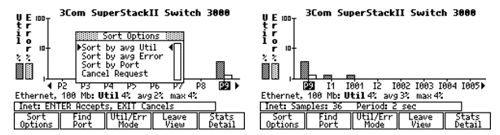
Now highlight the port number you want detailed data on and press the "Stats Details" button. The screen will now show you a list of all the MAC addresses that are residing on that port. In this example, port 9 is the downlink to another switching hub that supports other network nodes. Scroll down to get a look the rest of the list.
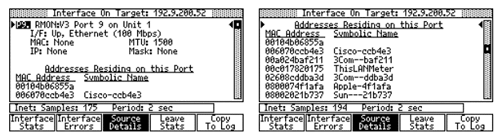
To view the port statistics in detail, press the "Interface Stats" or "Interface Errors" buttons:
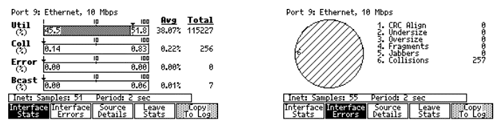
The interface stats menu will show you the average values during the sampling period as well as the peak values recorded. Total frame counts and percentages are on the right. High error counts can be further diagnosed by examining the hub port and network interface card of the workstation. Use the following tests to check hub ports and NICs. Hub Autotest when completed can be drilled down to expose protocols found on the port.