Home | Contact Us | Submit Troubleshooting Info | Search | Help
Output | Software Solutions | Proofing | Color, Screening and Calibration | Scanning | Digital Photography | Consumables | POS
Home | Contact Us | Submit Troubleshooting Info | Search | Help
Output | Software Solutions | Proofing | Color, Screening and Calibration | Scanning | Digital Photography | Consumables | POS
Installing a Proofer (43P)
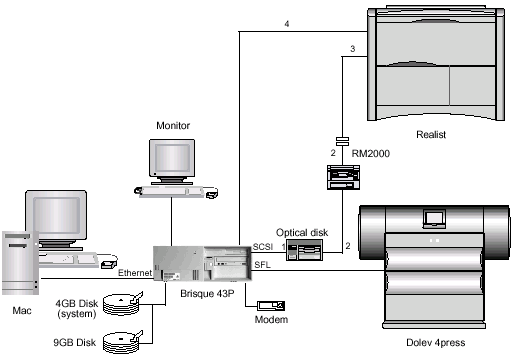
Connecting a Proofer
 |
This option requires a license. |
To connect the Proofer:
-OR-
Brisque 43P Base Configuration
Part #
Part Description
Scitex Cat#
1
SCSI cable L=1m
199D50450 (supplied with the Brisque)
2
SCSI cable L=0.5m
504D37302A (supplied with Ext devices)
3
SCSI cable L=3m
199B20015 (supplied with the Brisque Proof and Proofer kit)
4
RS232 Cable for Remote Diagnostics
610S40440 Realist Laptop Cable
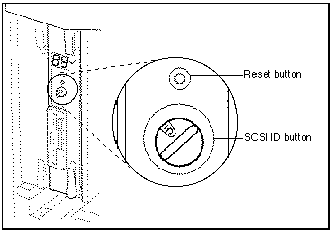
Verify the Smart Jet SCSI ID:
To verify the Smart Jet SCSI ID:
|
The factory set default SCSI ID number is 5. |
This procedure is applicable to the following proofers:
To verify the Proofer SCSI ID:
|
The printer is shipped with the default SCSI ID set to 5. If you have other SCSI devices attached to the host (CD-ROM, multiple hard disks, etc.), ensure that they each have a different SCSI ID. |
Verifying the Proofer SCSI Connection
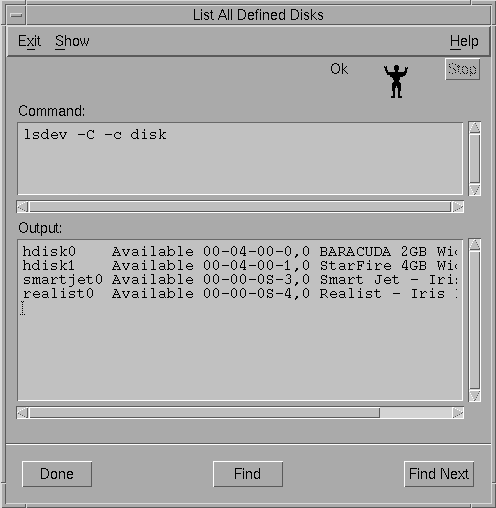
To verify the Proofer SCSI connection:
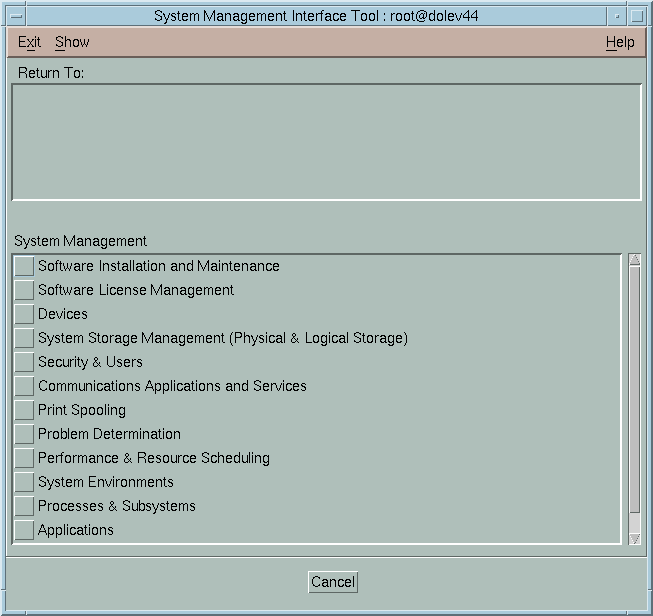
The System Management Interface Tool (SMIT) window appears, displaying the System Management main menu.
The List All Defined Disks window appears, displaying all the system’s defined disks in the Output area (including the proofers).
|
In the event that there is a clash of SCSI addresses, the proofers do not appear. |
Verifying Proofer Installation via the Realist Controller
If the Proofer is configured properly, the name of the Proofer appears in the header of the Controller window.
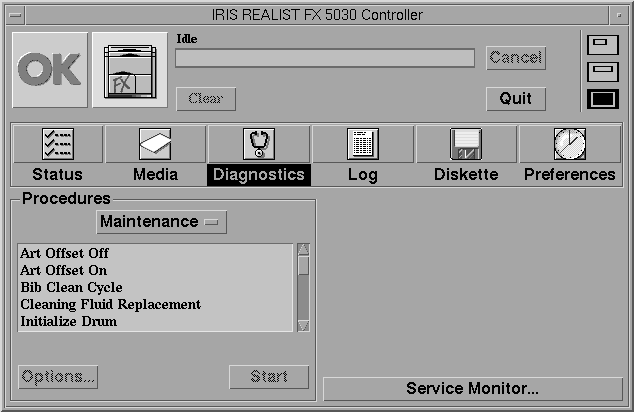
If the Realist Controller is not defined as idle and not configured properly, a message will appear - "searching for printer."
Scitex Proofing Zone Configuration
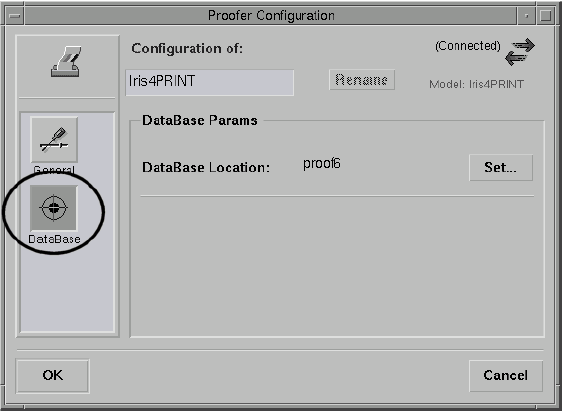
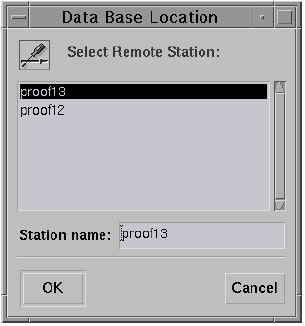
The CreoScitex Proofing Zone (SPZ) is a color mode that supports ICC profiles created for specific proofers and is part of the color management system for IRIS proofers. The CreoScitex Proofing Zone uses a database that includes all color information relevant to the IRIS proofers and can be located either on the local Brisque or on a remote Brisque or Mac.
The database must be activated in order to send proofs to an IRIS proofer, and CreoScitex Proofing Zone configuration enables you to determine where the database will be located.
|
IMPORTANT: It is important to successfully verify the proofer SCSI connection before configuring the CreoScitex Proofing Zone (refer to Verifying the Realist SCSI ID). |
To configure the CreoScitex Proofing Zone:
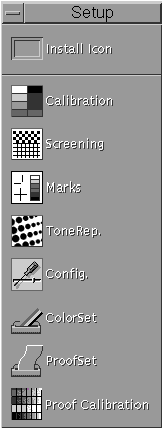
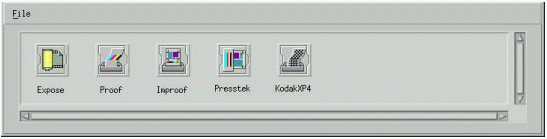
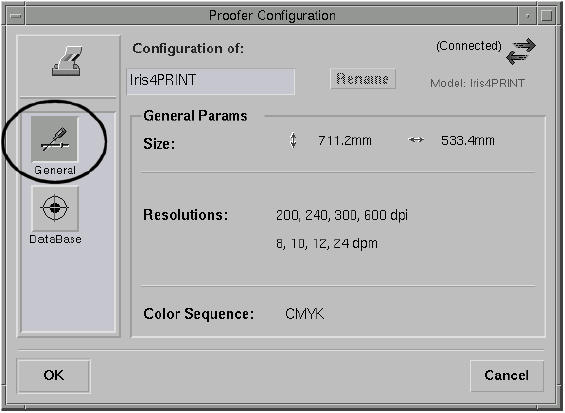
|
It is recommended to establish the database on the Brisque. |
The following information message appears:
"DataBase location was changed. If the DSP calibration dialog is open – you should close it and reopen."
(For first-time configuration) Then the Proofer Name dialog opens
|
For a second-time or later connection to the same proofer, the proofer name appears automatically. |
For Proofers not supporting the SPZ.
|
For Proofers not supporting the Scitex Proofing Zone (including the SmartJet and the IRIS 3000), once the database location is set, the database is active. |