

Home | Contact Us | Submit Troubleshooting Info | Search | Help
Output | Software Solutions | Proofing | Color, Screening and Calibration | Scanning | Digital Photography | Consumables | POS
Home | Contact Us | Submit Troubleshooting Info | Search | Help
Output | Software Solutions | Proofing | Color, Screening and Calibration | Scanning | Digital Photography | Consumables | POS
| Lotem 800 Installation Guide Lotem 800 Calibration |
The objective of the Delay test is to calibrate the Delay parameter used by the DDB (Data Distribution Board), so that the exposed horizontal lines are perfectly straight. The plate is exposed in 100 resolution and in different delay values. Based on the results, the delay value that corresponds to the best exposure is obtained. The optimal delay values for other resolutions are automatically calculated by the PC controller. Test results do not depend on plate type, size or thickness, so any plate the customer has may be used.
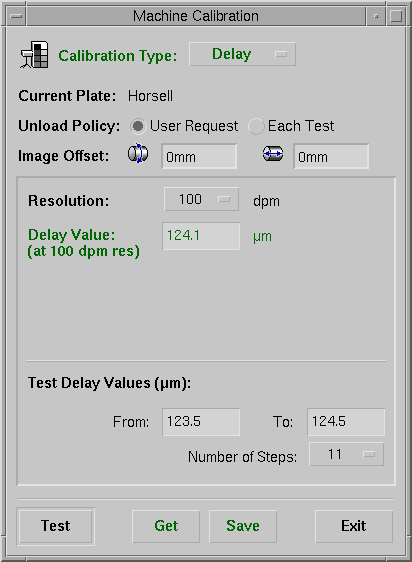
Figure 5-5: Lotem Calibration window - Delay test
Note: Press Get to load a previous delay test result from the PC controller.
Note: If after the Delay test you are not sure the resolution value is correct, you should repeat the Resolution test.
Copyright (c)1998 Scitex Corporation Ltd. All rights reserved. Certain names, logos, designs, titles, words or phrases on this page may constitute trademarks, servicemarks, or tradenames of CreoScitex Corporation Ltd. or other entities which may be registered in certain jurisdictions.