Home | Contact Us | Submit Troubleshooting Info | Search | Help
Output | Software Solutions | Proofing | Color, Screening and Calibration | Scanning | Digital Photography | Consumables | POS
Home | Contact Us | Submit Troubleshooting Info | Search | Help
Output | Software Solutions | Proofing | Color, Screening and Calibration | Scanning | Digital Photography | Consumables | POS
Product |
Magnus 800 platesetter |
||
Background |
This procedure describes how to remove and install
the loading platform conveyor. |
||
Requirements |
|
||
Procedure |
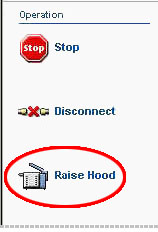
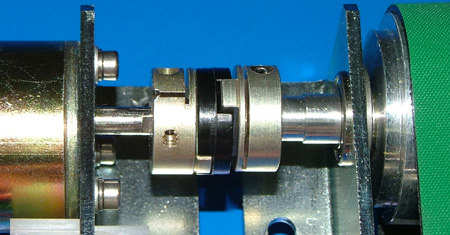
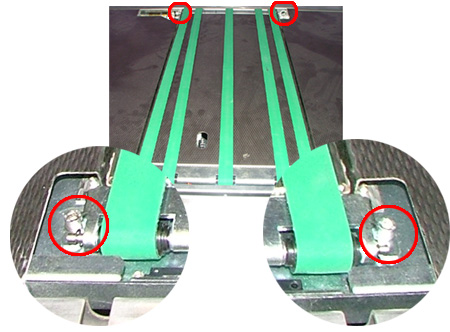
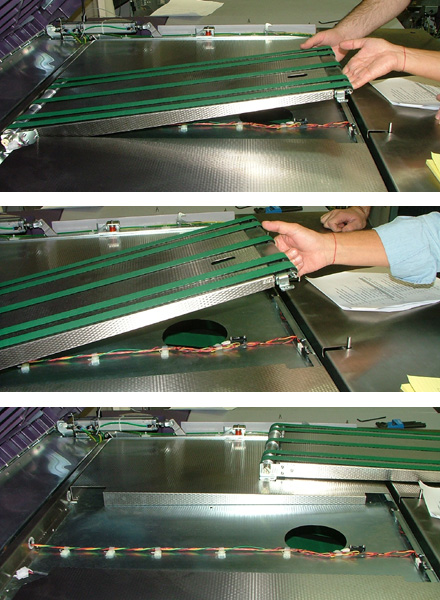
Removing the loading platform conveyorNote: The loading platform conveyor can be removed without having to remove the loading platform conveyor motor.
Installing the loading platform conveyorImportant: Unless otherwise stated, coat all screws in Loctite® 242 adhesive.
|
||
Test |
|
||
See also |
|||
Technical contact(s) |
Content owner: Itai Peperovich |
||
Date submitted |
10 Jan 2005 |
||