|
Product |
|
Magnus 800 platesetter
|
|
Background |
|
The punches on the Magnus 800 platesetter are pre-installed at
the production site. However, the punches may need to be repositioned
on-site, according to the customer’s requirements.
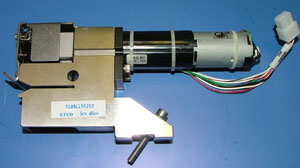
This procedure describes how to remove a punch
and how to install a punch onto the punch bar.
|
|
Procedure |
|
Removing a punch from the punch bar
- Punch a reference plate according to the customer’s requirements.
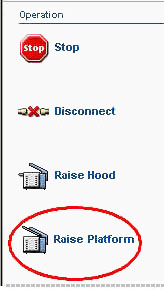
- In Magnus Controller click Raise Platform
to raise the platesetter loading platform:
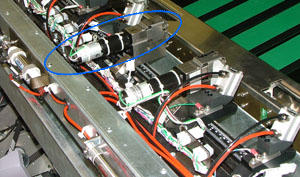
The punches are located on the punch bar:
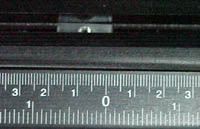
- Use the measuring scale on the punch bar to determine the position
of the punches. Mark their locations with a pencil:
- Disconnect the motor cable leading from the punch to the Molex®
connector:

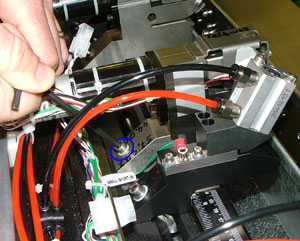
- Use a 4-mm hex key to remove the screw securing the punch to the
T-nut (part number 372E01011—located in the
groove of the punch bar).
Important: If you are
repositioning an existing punch, do not remove the screw securing the
punch to the T-nut, but instead merely loosen the screw:
- If required, remove the punch from the platesetter:
Installing a punch
- Secure the punch to the T-nut vacated by the defective punch.
Important: If you are
repositioning an existing punch, position the punch over a T-nut located
as close as possible to the punch’s final position.
If a plate holder interferes with the positioning of the T-nut, then
move the plate holder by loosening its securing screw, and then place
the holder elsewhere on the punch bar. However, in order to obtain optimum
registration results, the plate holder and drum pin must be directly
aligned with each other.
- Connect the motor cable leading from the punch to the nearest available
Molex connector on the punch bar.
- Manually close the loading platform.
|
|
Test |
|
- After the punches have been repositioned, load a plate in Magnus
Controller.
- Punch the plate and then unload it from the platesetter.
- Visually compare the punched plate with the punched reference plate.
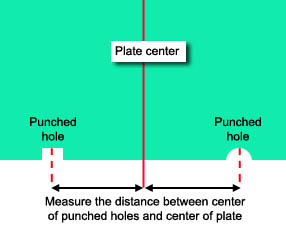
Important: If a punched
reference plate is unavailable, measure the distance between the center
of the holes to the center of the plate:
- If required, reposition the punches.
- Allow the press operator to load a punched plate onto the press, and
then let the operator make the final verification.
|
|
See also |
|
|
|
Technical contact(s) |
|
Content owner: Itai Peperovich
See the Escalation page for escalation contacts. |
Date submitted |
|
27 Jan 2005
|


 First
procedure written for the Magnus 800 (09 Jun 04)!