| |
- In the Hardware Tree, locate the punch system switches
(Platesetter system/Punch bar alignment system/Punch system switches).
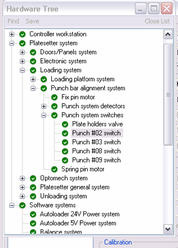
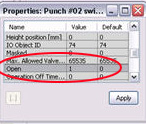
- Select the punches you want to install and amend their Open
values to 1.
- In the Hardware Tree locate the punch system detectors
(platesetter system/Punch bar alignment system/punch system detectors).
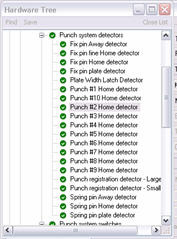
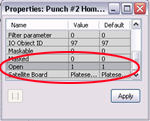
- Select the punch detectors you wish to activate and amend their Open
values to 1.
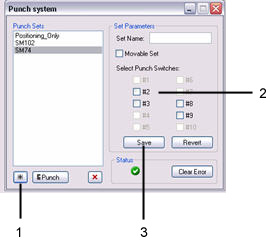
- Define a new punch set:
- Open the Punch system dialog box.
- Click the asterisk to define a new punch set.
- In the Set Name box, define a new name for the
punch set.
- Select the Select Punch Switches check boxes
corresponding to the punches to be included in the new punch set.
For example, select #3 to include punch #3 in the
set.
- Click Save.
- Repeat steps a to e for any additional punch sets the customer
may be using.
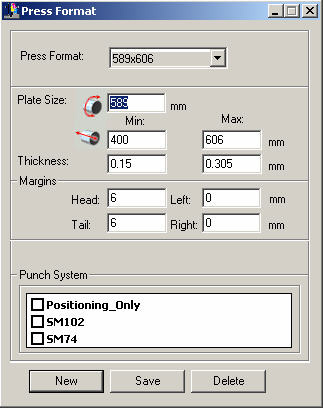
- In Kodak Xpo™ software, locate the Utilities
pane, open the Press Format dialog box, and perform the following actions:
- In the Press Format list, select the customer’s
press format.
- Select the Punch System box corresponding to
the press format.
- Click Save.
- Repeat steps a to c for any additional press formats the customer
may be using.
- Define the punch settings according to the customer's workflow.
Kodak Prinergy®
Evo™ workflow,
or
Prinergy workflow
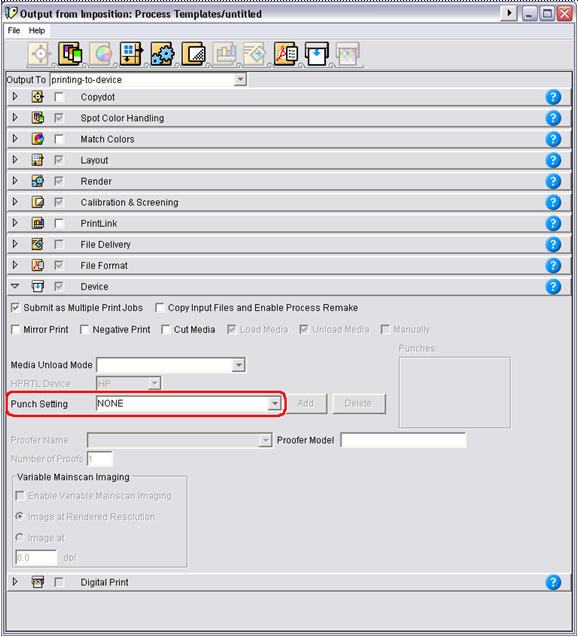
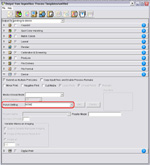
- Prinergy Evo workflow:
- Locate the Output from Imposition: Process Templates dialog
box.
- Expand the Device section.
- In the Punch Setting list, select the punch
set defined in step 5.
Click to enlarge
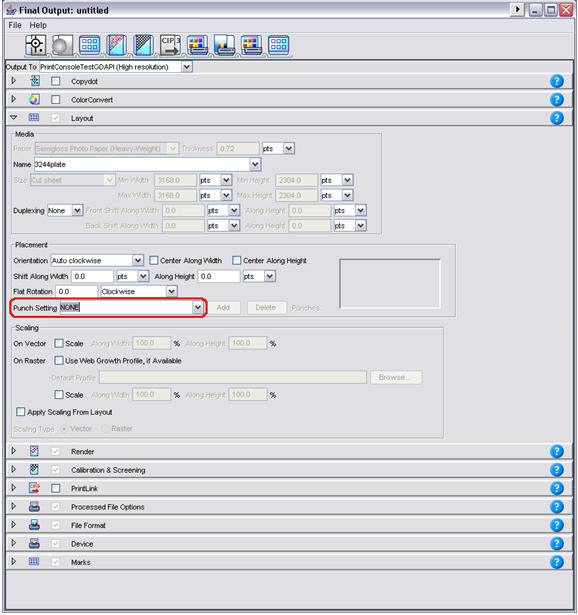
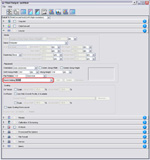
- Prinergy workflow:
- Locate the Final Output dialog box.
- Expand the Layout section.
- In the Punch Setting list, select the punch
set defined in step 5.
Click to enlarge
|