Procedure |
|
Removing the carriage motor assembly
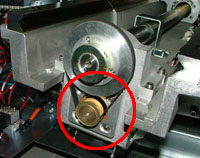
- Opening the right side door of the Magnus 800. The carriage motor assembly is located
on the carriage beam, close to the right side door:
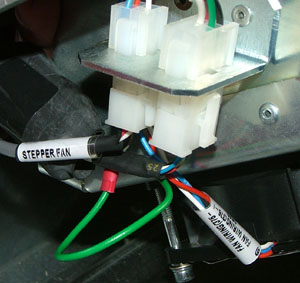
- Two connectors are located on the underside of the carriage motor
assembly. One connector is labeled Stepper Motor and
the other connector is labeled Stepper Fan:
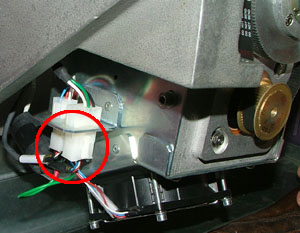
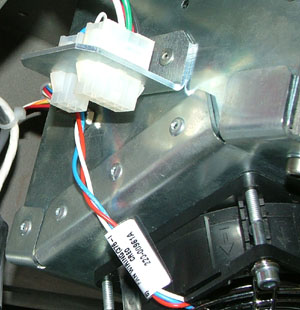
Disconnect the two connectors from the carriage motor assembly:
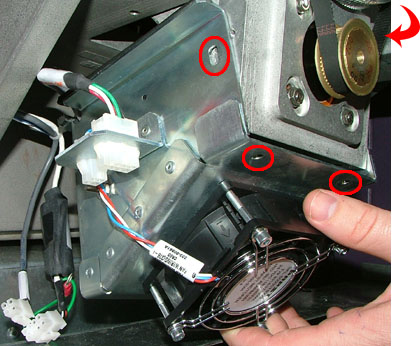
- Use a 4-mm hex key to remove the four screws securing the fan box
to the carriage bearing house:
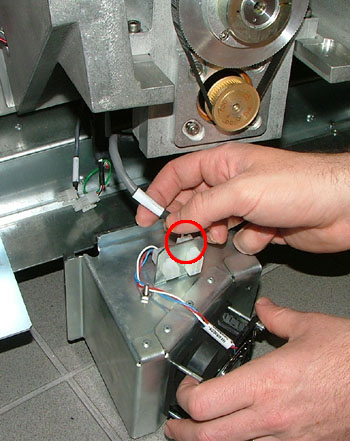
- Carefully place the fan box on the floor, in close proximity to the
platesetter. On the fan box, disconnect the connector leading to the
carriage motor assembly:
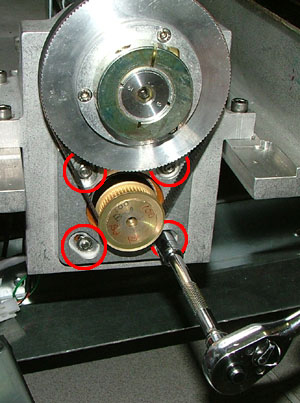
- Use an 8-mm socket ratchet to remove the four nuts and washers securing
the carriage motor assembly to the carriage beam:
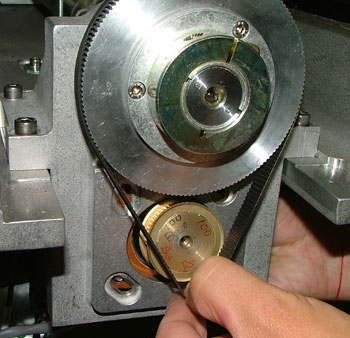
- Pull the carriage belt over the carriage motor sprocket and carefully
extract the carriage motor assembly from the platesetter:
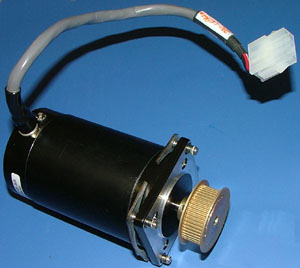
- Slide the screw assembly off the carriage motor:
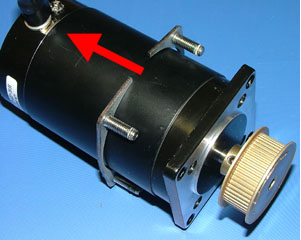
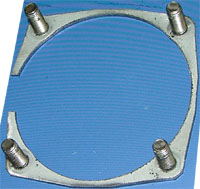
Replacing the carriage motor assembly
Important: Unless otherwise
stated, coat all screws in Loctite® 242.
- Install the screw assembly onto the carriage motor.
- Install the carriage motor assembly in the platesetter and pull the
carriage belt over the carriage motor sprocket.
(View
image)
- Use an 8-mm socket ratchet to insert and tighten the four nuts and
washers securing the carriage motor assembly to the carriage beam.
(View
image)
- Insert the connector leading from the carriage motor assembly into
the connector socket on the fan box.
(View
image)
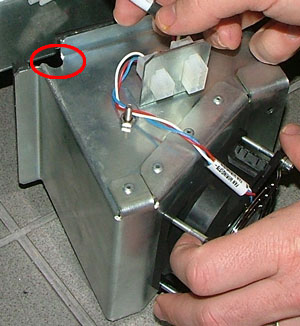
- Use a 4-mm hex key and four screws to install the fan box to the underside
of the carriage bearing house.
Important: Make sure that the
wire leading from the carriage motor assembly to the fan box is inserted
inside the groove on the fan box:
- Connect the Stepper Motor connector and the Stepper
Fan connector to the carriage motor assembly:
- In Magnus Controller, open the carriage motor dialog box and initialize
the carriage motor.
- Send the carriage motor to and from the away detector and make sure
the carriage movement is smooth and continuous.
- Close the right side door.
|

