Home | Contact Us | Submit Troubleshooting Info | Search | Help


    Output | Software Solutions | Proofing | Color, Screening and Calibration | Scanning | Digital Photography | Consumables | POS


Removing and installing the leading edge clamp actuator on Magnus 800


Product


Magnus 800


Background


The function of the leading edge clamp (LEC) actuator is to secure the front (leading edge) of the plate to the LECs.

This procedure describes how to remove and install the LEC actuator.


Procedure


Removing the LEC actuator

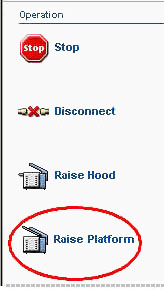
  1. In Magnus Controller, click Raise Platform to raise the platesetter loading platform:


  2. Turn off the air supply leading to the platesetter.
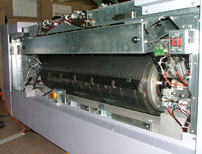
  3. Remove the upper front panel:


  4. Remove the punch slug bin.
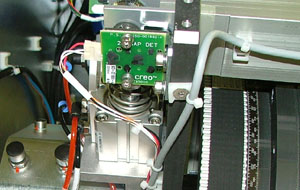
  5. Disconnect the registration pin detector connector from the LEC actuator:


  6. Cut all the cable ties.
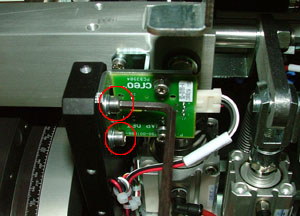
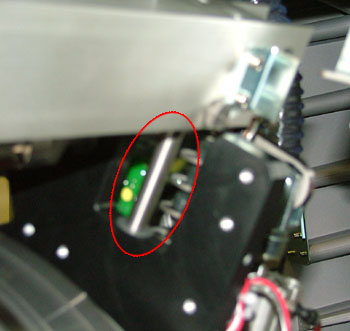
  7. Located on the optomech are two LEC actuator vertical detector boards - one on the right side and one on the left side. Each board is within close proximity to the ends of the LEC actuator. Use a 4-mm hex key to remove the two screws securing each board to the optomech:


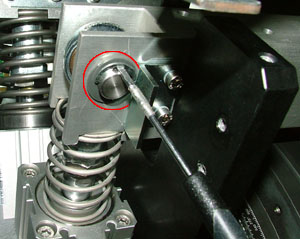
  8. Two LEC actuator pins (one on each end of the LEC actuator) secure the LEC actuator to the LEC actuator cylinder. Each LEC actuator pin is held into place with two e-rings.
    Use a flat head screwdriver to pry off the two outer e-rings:


  9. Push out the LEC actuator pins. Be careful not to drop the pins’ black washers into the platesetter.
  10. Extract the LEC actuator from the platesetter.

Installing the LEC actuator

  1. Install the LEC actuator into the platesetter. There is a leading pin on the right side of the actuator. Make sure the pin is inserted into its hole on the optomech:


  2. Install the LEC actuator pins that secure the LEC actuator to the LEC actuator cylinders.
  3. Reinstall the two outer e-rings and black washers.
    (View image)
  4. Use a 4-mm hex key to install the two LEC actuator vertical detector brackets onto the optomech. (View image)
  5. Connect the registration pin detector connector to the LEC actuator. (View image)
  6. Install the punch slug bin.
  7. Reinstall the upper front panel.
  8. Manually lower the loading platform.
  9. Open the air supply leading to the platesetter.

Test

 
  1. Load and unload several plates of different size and thickness.
  2. Make sure the process runs smoothly and continuously.

Technical contact(s)
 

Content owner: Yaron Shifman
See the Escalation page for escalation contacts.

Date submitted
 

12 Feb 2006


    Copyright © 2005 Creo Inc. All rights reserved. Confidential. Back to top.