|
Product |
|
Magnus® 800
|
|
Background |
|
Most media ablate to some degree, and the debris buildup can cause a
serious reduction in both image quality and power output from the thermal
2 head (TH2). Therefore, it is important to ensure that the final lens
or window is clean.
This procedure describes how to clean the TH2 window.
|
|
Requirements |
|
- Small flashlight
- Lens cleaning kit (part number 04-0012B)
- 4-mm hex key
- Acetone
|
|
Procedure |
|
- Send the carriage to home position.
- Open the right side door of the platesetter.
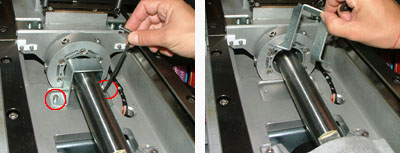
- Use a 4-mm hex key to remove the two screws securing the carriage
mechanical-stopper bracket to the optomech:
- Manually rotate the leadscrew in a clockwise direction, until the
head is at its service position.
Note: In the future, this
step will be fully automated.
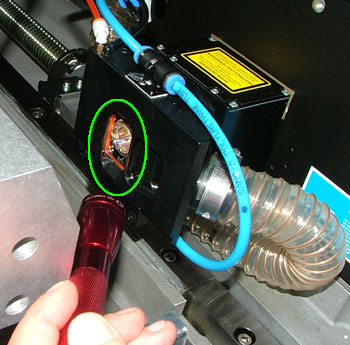
- Use a small flashlight to visually inspect the TH2 window. Check for
debris, ablation, finger prints, and dirt:
If there is any debris whatsoever, proceed to step
6.
If the head is completely clean:
- Manually rotate the leadscrew in a counterclockwise direction
until the two screw holes (that house the screws securing the carriage
mechanical-stopper bracket) are visible.
- Reinstall the carriage mechanical-stopper bracket.
- Close the right side door.
- Remove the head from the platesetter. Place the
head on a safe work surface.
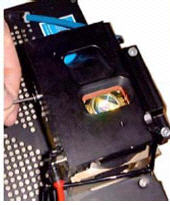
- Remove the debris removal nozzle:
- Continue from step 7 in the Thermal 2 Window Cleaning Procedure document.
- Reinstall the head on the device.
- Manually rotate the drum and verify that the nozzle does not hit the
LECs.
- Perform head installation. See Installing a thermal 2 head on a Magnus 800 platesetter.
- Manually rotate the lead screw in a counterclockwise direction, until
the two screw holes (that house the screws securing the carriage mechanical-stopper
bracket) are visible.
- Use a 4-mm hex key to insert and tighten the two screws securing the
carriage mechanical-stopper bracket to the optomech.
- Close the right side door.
|
|
Test |
|
- Run the CPTT file to verify the platesetter’s image quality.
- If required, re-optimize the head by running a focus series and a
power series.
- Run a customer’s job and check the result for image quality.
|
|
See also |
|
|
|
Technical contact(s) |
|
Content owner: Itai Peperovich
See the Escalation page for escalation contacts. |
Date submitted |
|
22 Feb 2005
|

