|
Product |
|
Magnus® 800
|
|
Background |
|
This procedure describes how to remove and replace
the unloading platform motor.
- The unloading platform motor is a DC motor and operates both the rollers
and the platform belts.
- The motor has an internal gear with a ratio of 65:1.
- The motor is connected to the lower roller sprocket and to the flat
belt rear axle, via a timing belt.
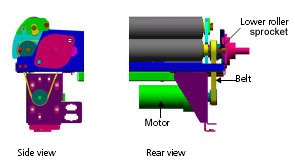
The motor can be removed without taking out the conveyor assembly.
|
|
Procedure |
|
Removing the unloading platform motor
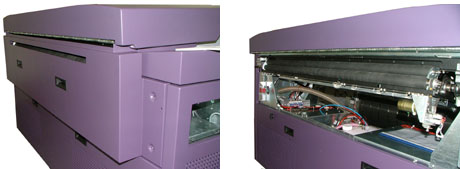
- Remove the platesetter’s upper rear panel:
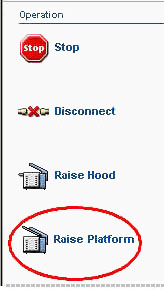
- In Magnus Controller, click Raise Platform to raise
the loading platform:
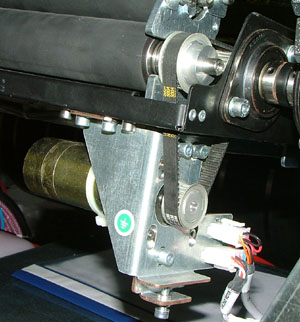
The unloading platform motor is located at the rear of the platesetter,
on the upper left side:
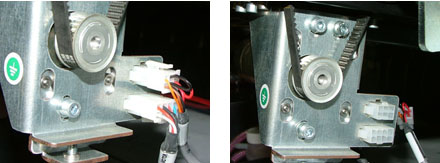
- Disconnect the two connectors leading to the motor:
- The upper connector connects the motor to the unloading platform
optical sensors.
- The lower connector connects the motor to the chassis:
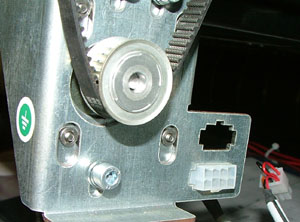
- Extract the unloading platform optical sensor connector from the upper
bracket:
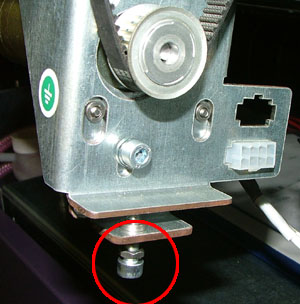
- With a 4-mm hex key, release, but do not remove, the timing belt tension
screw:
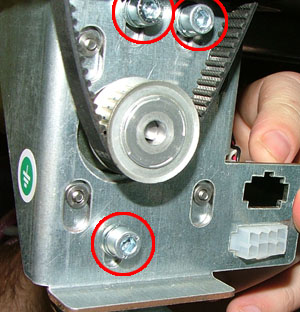
- With a 4-mm hex key, release, but do not remove, the three screws
securing the motor to the bracket:
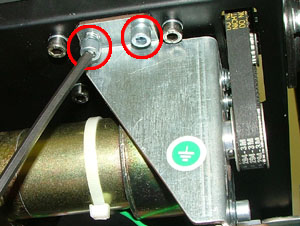
- Use a 4-mm hex key to remove the four screws securing the motor bracket
to the unloading platform.
Note: There are two screws
on either side of the bracket:
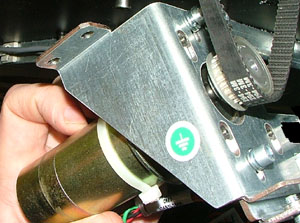
- Remove the timing belt from the sprocket and then extract the motor
and bracket:
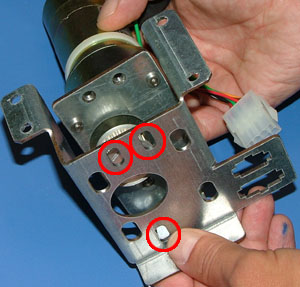
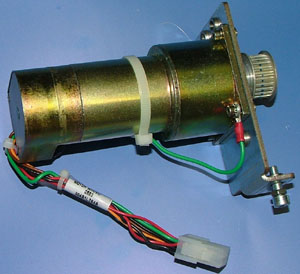
- Use a 4-mm hex key to remove the three screws (released in step 6),
securing the motor to the bracket:
Replacing the unloading platform motor
- Use a 4-mm hex key to insert the three screws that secure the motor
to the motor bracket. Do not tighten the screws all the way.
- Place the timing belt over the motor sprocket and position the motor
in the platesetter.
- Use a 4-mm hex key to insert and tighten the four screws that secure
the motor bracket to the unloading platform.
- Use a 4-mm hex key to tighten the three screws that secure the motor
to the motor bracket.
- Use a 4-mm hex key to tighten the timing belt tension screw.
- Insert the unloading platform optical sensor connector into the upper
bracket of the motor assembly.
- Connect the two connectors to the motor.
- Reinstall the upper rear panel.
- Manually close the loading platform.
|
|
Test |
|
- In Magnus Controller, locate the Unloading platform motor dialog box:
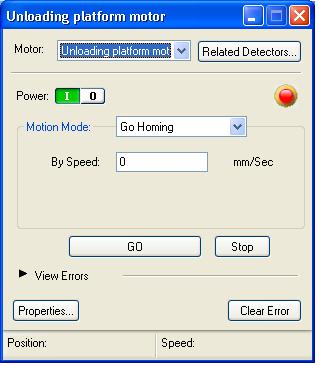
- Click GO to activate the motor. Make sure the motor
is running smoothly and continuously.
- Load and unload several plates of different size and thickness.
- Make sure that the motor and the loading/unloading process are both
running smoothly and continuously.
|
|
See also |
|
Replacing the unloading platform exit rollers on Magnus 800
|
|
Technical contact(s) |
|
Content owner: Yaron Shifman
See the Escalation page for escalation contacts. |
Date submitted |
|
13 Jan 2005
|

